

Greetings readers of Ausdroid, my name is Jo. Phil, who’s work you are used to reading, is my darling husband. The team here at Ausdroid are currently working on a large number of review devices, and since I am more or less the target market for OPPO phones, the fine guys at Ausdroid asked me to take a look at the OPPO A52.
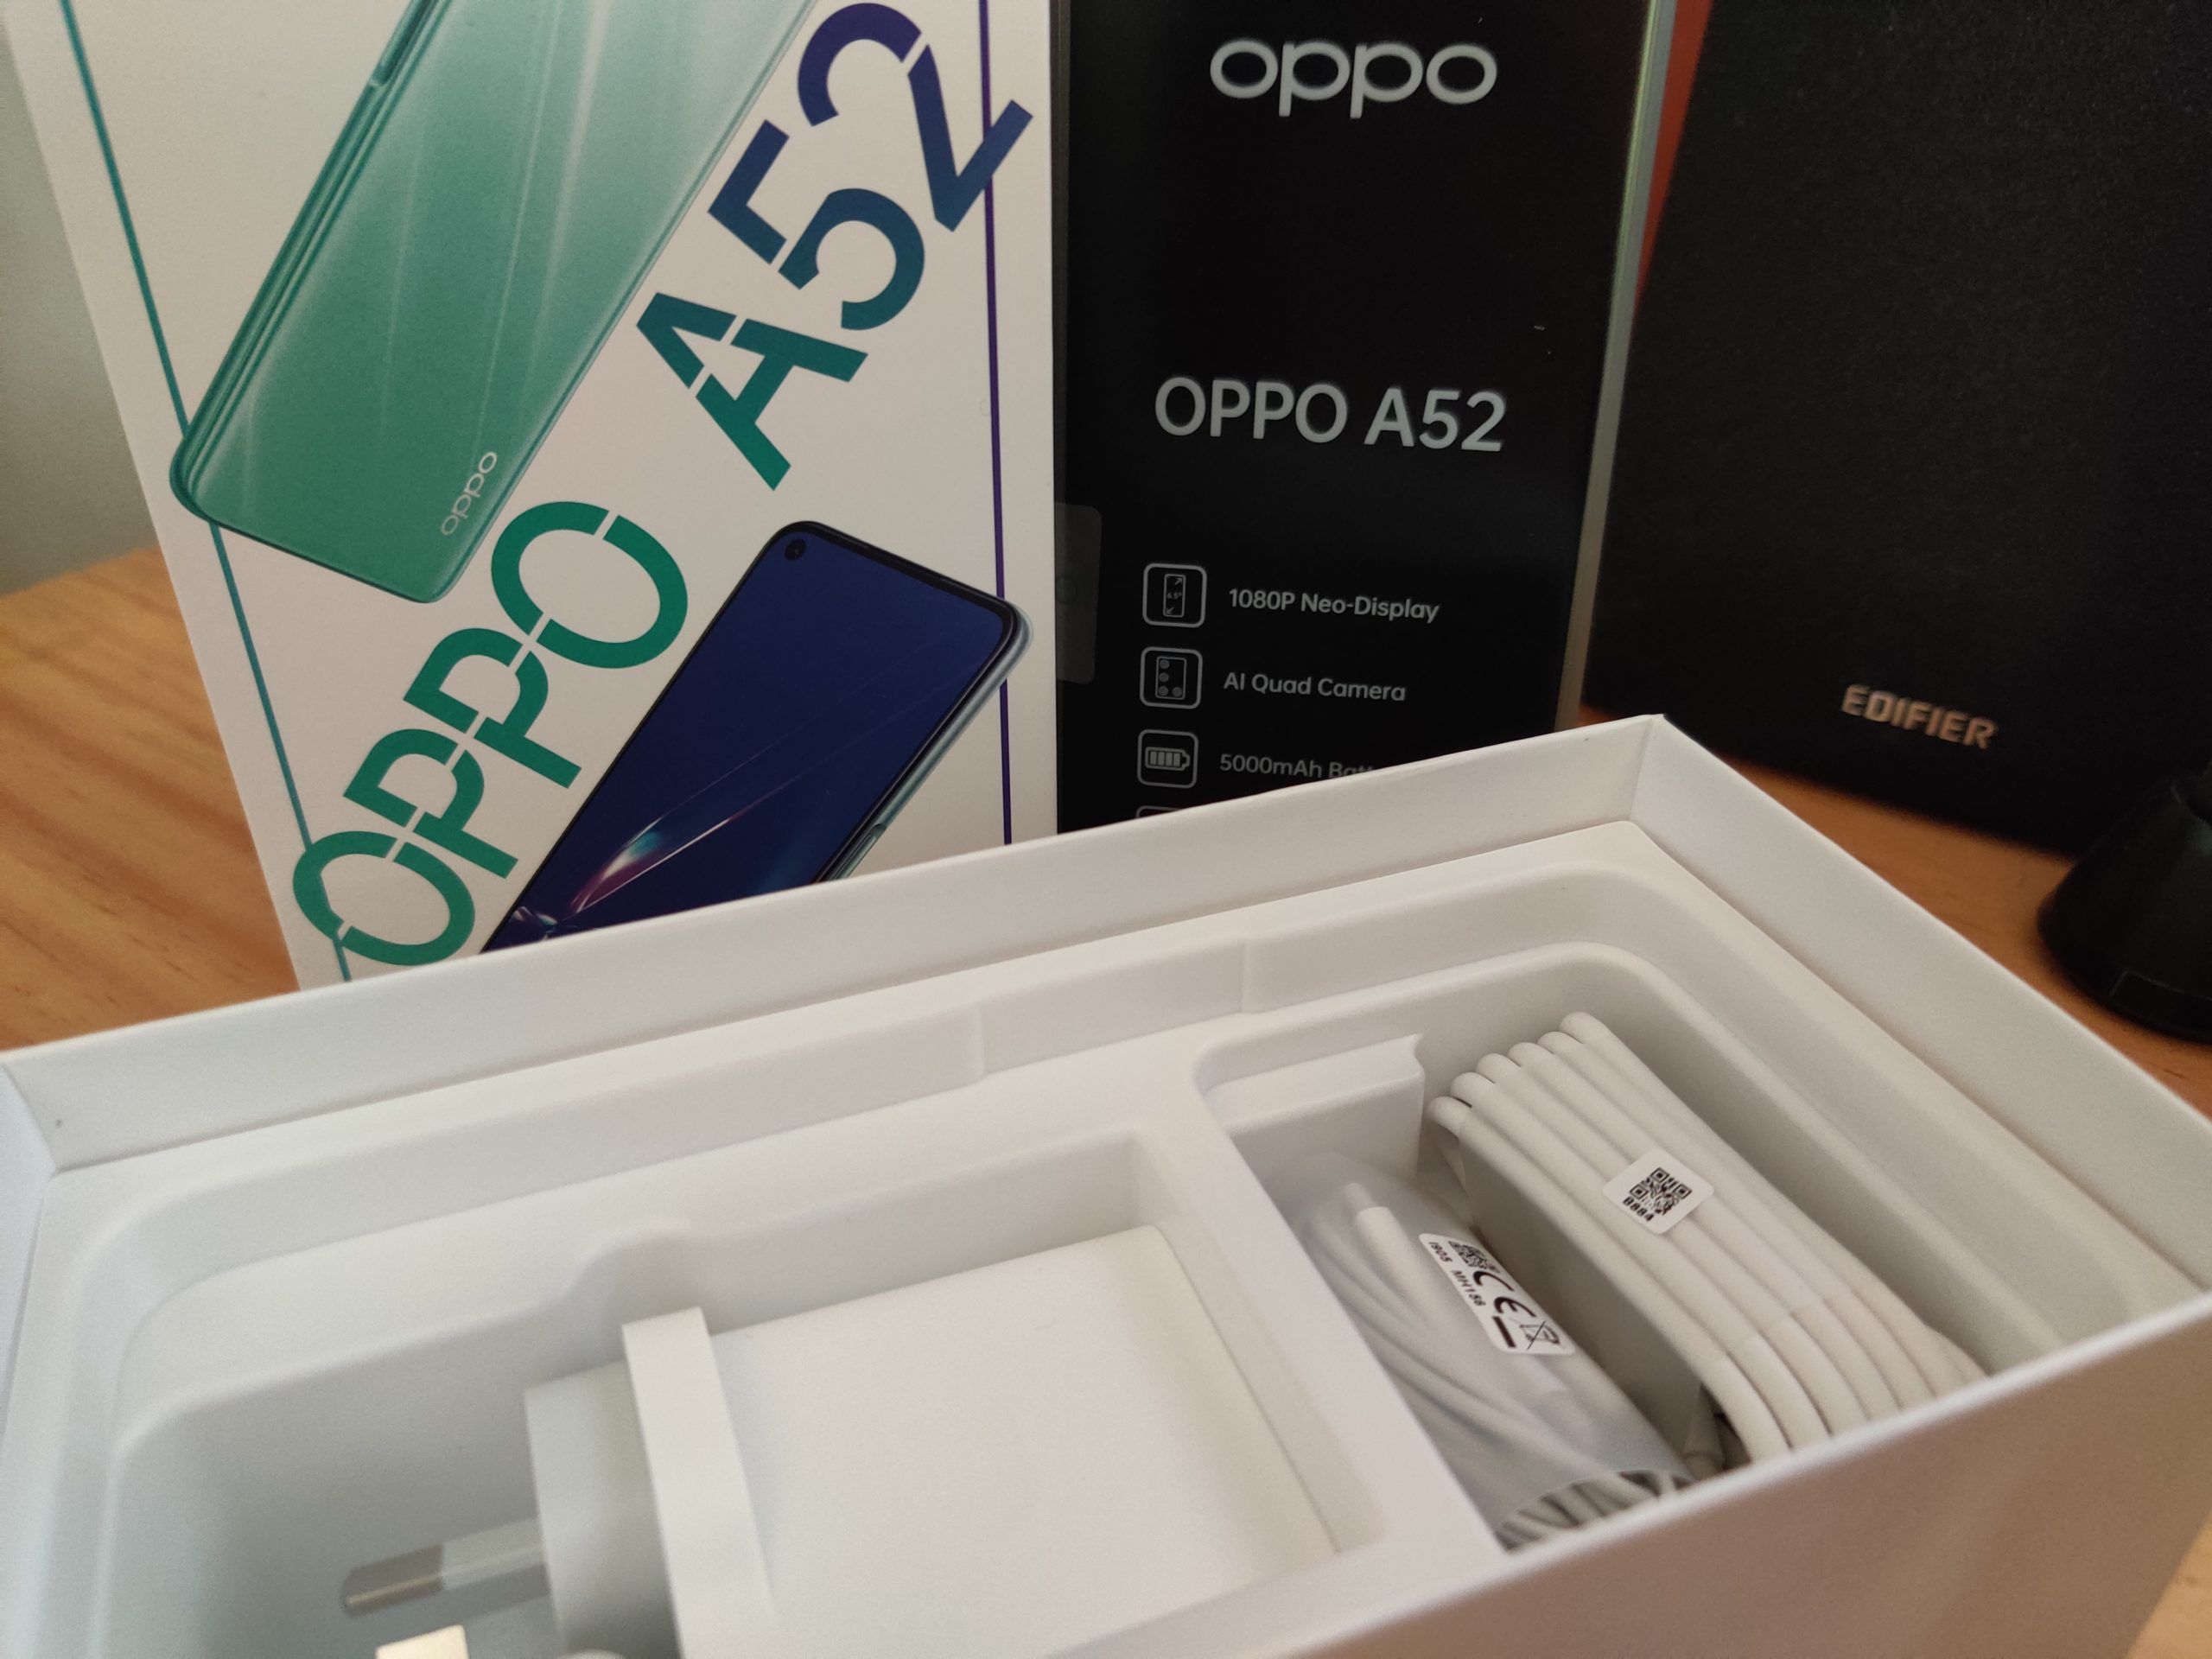
The phone comes with the standard set of earbuds, charger and a clear plastic protective case. It’s 16.2cm by 7.55cm, not huge, but I found it slightly too large for comfortable single handed use and when doing so I felt at risk of dropping the device. It does have one-handed mode, but since this doesn’t change the weight and size of the phone this didn’t really ameliorate the problem for me.
OPPO’s marketing have made a big deal of their 3D quad curve design, and the phone certainly doesn’t have any sharp edges, but once you put a case on the device it becomes largely a moot point.

The phone has a Qualcomm Snapdragon 665 processor and a 64-bit capable octa-core CPU as well as ‘Hyper boost performance engine’ which OPPO state will increase the speed of apps and games as well as help the phone run more smoothly. The A52 has a 5,000mAh battery with 18W fast charge capability. For my normal use, the battery lasted for two and a half days, then charged from 20% to 100% in 2 hours.
The A52 has a 1080P Neo-Display at 405 PPI and can display 16.7 million colours, though I didn’t stop to count them all. I found the display to be crisp and clear, and was pleased to find the phone has options for dark and eye saver mode. There is 4GB of working memory, 64GB of storage space and an expansion slot for a microSD card.
The Setup
The initial setup was fairly straight forward as most phones are these days, you follow the bouncing ball. One part of the process was new to me however, setting up fingerprint recognition. Pressing all the parts of the pad of my thumb all over the sensor until it had scanned all of my whorls and ridges took about 3 minutes. The other security unlock measures include a passcode and a facial recognition unlock.
The passcode gave the option of a 4 or 6 digit code which was simple to input and the setup for face unlock was easy – put your face in the circle and stay still. To make this feature usable you need to enable an additional setting, where the phone will turn on the screen if it’s picked up, and the option to do this was part of the setup process. At this point however, the description of the setting was not fully displayed, I tried swiping the screen to get it to scroll but this exited the step.
I then had to try and find this feature once the phone had completed setup without knowing what setting I was looking for – it’s ‘raise to wake’ btw – and it was buried in the settings menu, hidden under “convenience tools” and then “gestures and motions”.
Once this feature is enabled the phone doesn’t unlock when it sees you, it still requires a swipe up on the screen to get it to unlock, since there are a few features you can use without unlocking the phone, such as starting and stopping media playback.
It might seem like overkill to have 3 simultaneous ways of unlocking the phone but facial recognition can be foiled by sunnies or a hat and if your significant other or someone you trust needs to use the phone, fingerprint and face unlock obviously won’t work.
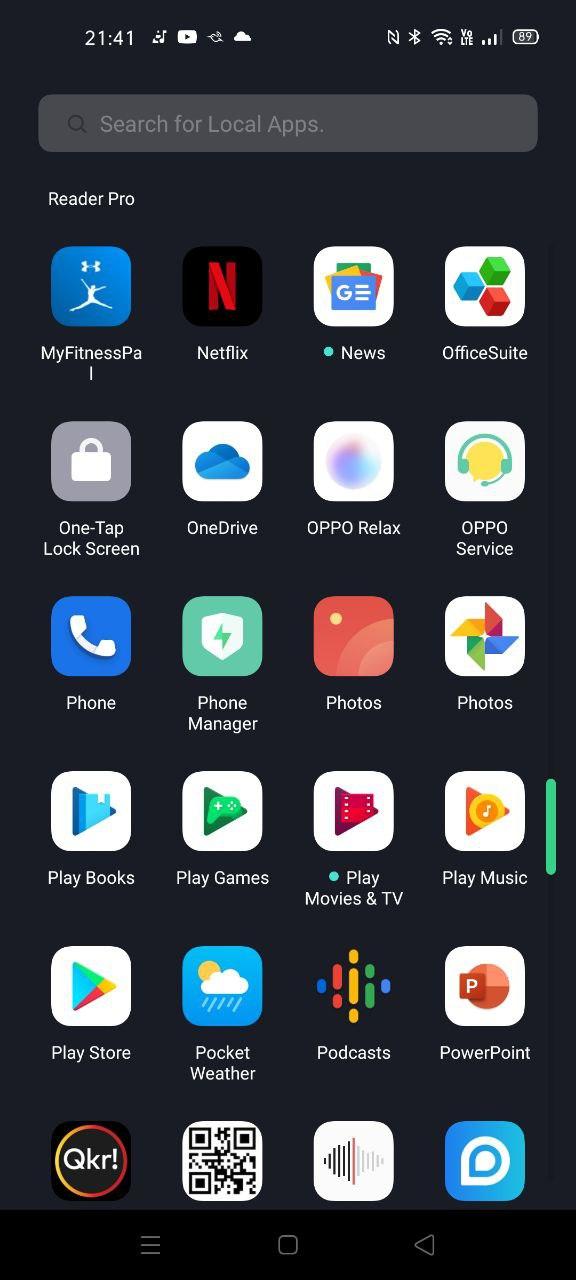
Once the phone setup was completed, it started downloading all my apps etc and I started tweaking the phone to my liking. I did a little house keeping to start — inspecting all the pre installed apps, removing the unwanted ones (yes I’m looking at you LinkedIn) and exploring the others. All in all it took about 2 hours to set up the phone, and a large chunk of that was waiting for apps to download and install.

Apps were unstable, pictures wouldn’t display and copying 330mb from the microSD card to the phone took 25 minutes to get to 50% and then crashed. Not a great user experience. After some consultation with Phil, he recalled an article from the Android developers site he had read recently about how Android OS interacts with local vs expanded storage and thought that this might apply here, so we removed the memory card.
I had transferred it from my old phone (a Galaxy A6) to this one because the A6 didn’t have a great deal of internal memory and I kept most of my data on the card. The A52 has 64gb of storage space, so there was no real need for the extra memory provided by the card, but I wanted to transfer some of the data.
When we removed the micro SD the phone started functioning normally, as Adam Savage so famously said “well there’s your problem!”. The card was a class 4 which has a max write speed of 4mb/s and it appears the OS couldn’t cope with the slower speeds when trying to communicate with it. A class 10 or faster should be fine to use — in theory.
The Camera
There are a few fun modes on this camera – for still photos you can add Instagram like filters, stickers, flowers hats etc, and a ‘dazzle colour’ option which increases the colour saturation on your pictures. An interesting setting is the option to take a pic using your fingerprint, really handy for selfies, but you have to remember to exit the camera app before pressing the power button to standby the phone, otherwise you’ll get some really odd photos.


The four physical camera’s might be good, but there’s no way of knowing – the AI software that is on this phone does too much to the pictures, and the compression that comes as a part of that process makes the photos really grainy. The automatic “Beautification” is also somewhat disturbing – the two photos below show the AI settings turned off and all the way up and the difference is staggering. The beautifying settings are also on as a default (though not ramped all the way up), you have to manually turn them off.


The A52 only has digital zoom, and honestly, it is easier and gives better results if you just move the phone closer rather than zooming in. It is possible to take a good crisp clear photo, but a lot of things have to be perfect for you to do so, lighting particularly. Putting the phone into portrait mode does give you a better close up focus, but this mode also deliberately blurs everything not within the small sphere of focus.


The camera does have an expert mode where you can adjust exposure times and shutter speeds etc, but I’m not an expert. I want to be able to point the phone at something and take a picture, not to have to fiddle in the settings, use a tripod and make multiple attempts to get a good photo.

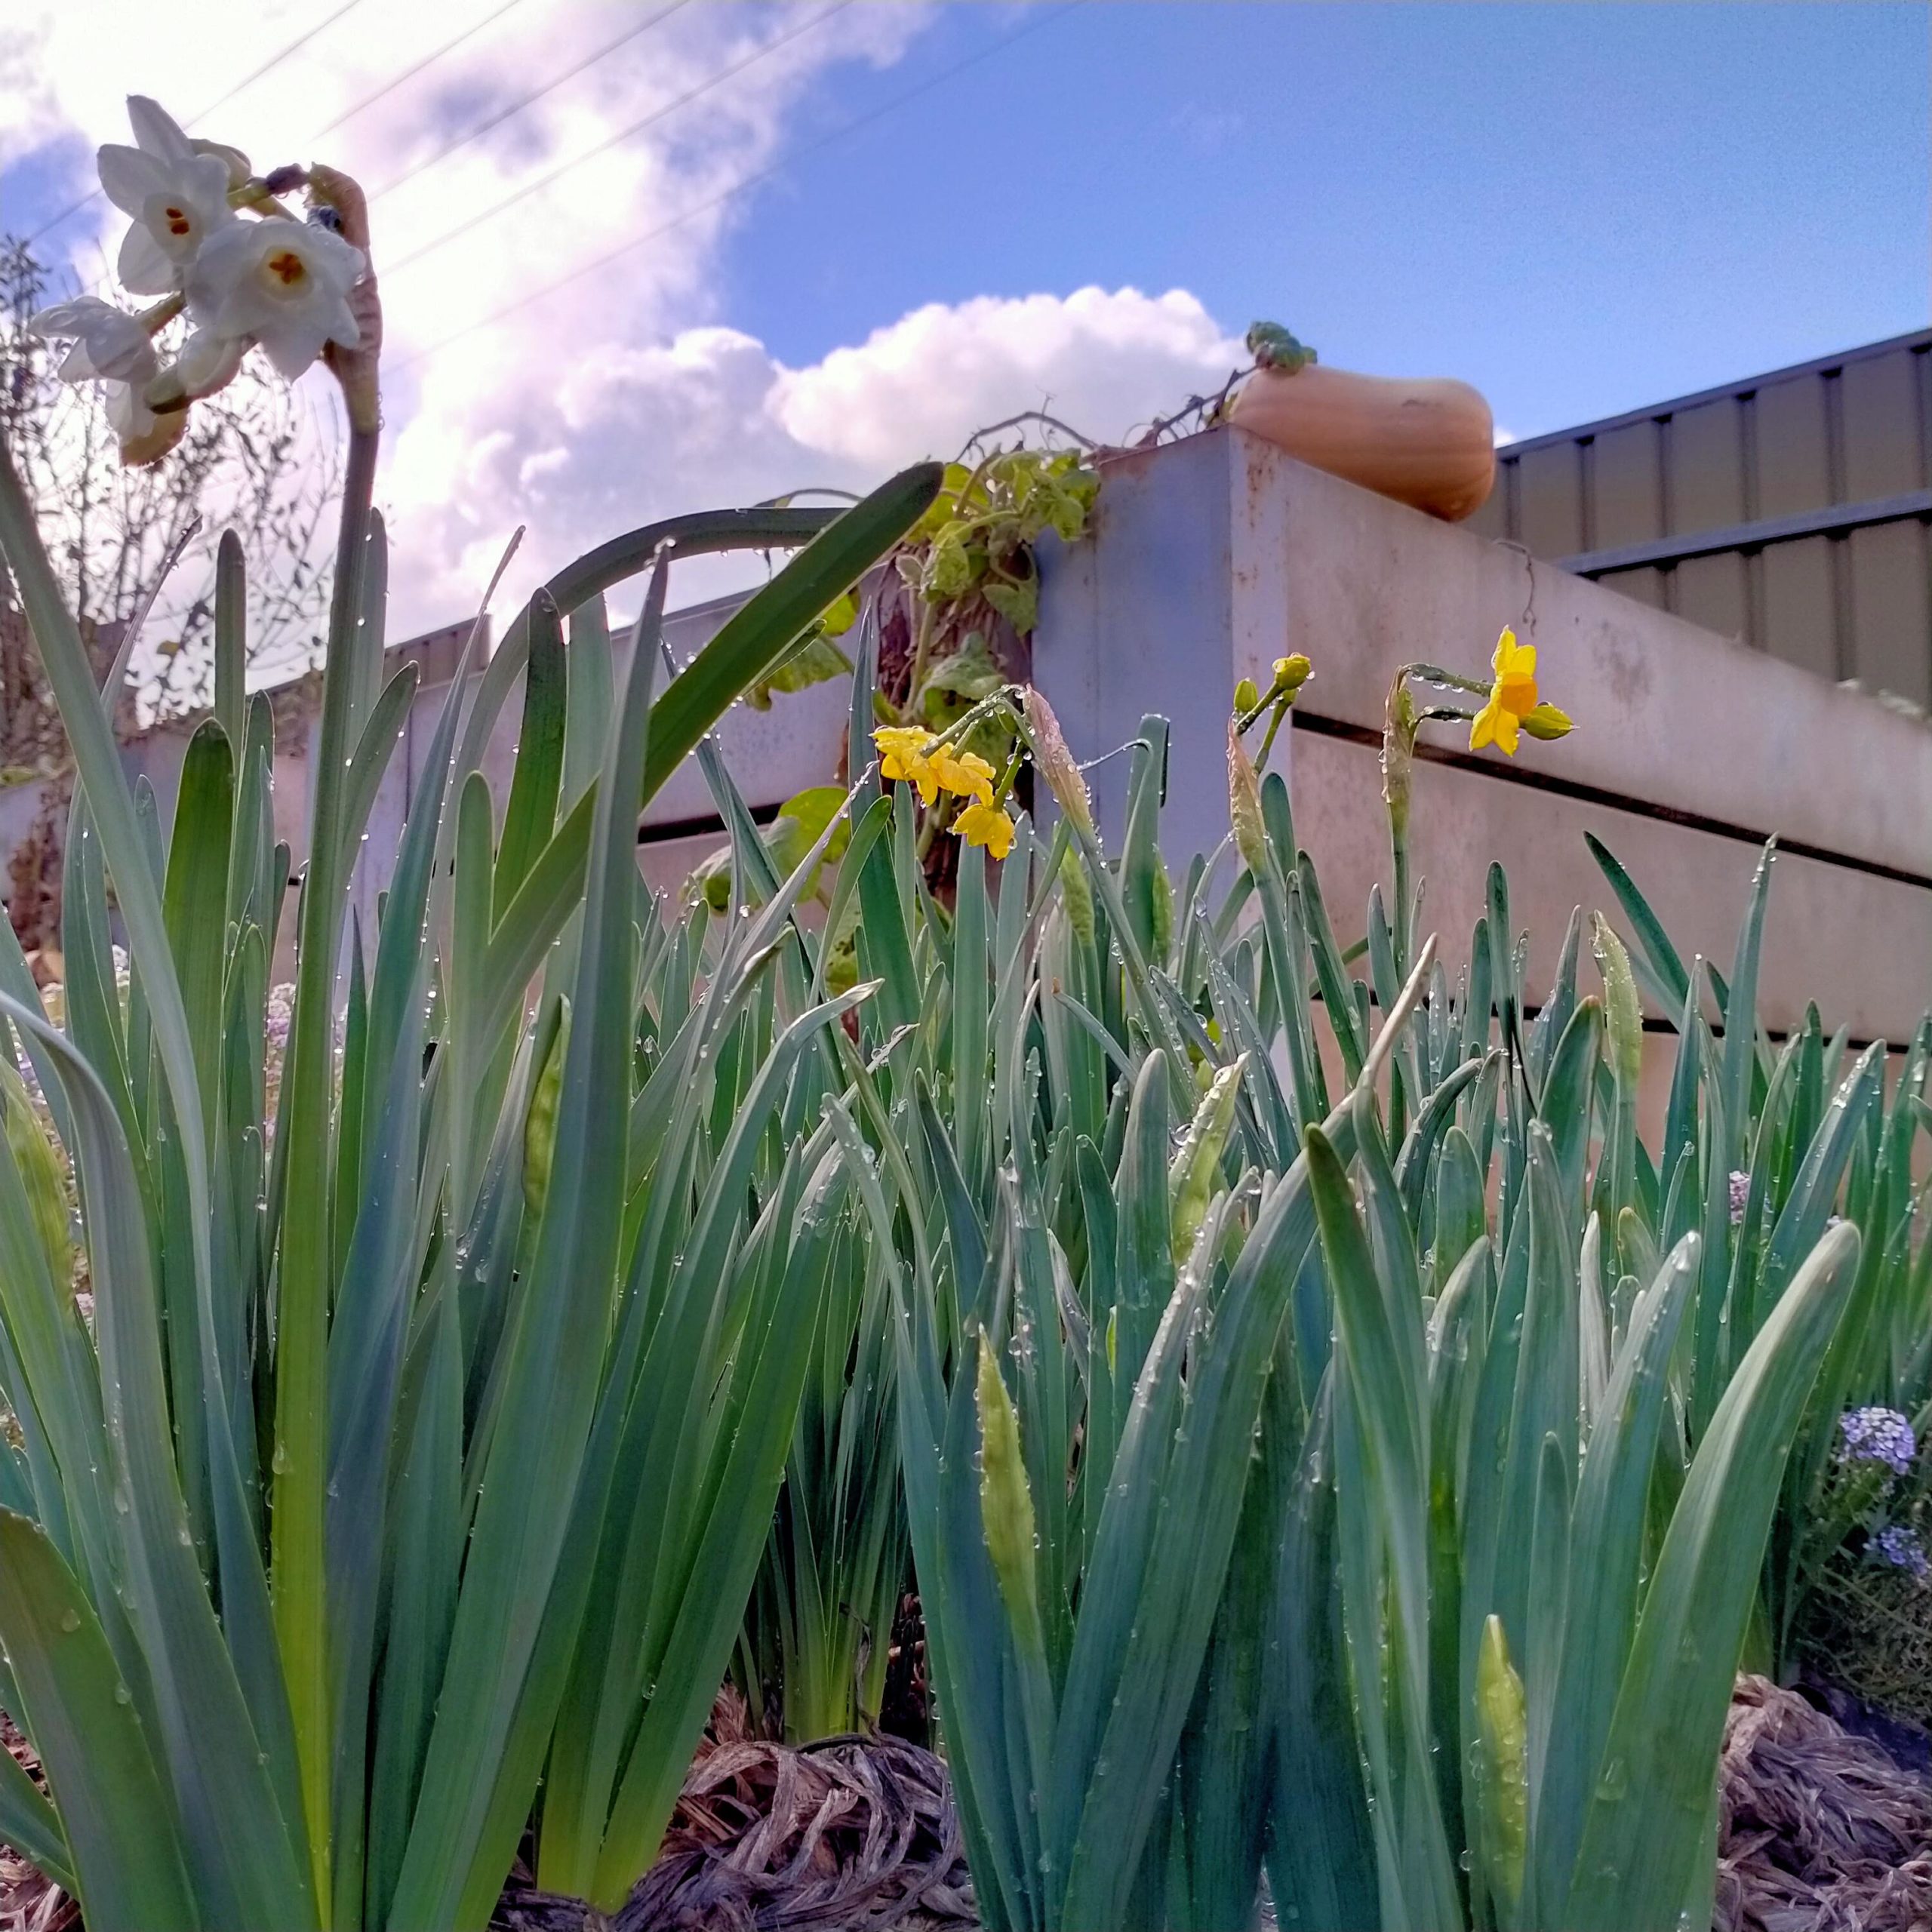


OPPO A52 on left, Galaxy S9 on the right: same lighting, same distance.
The video option also has a few fun features, time lapse and slow motion modes which I had fun playing with, but again, the AI software has a negative impact on the standard video mode. The automatic video stabilisation gives any video taken a jerky, video game like feel. This wouldn’t be a big problem if there was an option to turn it off, but there isn’t. Trying to zoom in during a video was also less than perfect, a series of jumps between magnifications rather than a smooth zoom.
TLDR? The hardware is let down by the controlling software. It’s a $300 phone so you shouldn’t be expecting digital SLR camera quality, however it’s not unreasonable to expect a better picture quality than the A52 produces.
| The good | The bad |
|---|---|
| The overall usability of the phone is excellent | The Camera. The software has a huge negative impact on the photos. |
| The display is really crisp and clear, and the screen is a flat edge rather than a curved edge which I personally prefer. | I found the phone just slightly to large to use comfortably in one hand |
| There is a function called Kids space, which allows for the phone to block access to all but specified apps (so no internet banking for the kiddos) and has the option to set a timer and to lock the phone when the time is up. | I tend to keep my phone in my jacket pocket, and when I have my hands in my pockets my thumb tends to automatically rest on the indent for the power button/fingerprint unlock. This of course unlocks the phone and I have to consciously rotate the phone before putting it in my pocket to avoid this. |
| The phone has great sound volume and still has a phone jack. You can also listen to free to air radio using wired earbuds/headphones thus minimising your data usage. | Admittedly this one is more of a personal preference, but when reviewing the camera roll you have to swipe to the right to see the previous picture where I’m used to swiping left. Similarly in the photo gallery, the newest pictures are at the bottom and you scroll upwards to see older pictures, where in other phones your newest pics are at the top and you scroll down. |
| There are options for dark and eye saver mode, as well as auto brightness adjustment. | |
| The native apps are really good |
The OPPO website for this phone exhibits the hardware, and mentions a few ColorOS features, but there are quite a few functions that are really cool that just aren’t advertised anywhere.
Such as:
- You can take a screenshot by swiping three fingers down from the top of the screen.
- You can set emergency numbers – five presses of the power button can auto-dial a preset emergency number and send a pre-recorded message.
- Private safe – you can conceal files and accessing them requires a fingerprint/code/face unlock.
- Kid space
- Dual clock – you can set up the phone to show two times zones at once.
Given these are really terrific features I found it somewhat bemusing that OPPO wouldn’t at least mention them somewhere in their advertising. It took a Google search for the user manual and then looking through over 200 pages to find them, and they weren’t immediately obvious even then. The Kid space feature, for example, is listed under ‘Harassment and Fraud Prevention’.
I would submit that most users feel that they know how to use a smartphone well enough to not need to read the manual, and wouldn’t therefore download and read it, potentially then missing out on these features.
At the very least I think that OPPO should have included the link to the manual somewhere in the documentation which came with the phone. “For a complete list of all the settings and features on this phone please visit https://oppo-au.custhelp.com/app/userguide/user_guide”
Conclusion
The OPPO A52 is a great, easy to use phone. At its price point it represents extremely good value for money. The camera and camera software are the only reason I wouldn’t get this phone for myself, in all other respects for my use-case the phone does exactly what I want it to do and does it well.
If you want a phone for general emailing, calls, messaging and web surfing which has more than a few fun features, the A52 is a great option. If you, like me, want to take more than the odd picture here and there, the camera quality is going to be an issue for you.
The OPPO A52 has a recommended retail of $299.00 and comes in two colours – Twilight Black and Stream White. It is available from JB HiFi, Officeworks, Kogan, Bing Lee, The Good Guys, MobileCiti, and Woolworths Mobile.


I see on a lot of android forums people suggest installing and using Google Cam app over whatever their phone is currently setup to use for taking pictures and video. Many seem to find that this improves the quality of pics/vids that their phone hardware is able to take. Maybe that would help improve the deficiencies that you found with this phone’s camera?
Thanks very much for doing the review Jo.
How poorly the A52 camera compares to the S9 is very apparent when you look at the white sheet in the right of the photos. The sheet has lots of small creases and wrinkles making uneven shadowing, and you can see that on the S9, but on the A52 the sheet looks flat, unwrinkled, white. All the fine detail is blurred out.
The review shows how the camera behaves outdoors in the daytime, but how does the camera behave, indoors at night?