
It’s surprising to see how many ads actually come across your screen on a daily basis. While many sites (like ours) make every effort to ensure they’re not intrusive, they can still be annoying. Not only that, but they also consume bandwidth — less of an issue these days with big data plans on fast connections — and take time to load.
There are software ways to block these on an individual machine level, but today we’re going through a quick and simple way to use a Raspberry Pi with PiHole software to block a large portion of the ads that make their way to your home network. While there are plenty of network devices like NAS setups that support Docker and installation of PiHole within a docker container, today we’ll do a stand-alone setup.
What do you need?
There are a few things you need — for this particular solution — to get going. You’ll need a Raspberry Pi (anything from a Model B+ upward will do). The remaining setup items: MicroSD Card, Power Supply, Case and Network Cable and a Card Reader to plug the MicroSD Card into your PC or laptop for imaging.
At the moment there are some shortages on various models, I purchased my new Raspberry Pi 4, case and power supply from Core Electronics. They’re not the cheapest place however they have stock in Australia, are very responsive and shipped the same day. I’m happy to pay for good service and that’s exactly what they delivered.
This is not a sponsored post, merely a note of excellent customer service that deserves recognition.
Installation and Setup
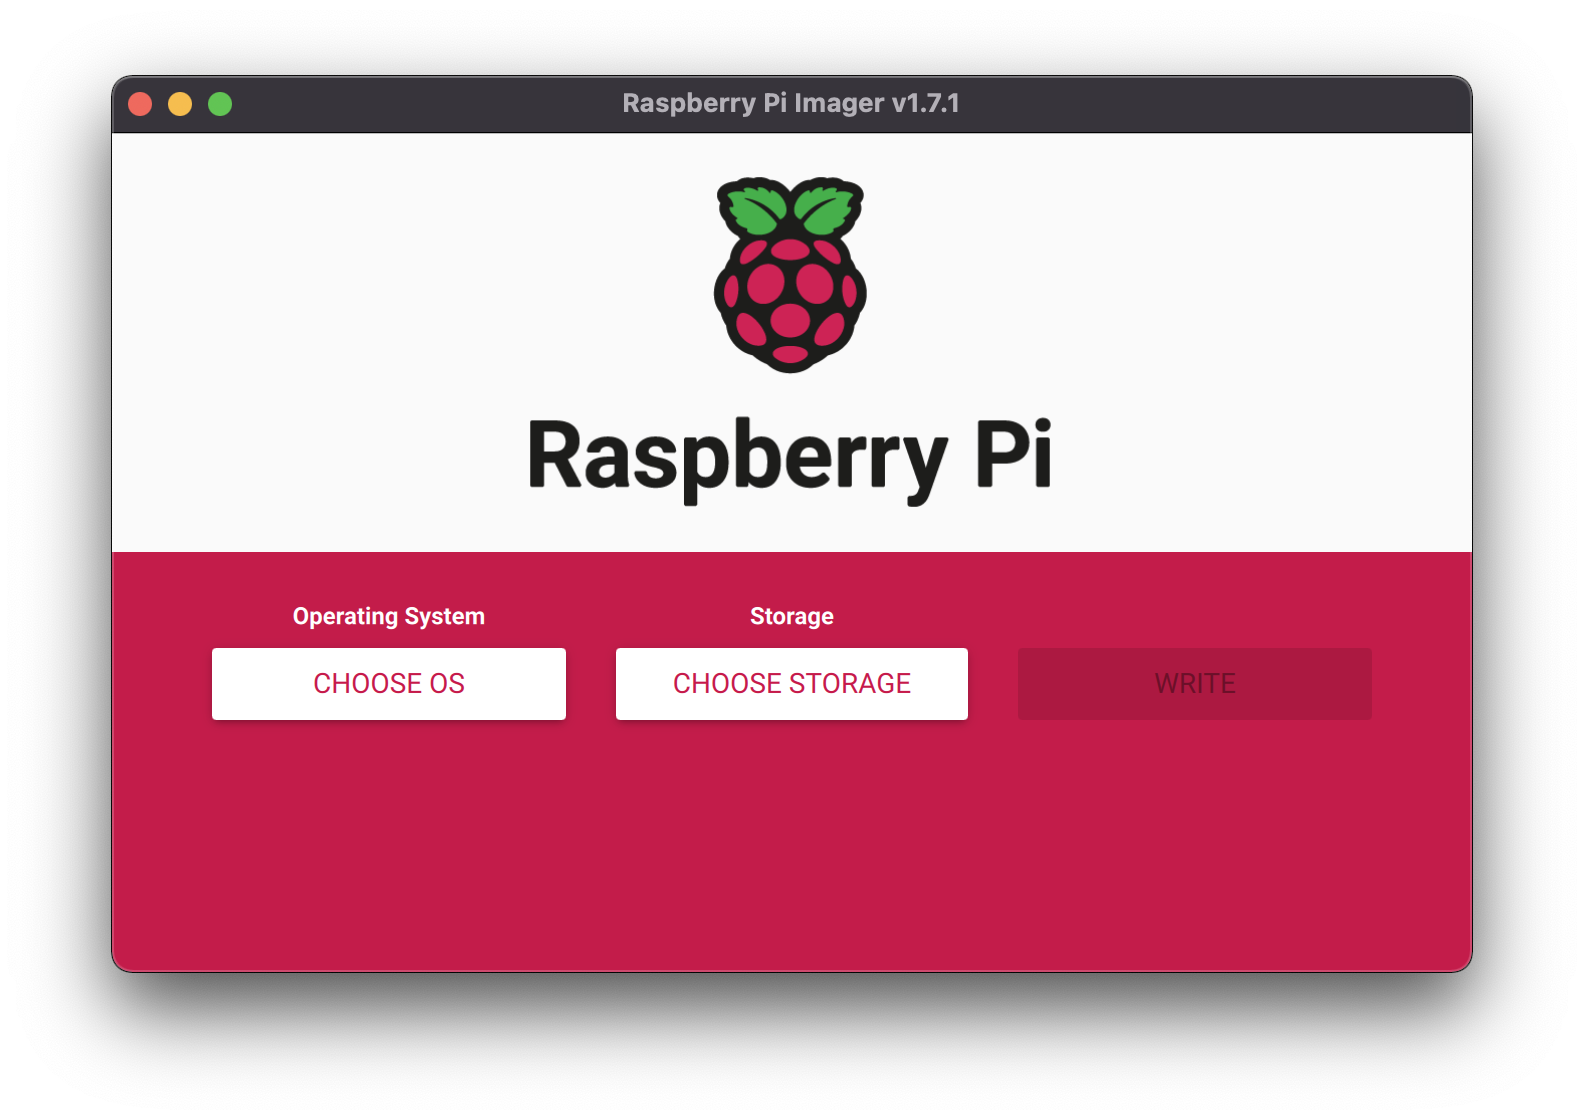
Once you’ve got all of the necessary hardware in place, you can proceed to installation which is very easy with the Raspberry Pi Imager. in fact its pretty much as easy as:
- Open the imager software
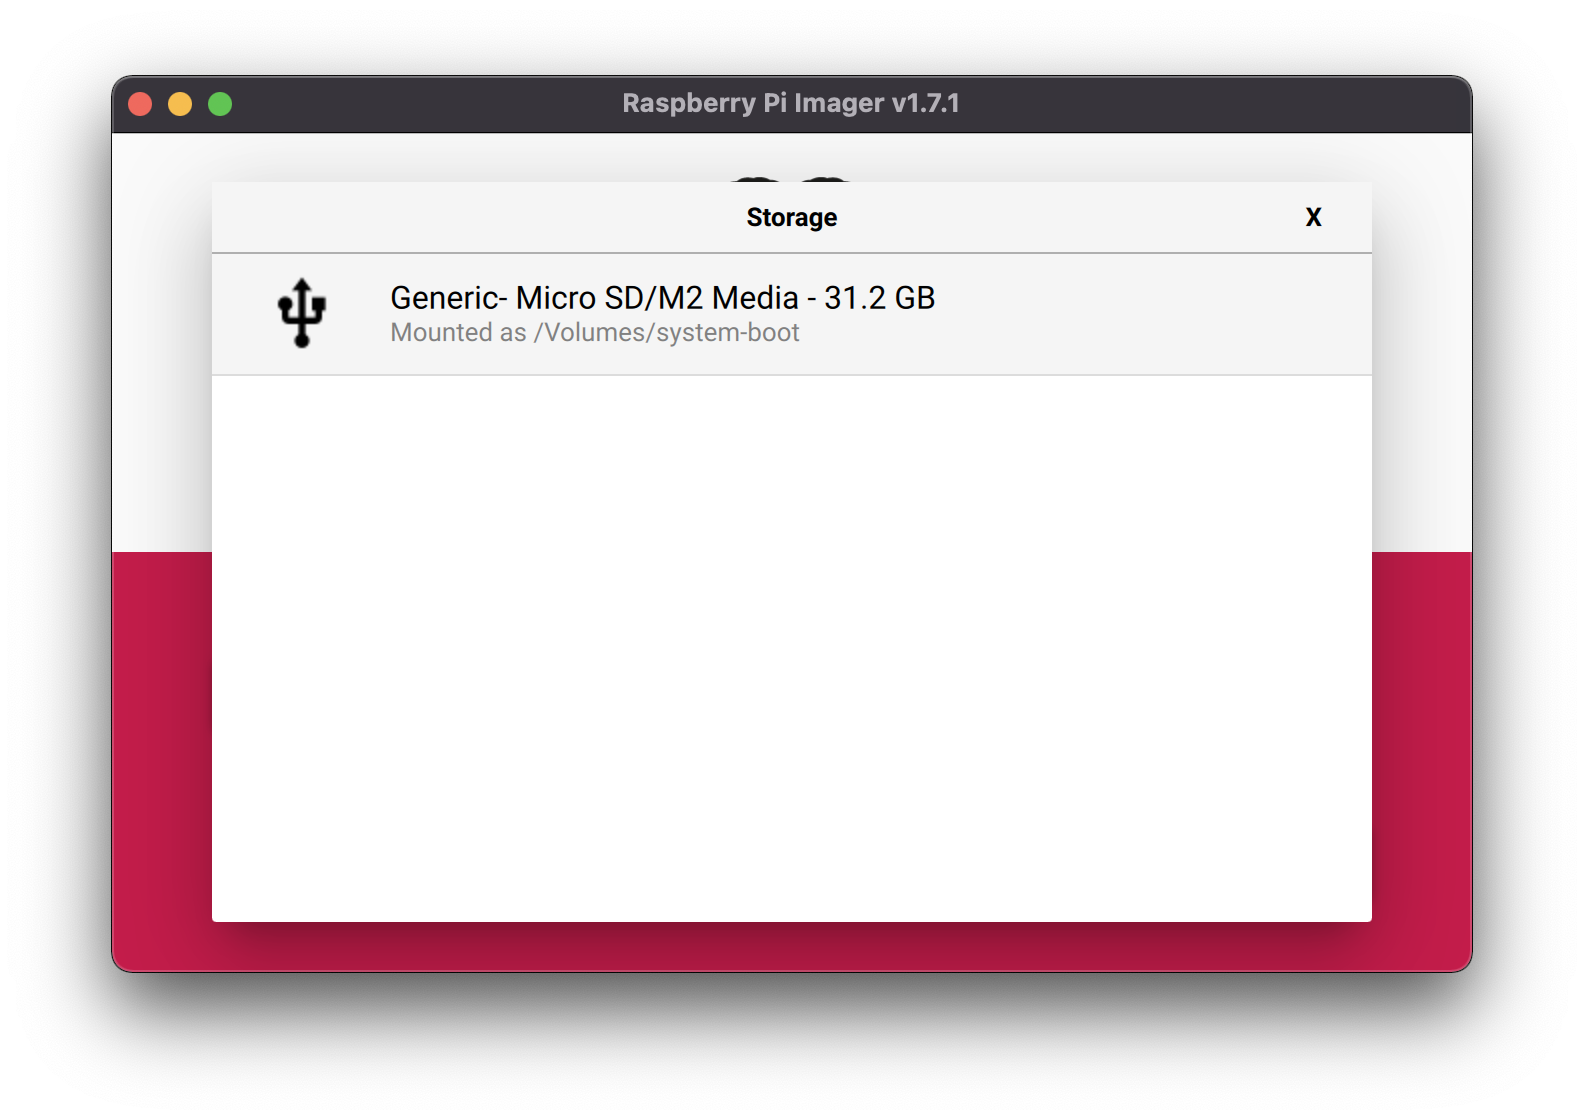
- Plug in your SD card
- Select or SD card and choice of os
- Press write and grab a coffee
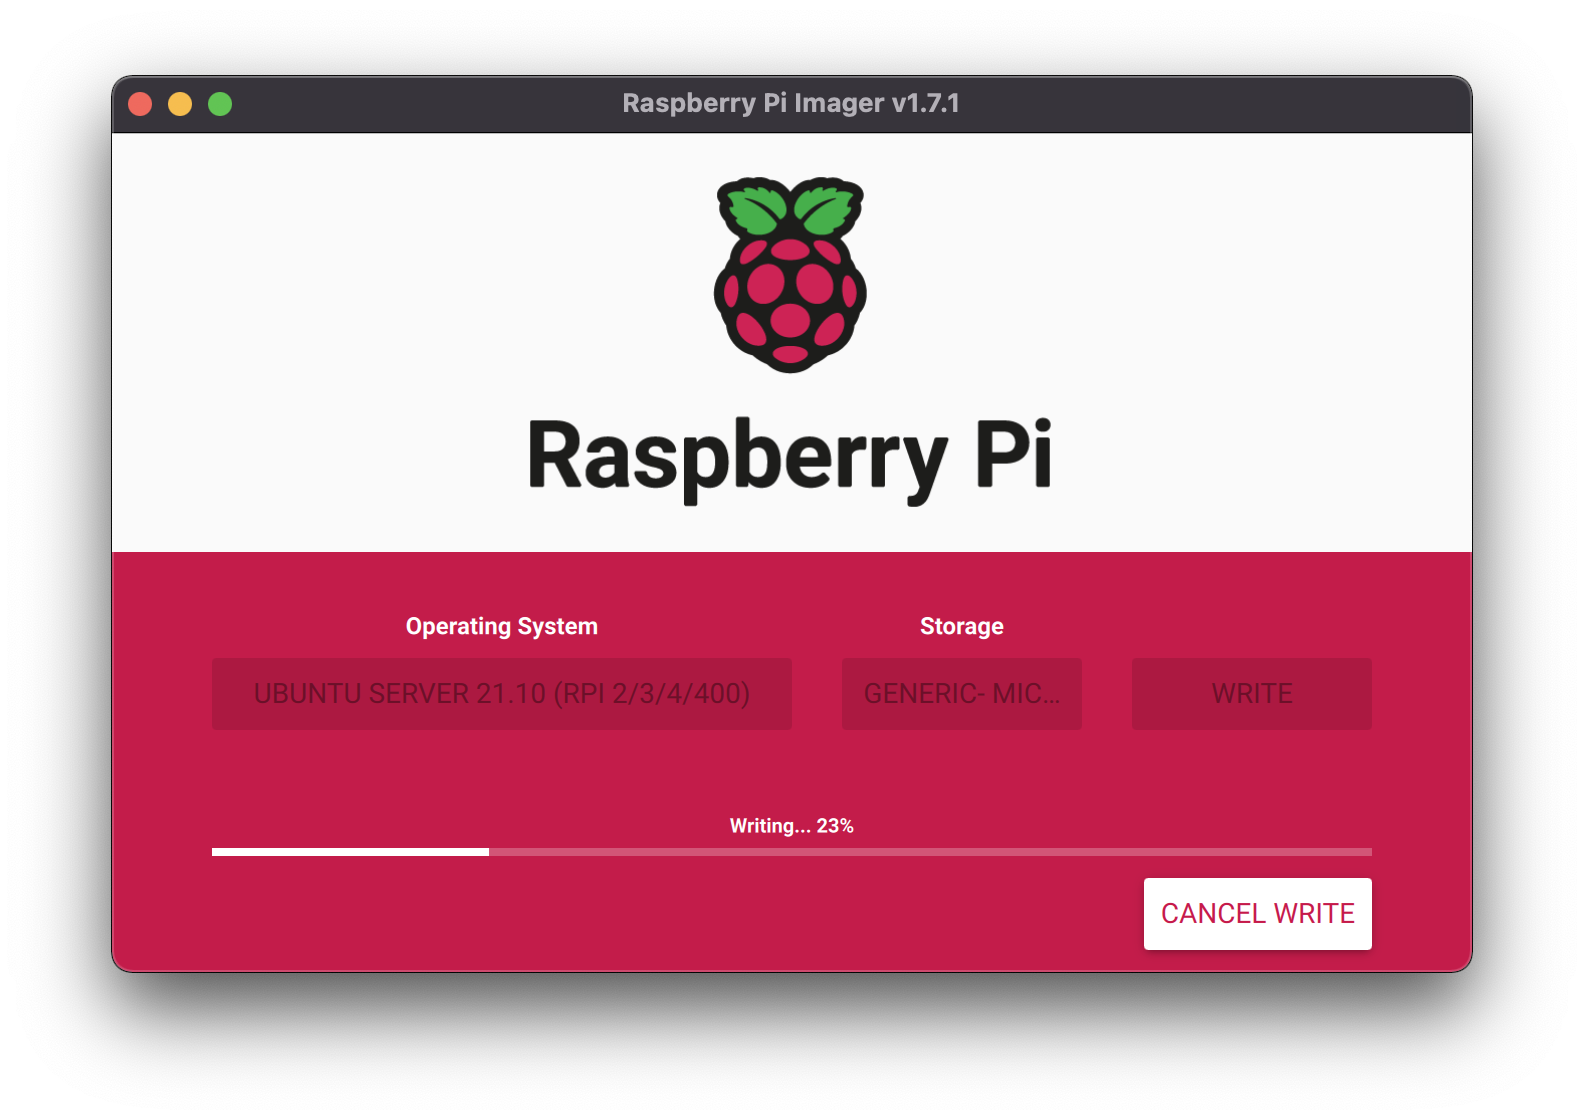
Depending on the speed of your Internet and the hardware you’re installing on, this could take up to around 15 minutes. Just let it run and when the task is complete, the imager software will tell you that you can remove the SD card from your PC or Laptop.
Insert the SD card into your Raspberry Pi, ensure it’s connected to your network and fire the little beast up.
This is one of the only real “technical” bits you’ll need to worry about in terms of networking, finding the IP of your newly installed Raspberry Pi. There are several ways to achieve this, but the easiest for most users will be to log into your router and check the IPs of connected devices. For me, currently running a D-Link router it was as easy as logging in and clicking connected devices.
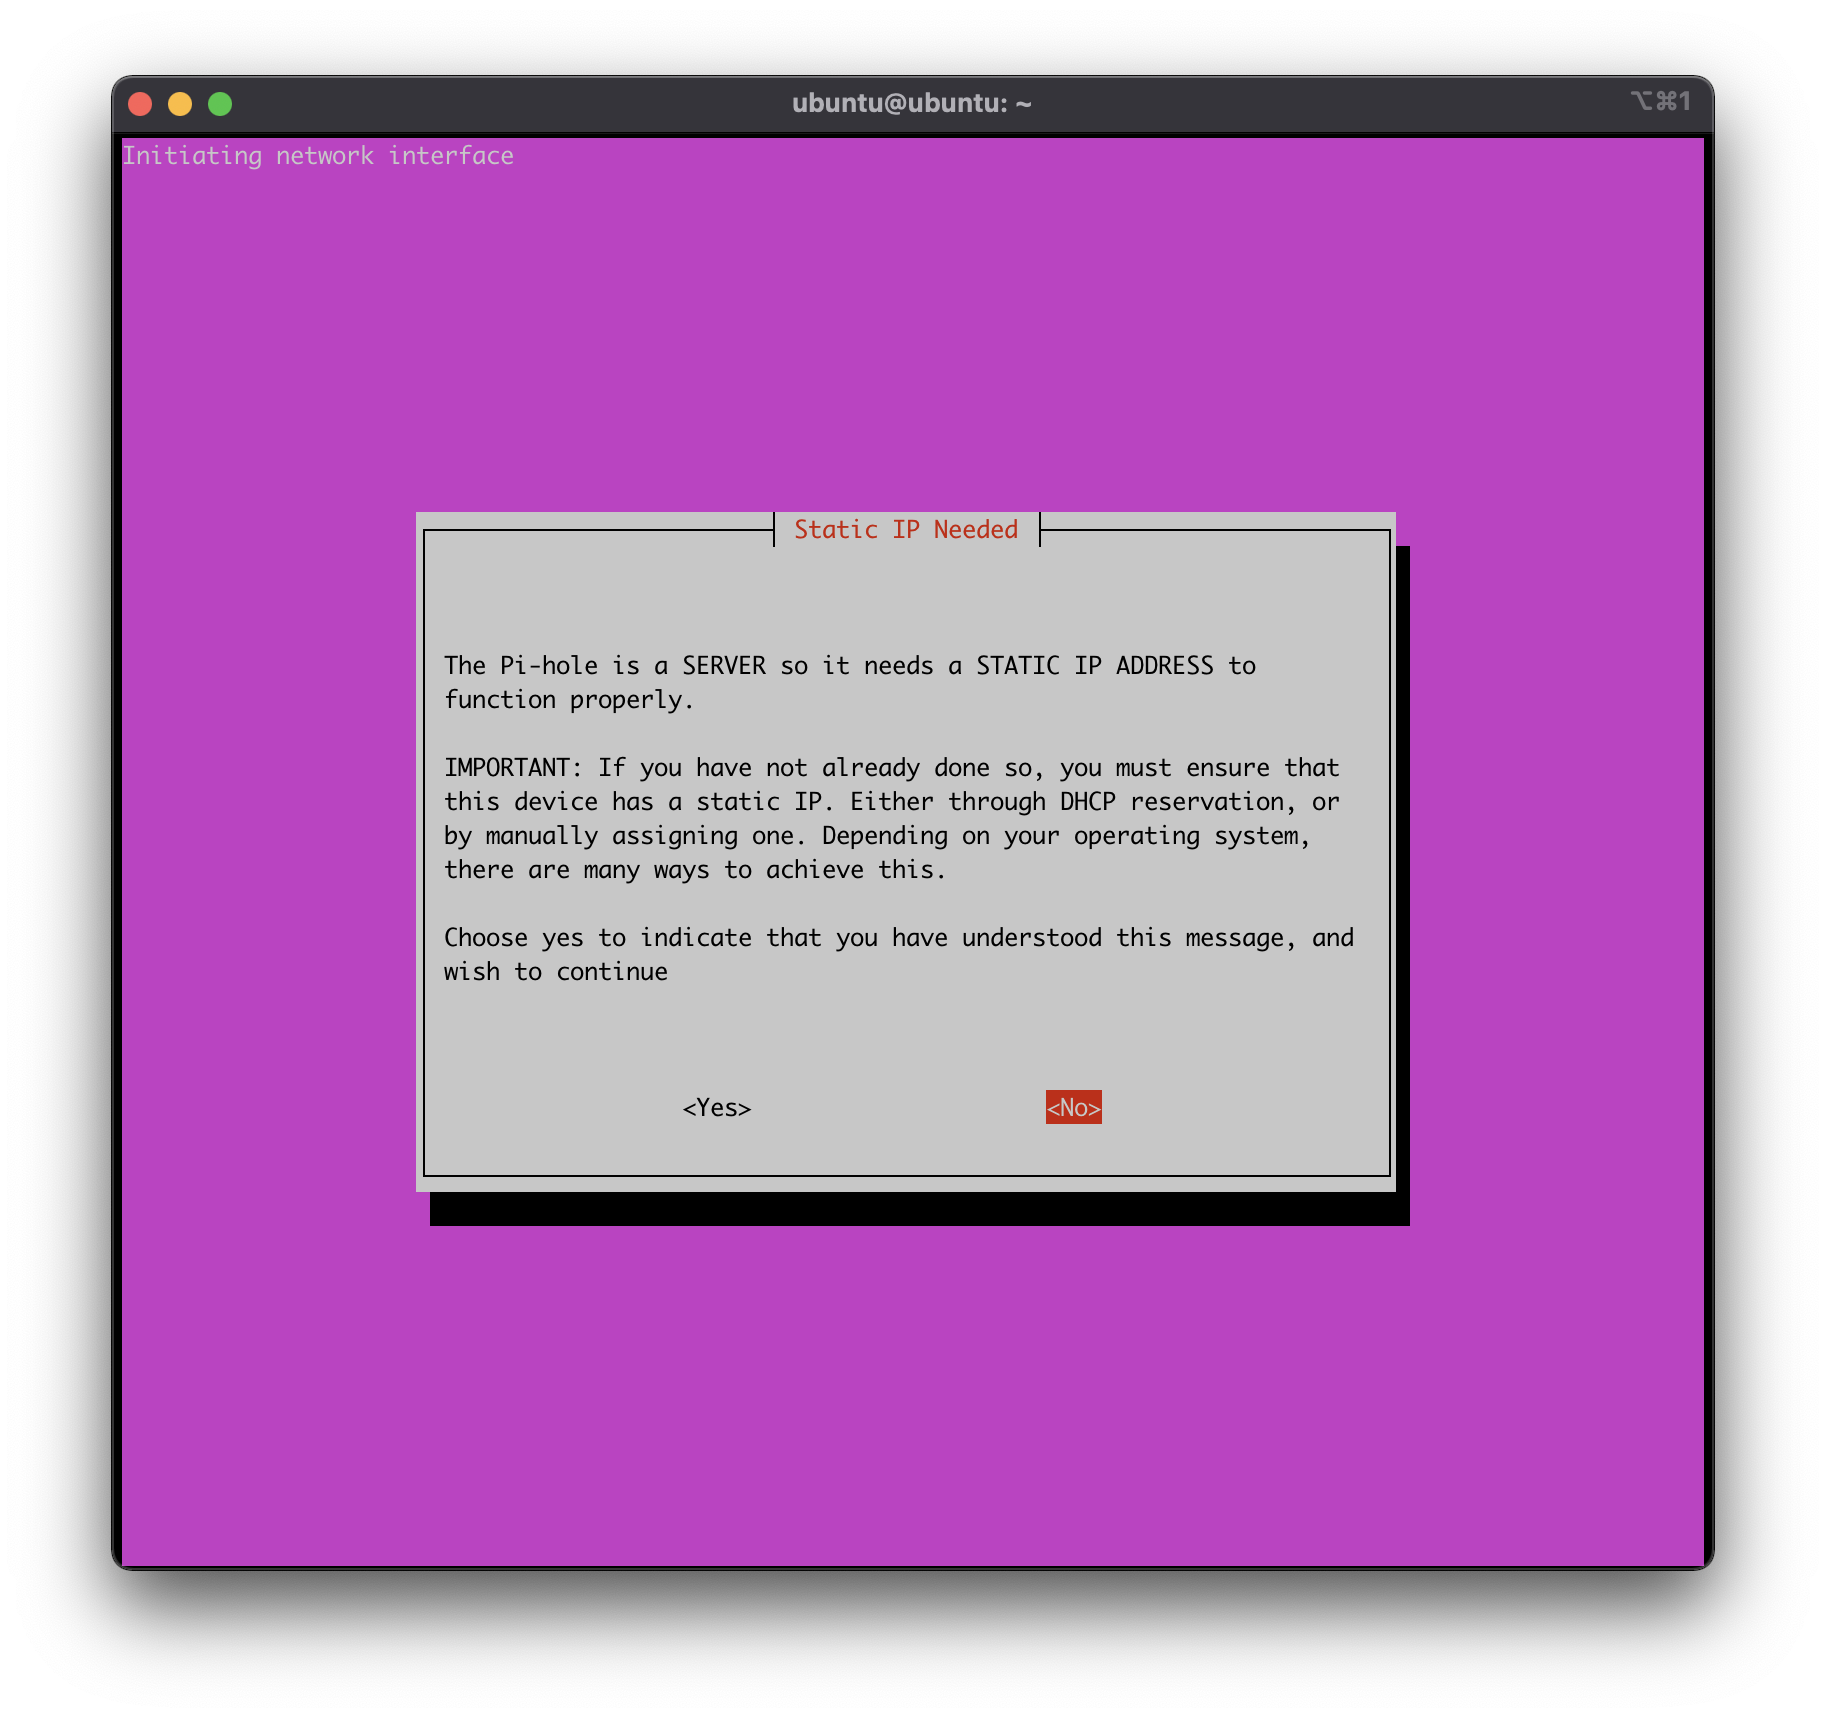
While you’re in this section, it’s worth setting the IP for your Raspberry Pi to static now as it will save you time later.
Once you have the IP of your device, you need to SSH (Secure Shell) connect to it. This can be done on any OS: Mac, Linux or Windows with near identical pathways. On Windows typically a program called Putty (or Powershell) is used, Linux or Mac users will use the terminal.
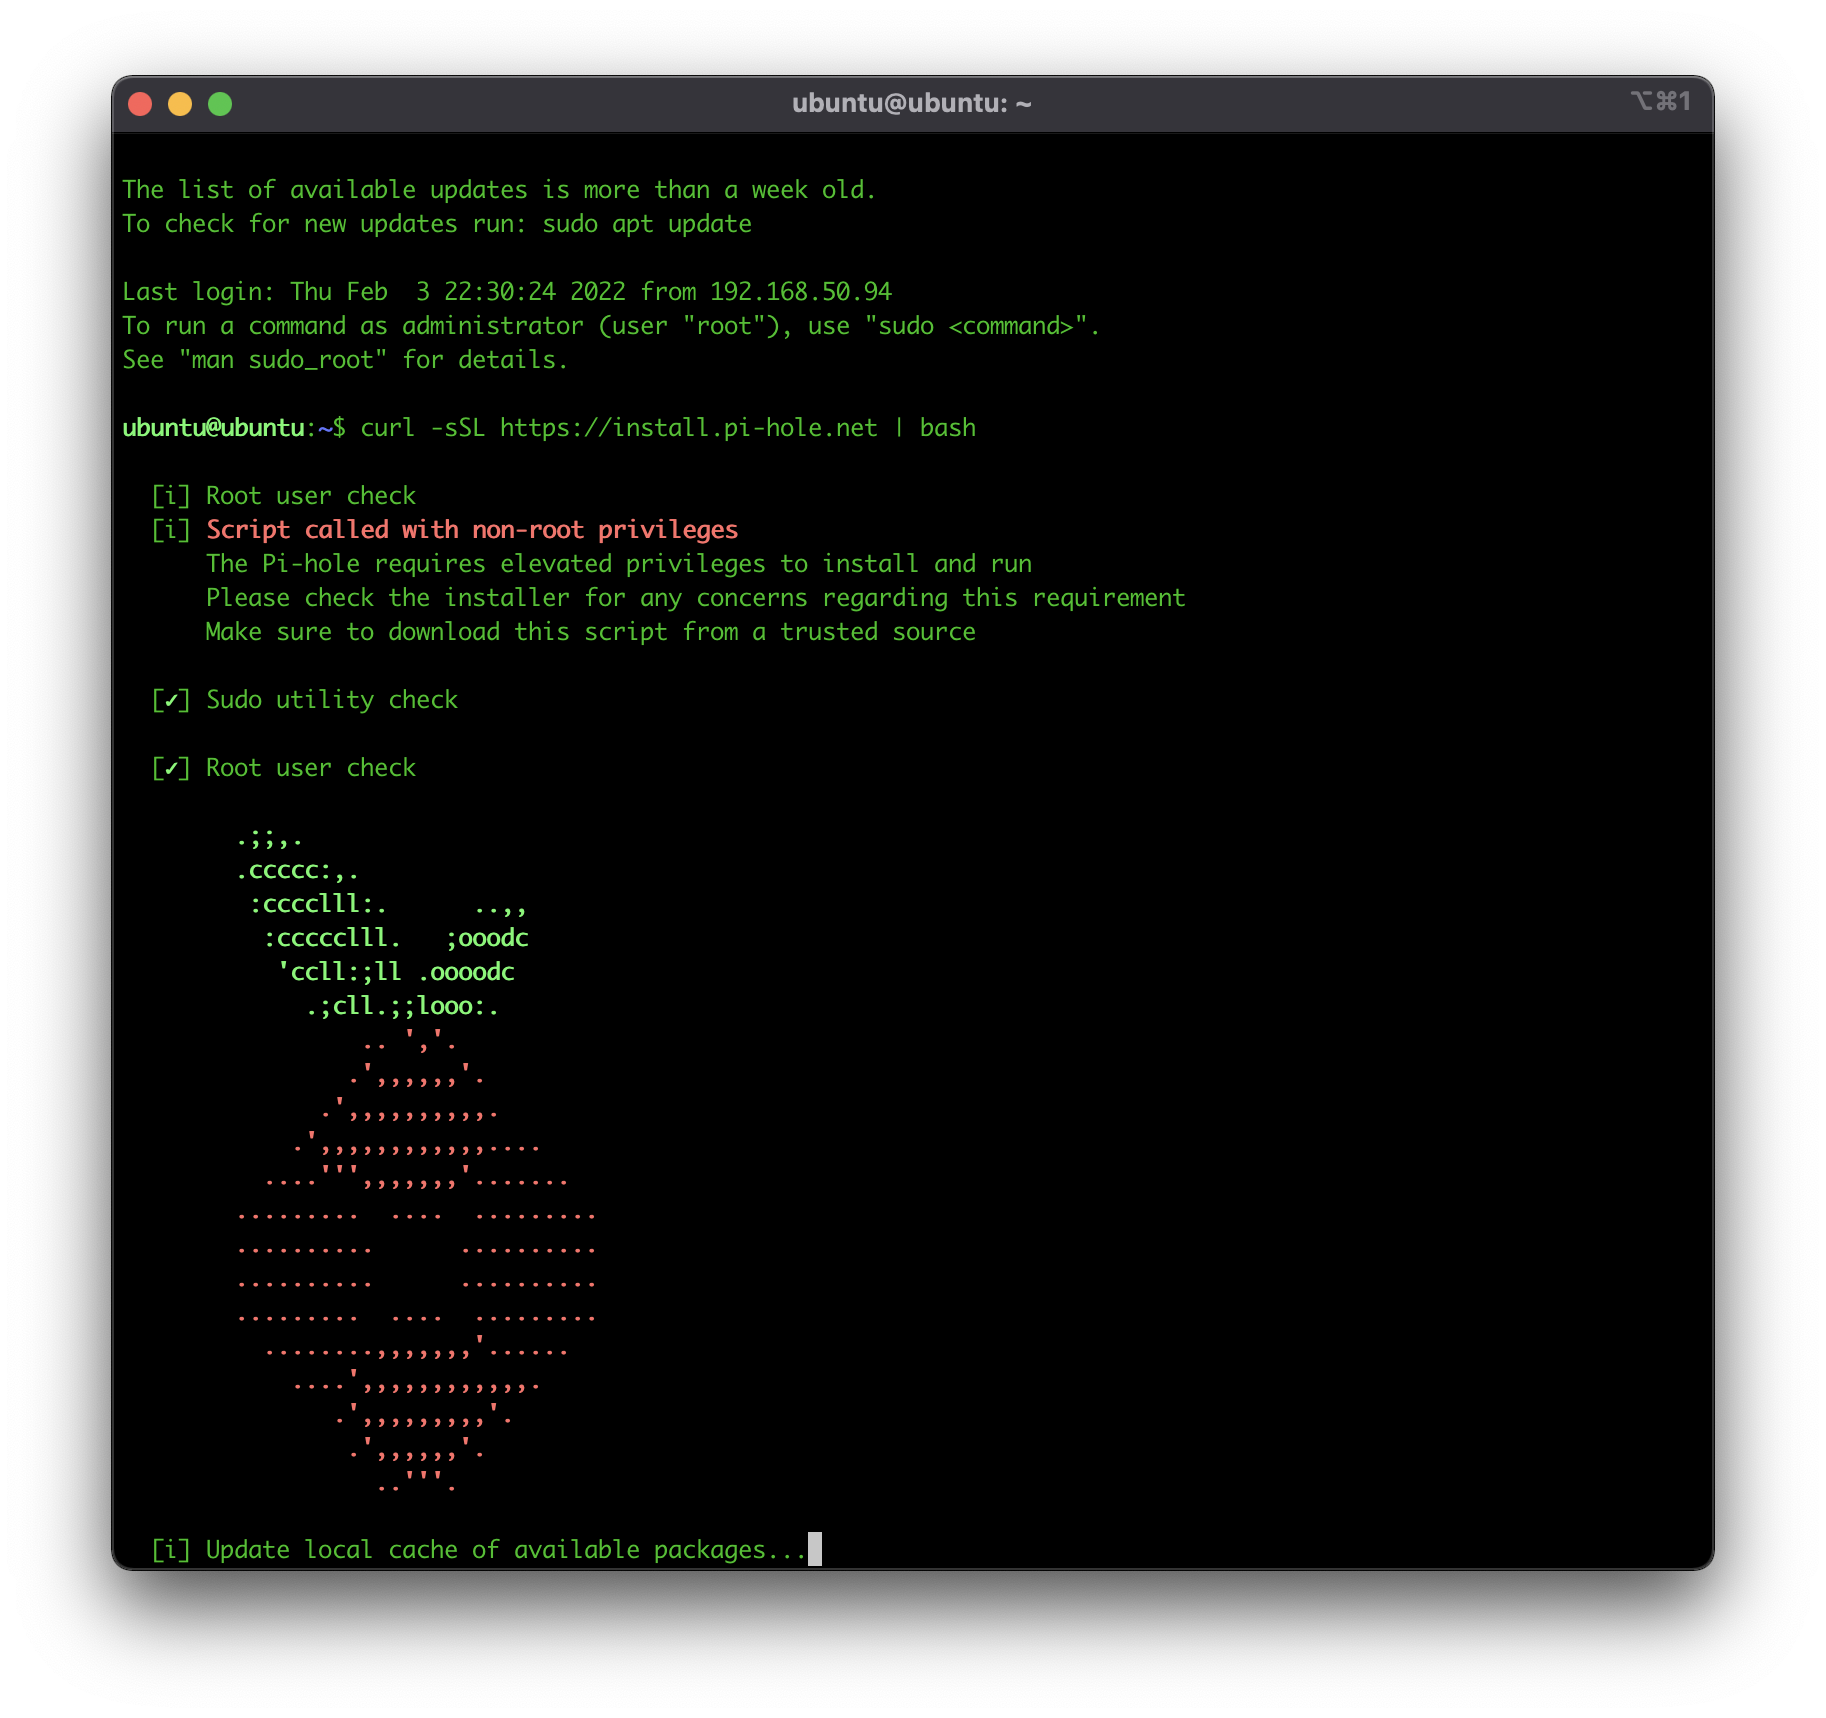
To connect to your Raspberry Pi you’ll need to ssh with the default username and password for your chosen distribution, details that are published on the downloads page and easily accessed. Then one simple command will get you going: curl -sSL https://install.pi-hole.net | bash
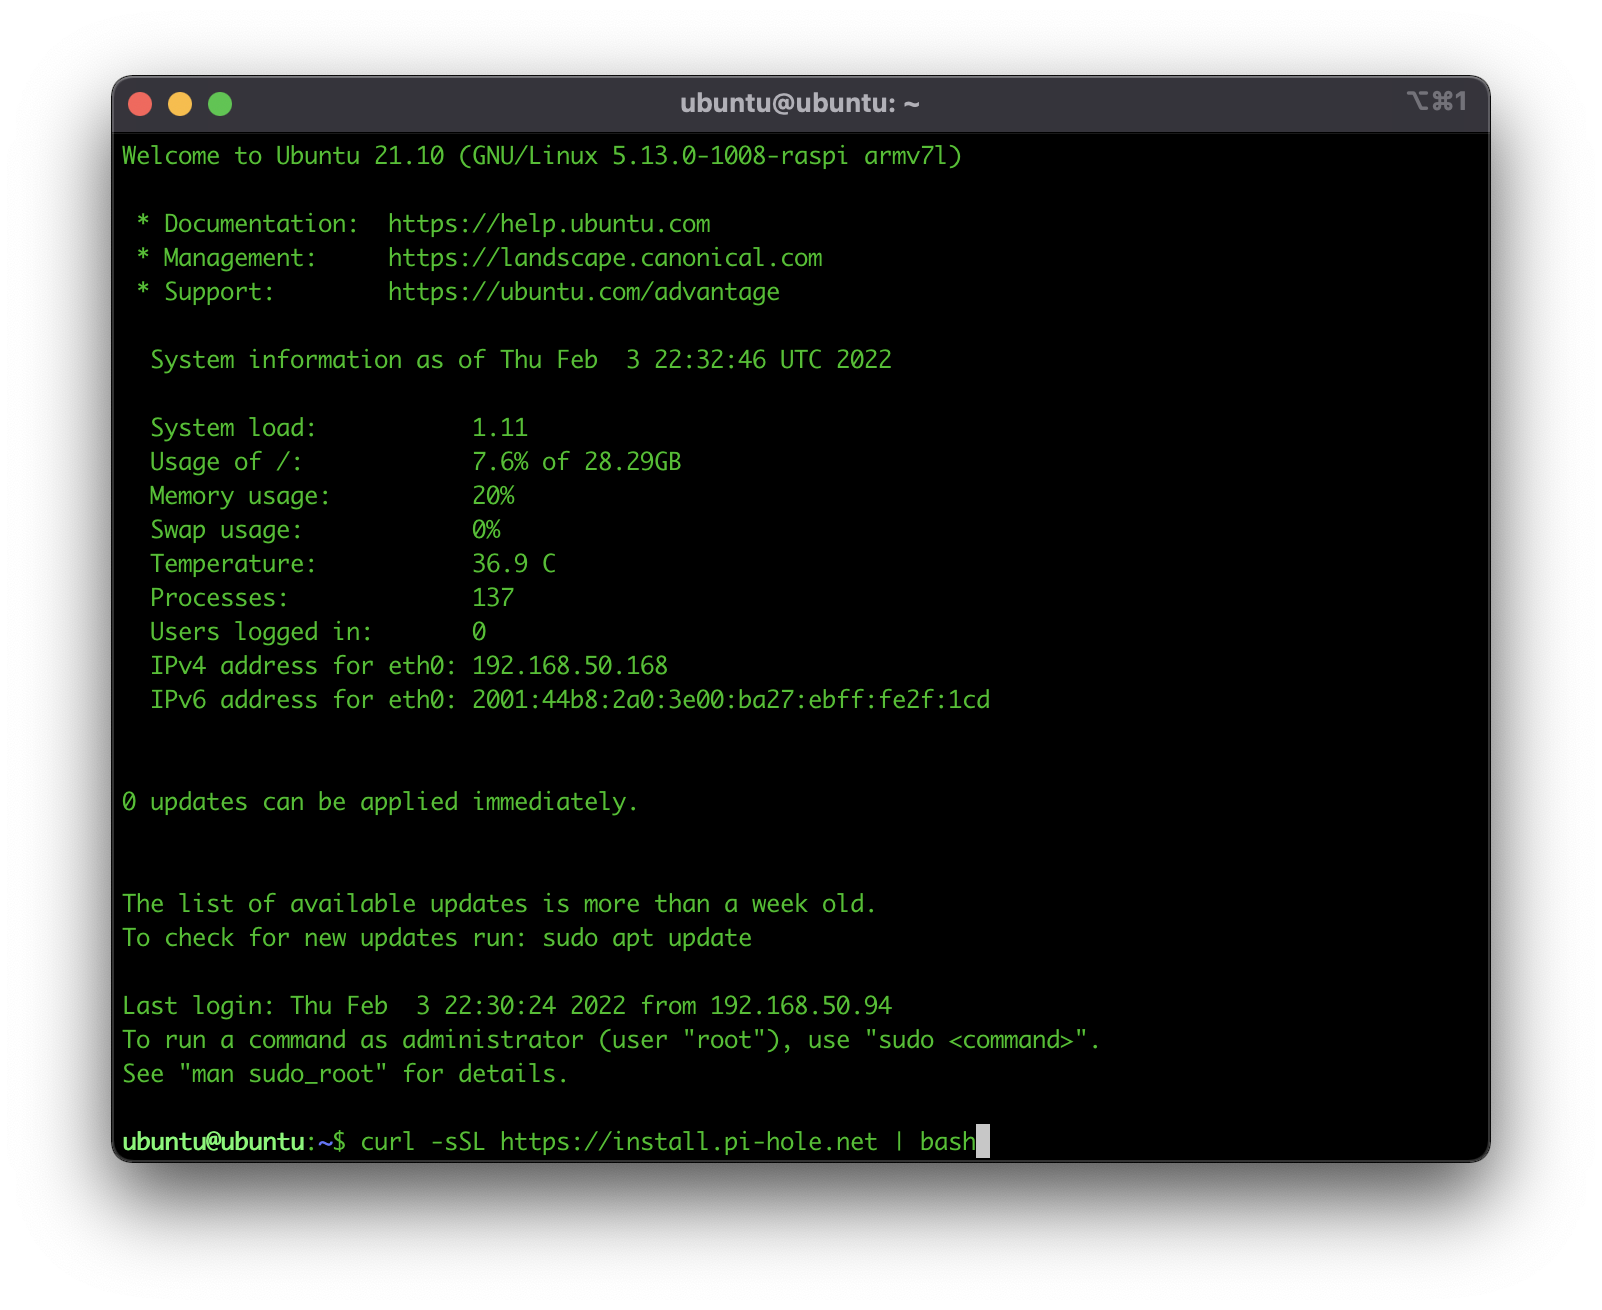
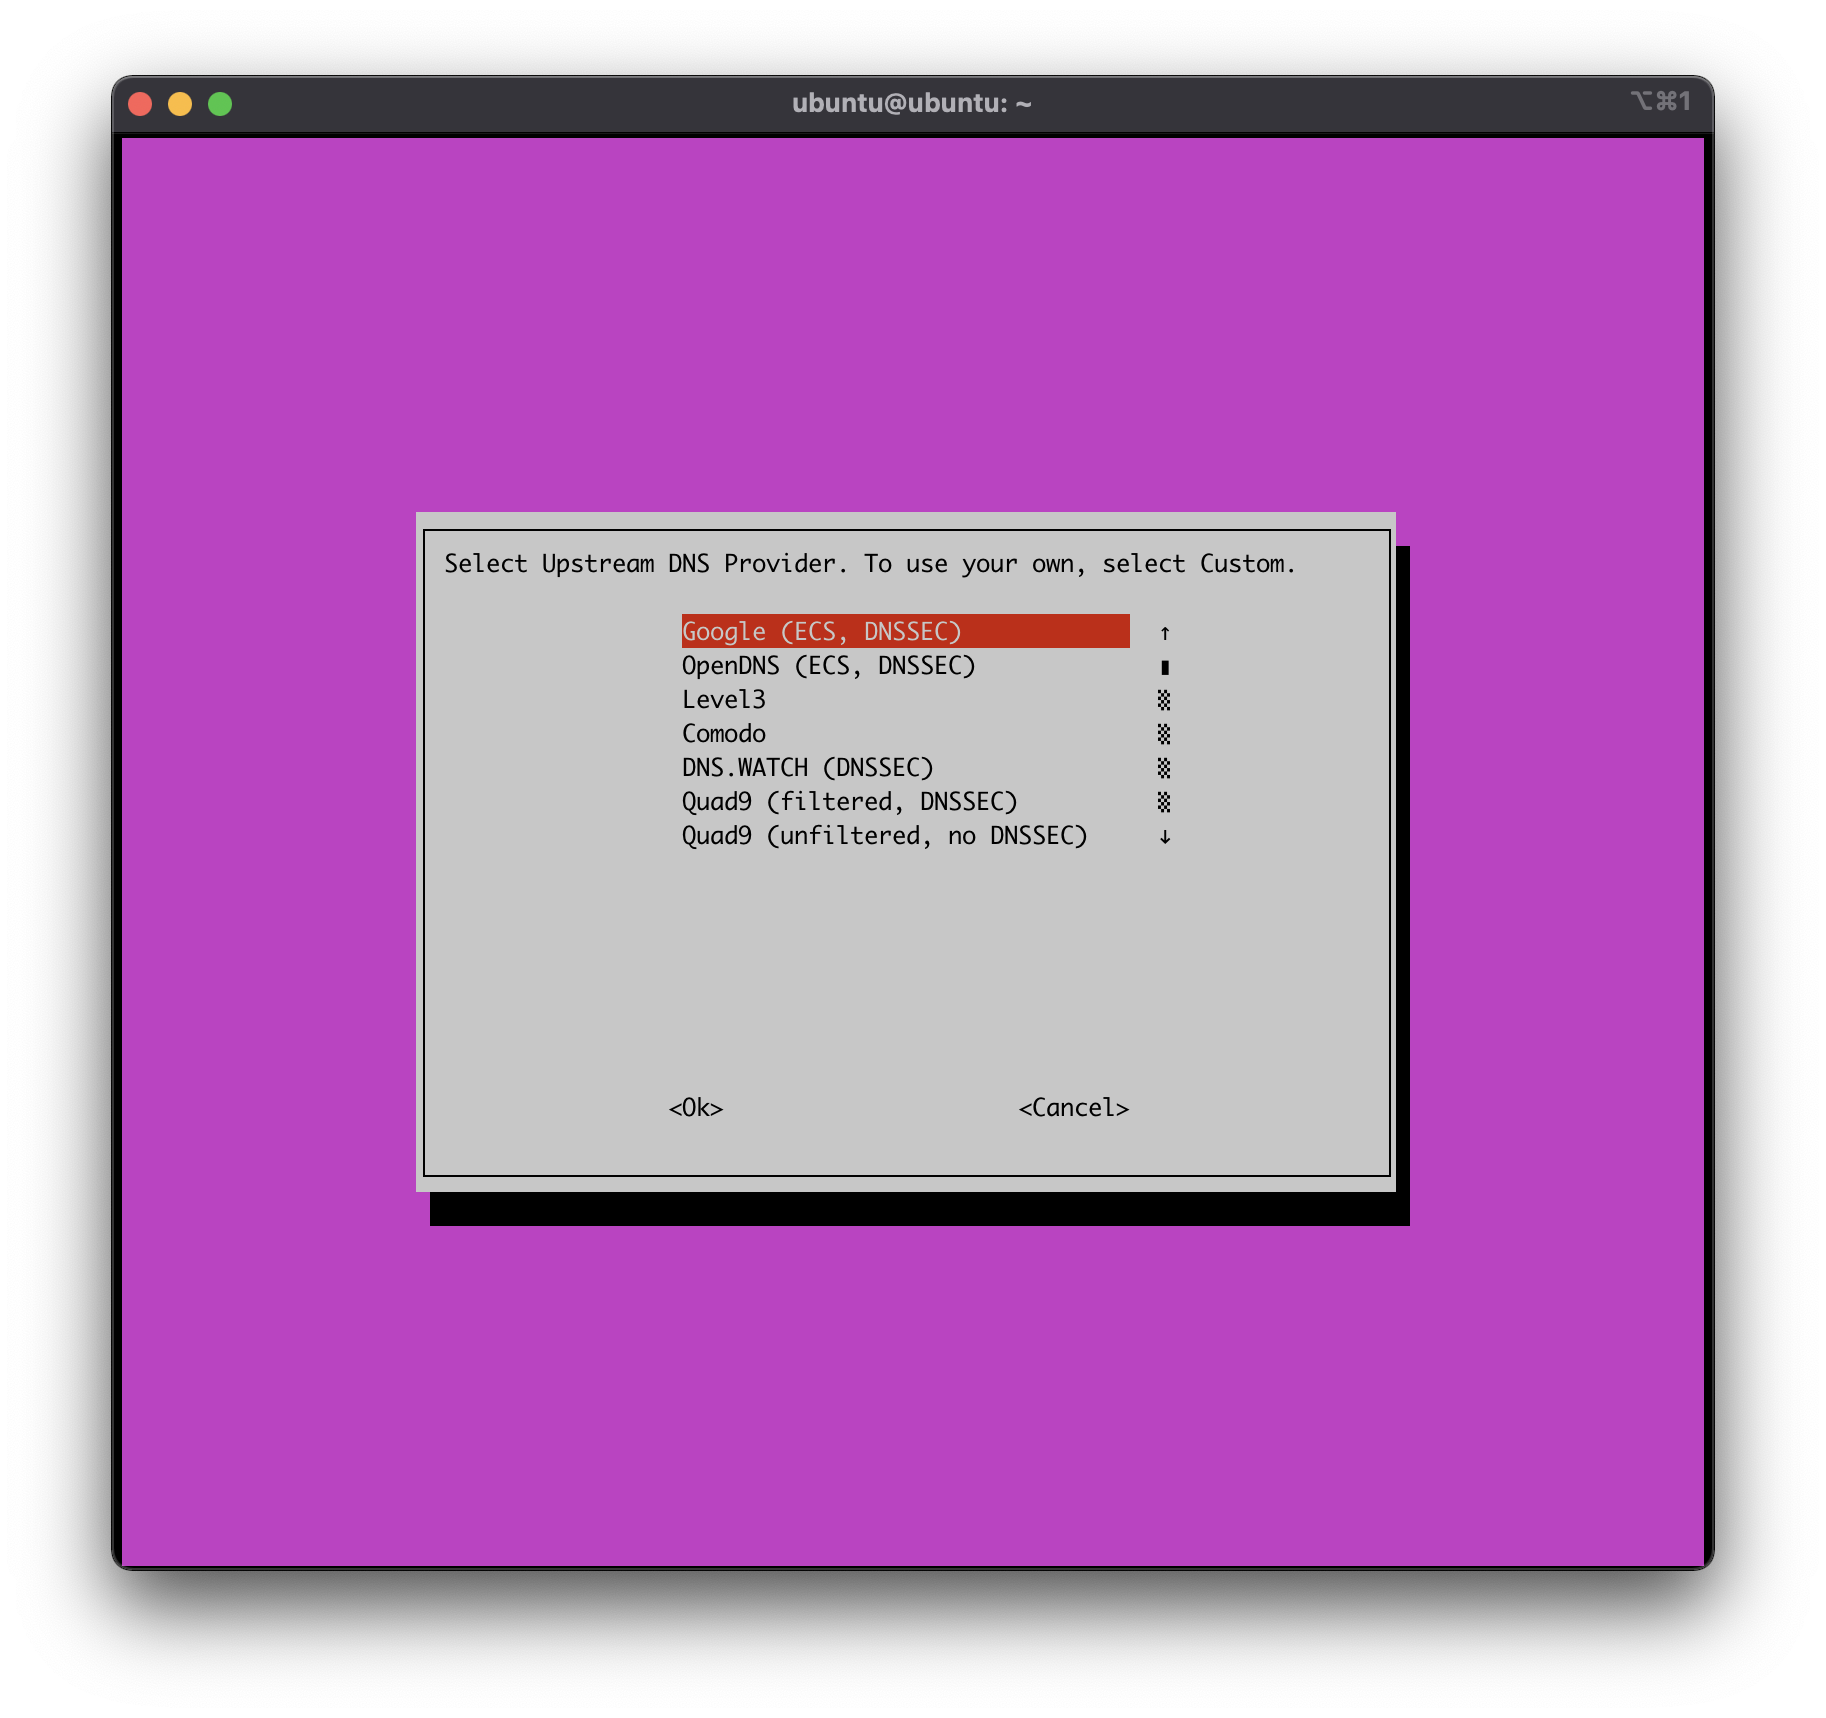
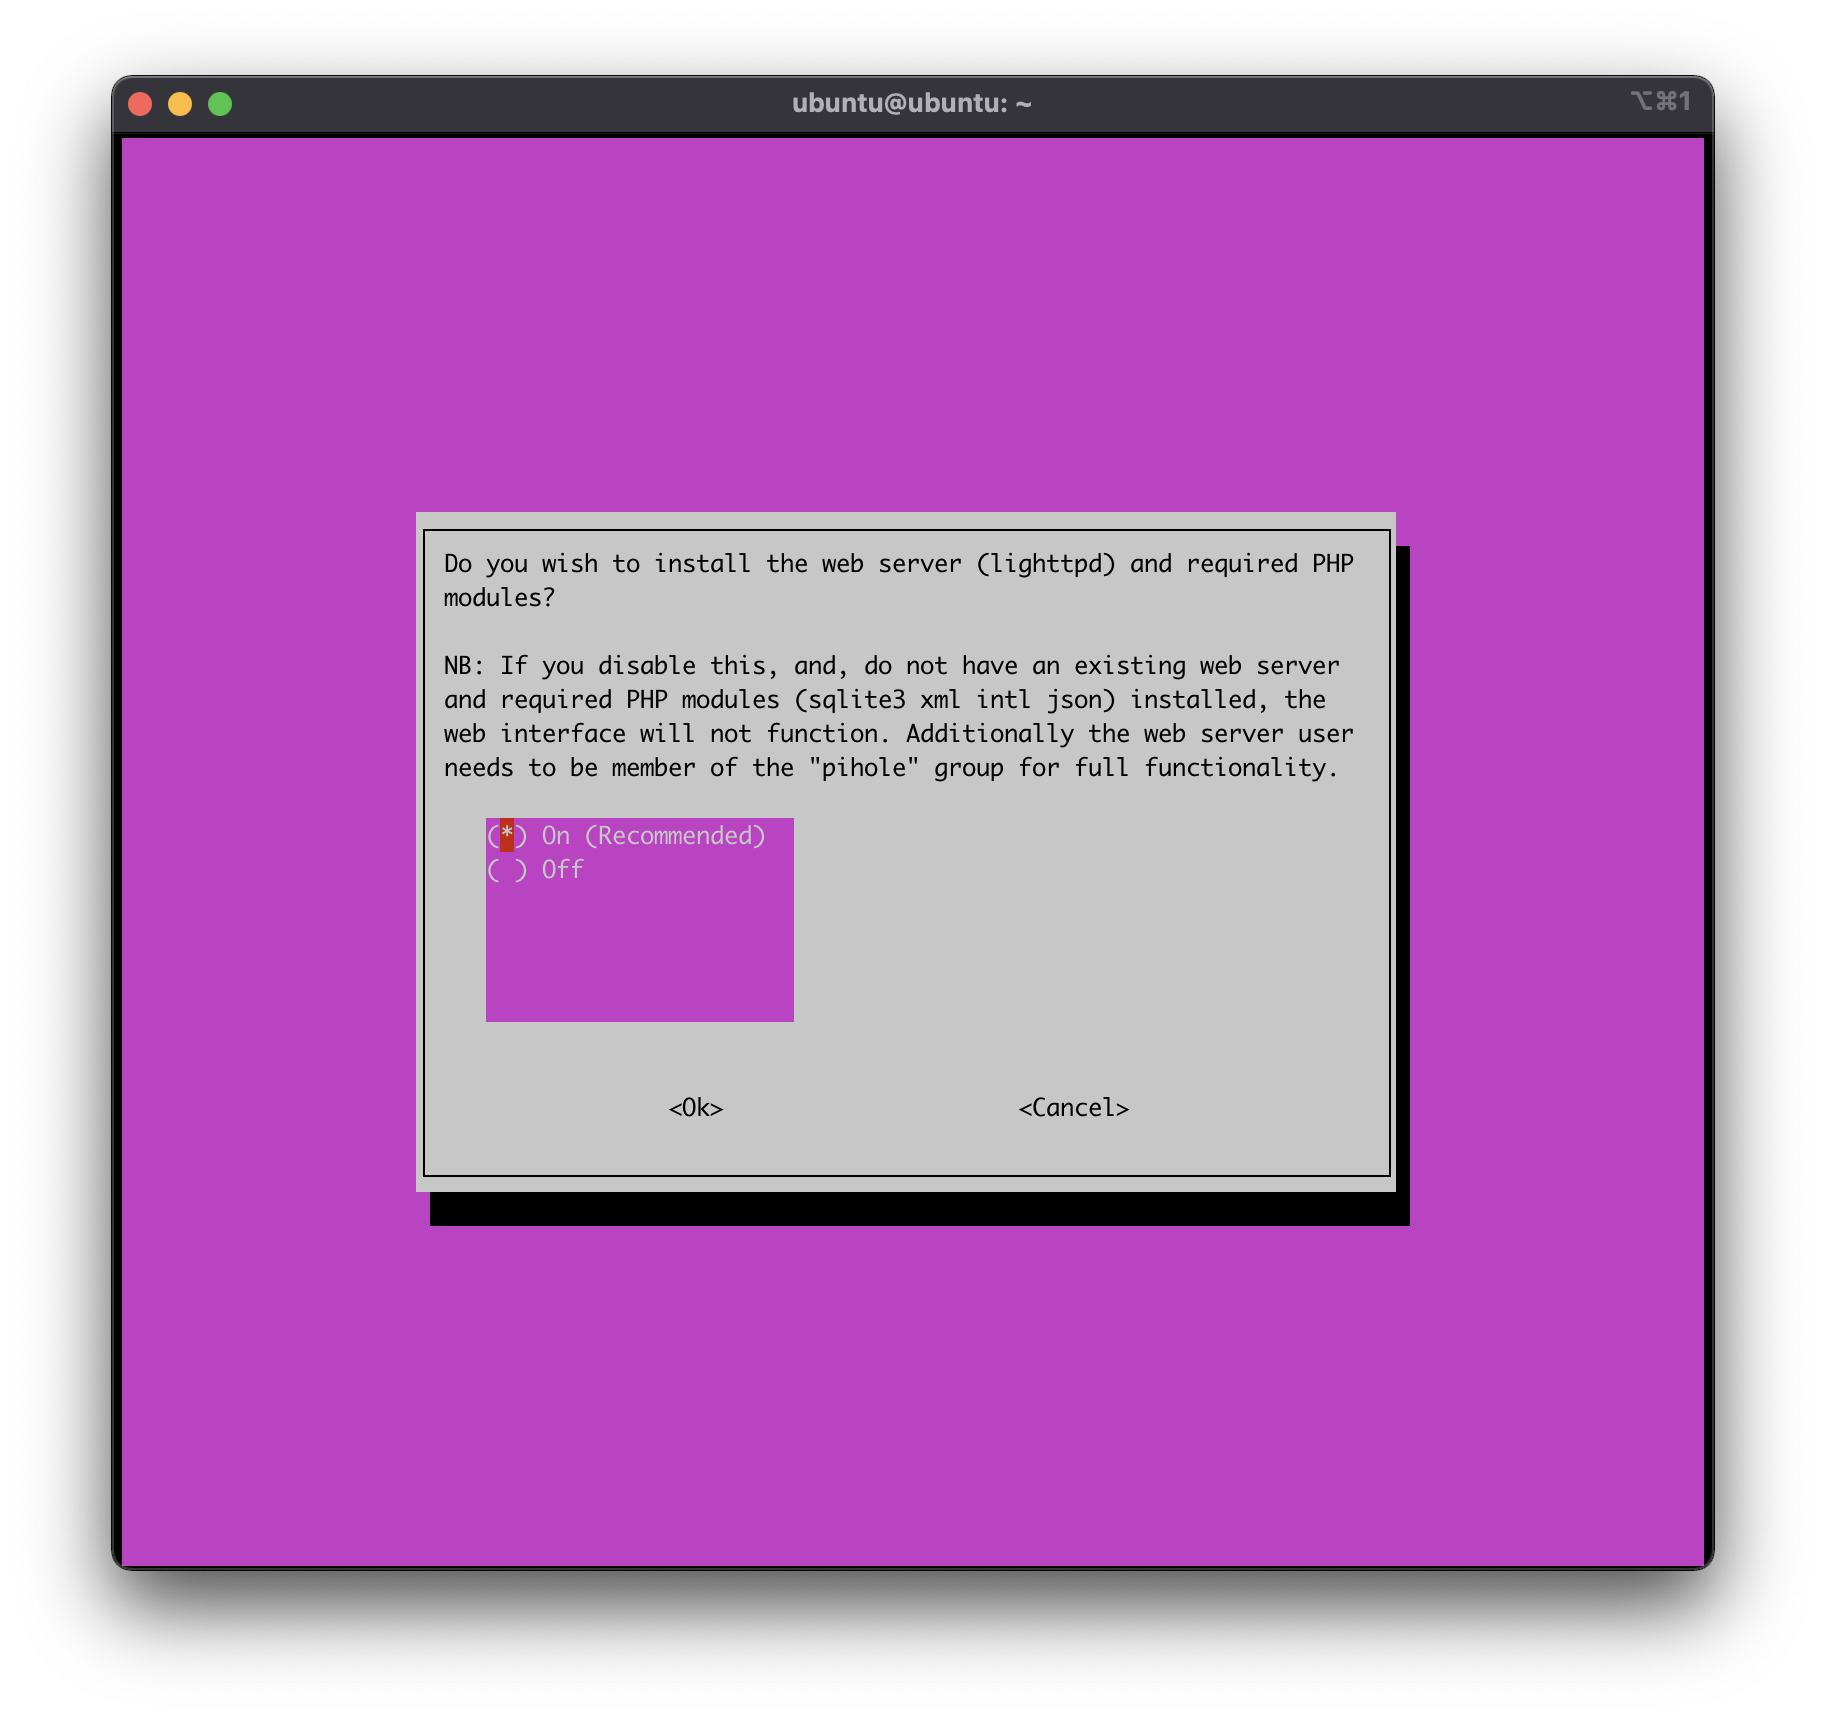
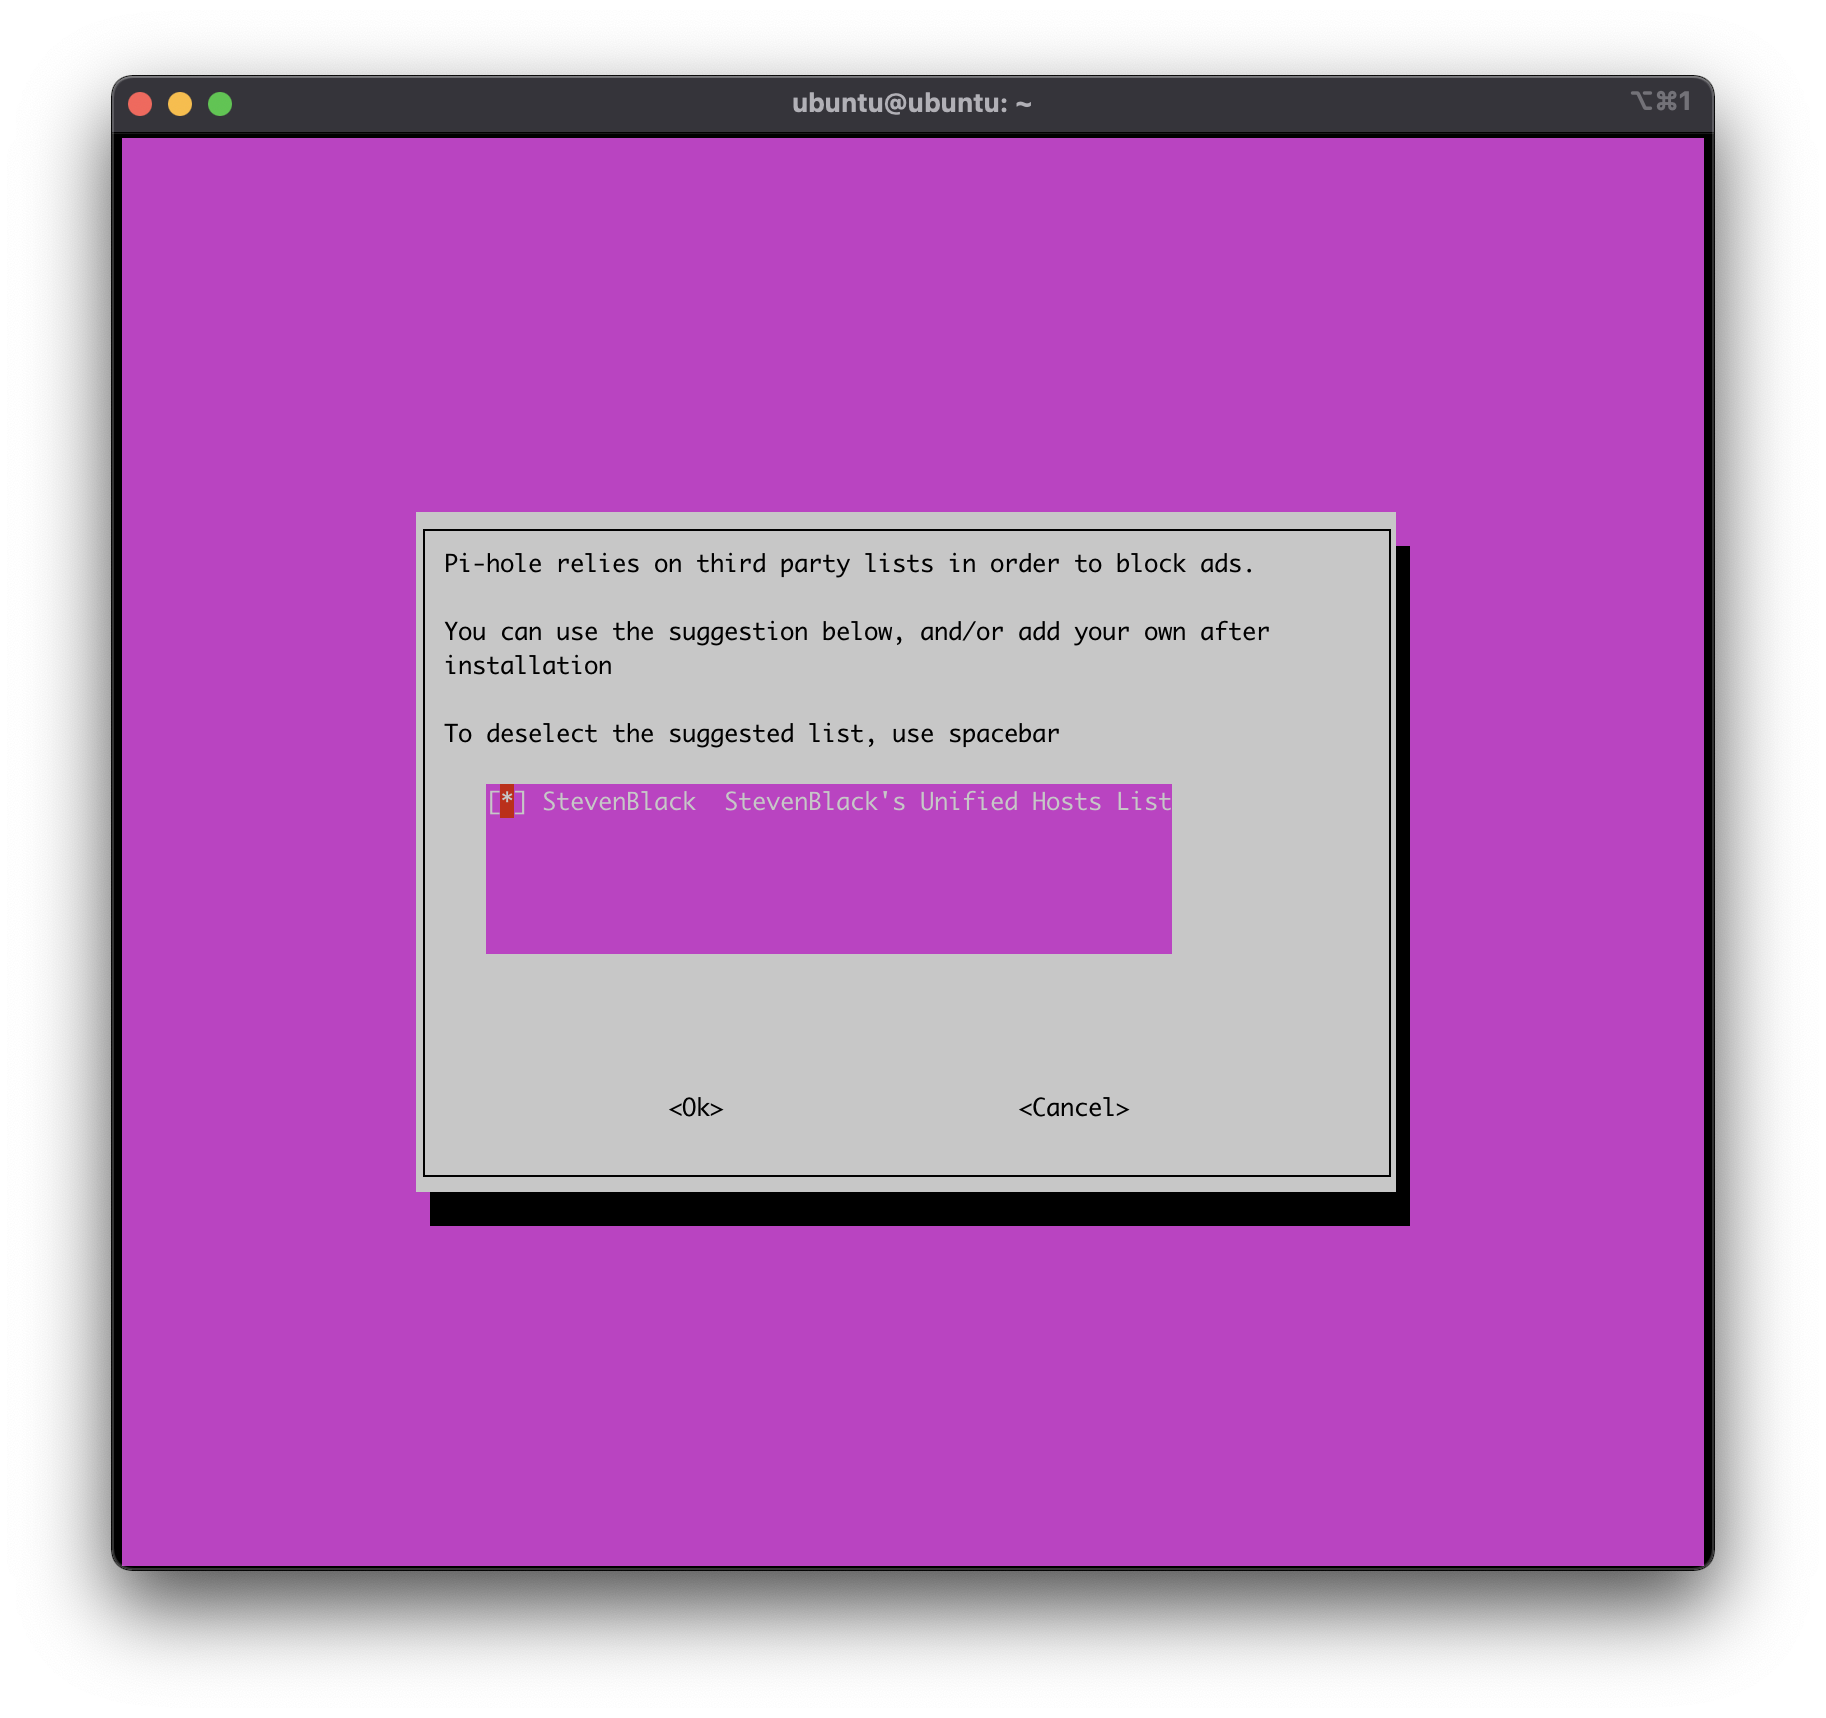
This downloads, unpacks and installs everything you need to run PiHole on your device. The process will take a while, so go grab a quick drink and stretch your legs. Then the setup screens will start appearing on your screen in the SSH session. These can be happily left as default as many of them (those that affect your user experience) can be altered later within the GUI for PiHole.
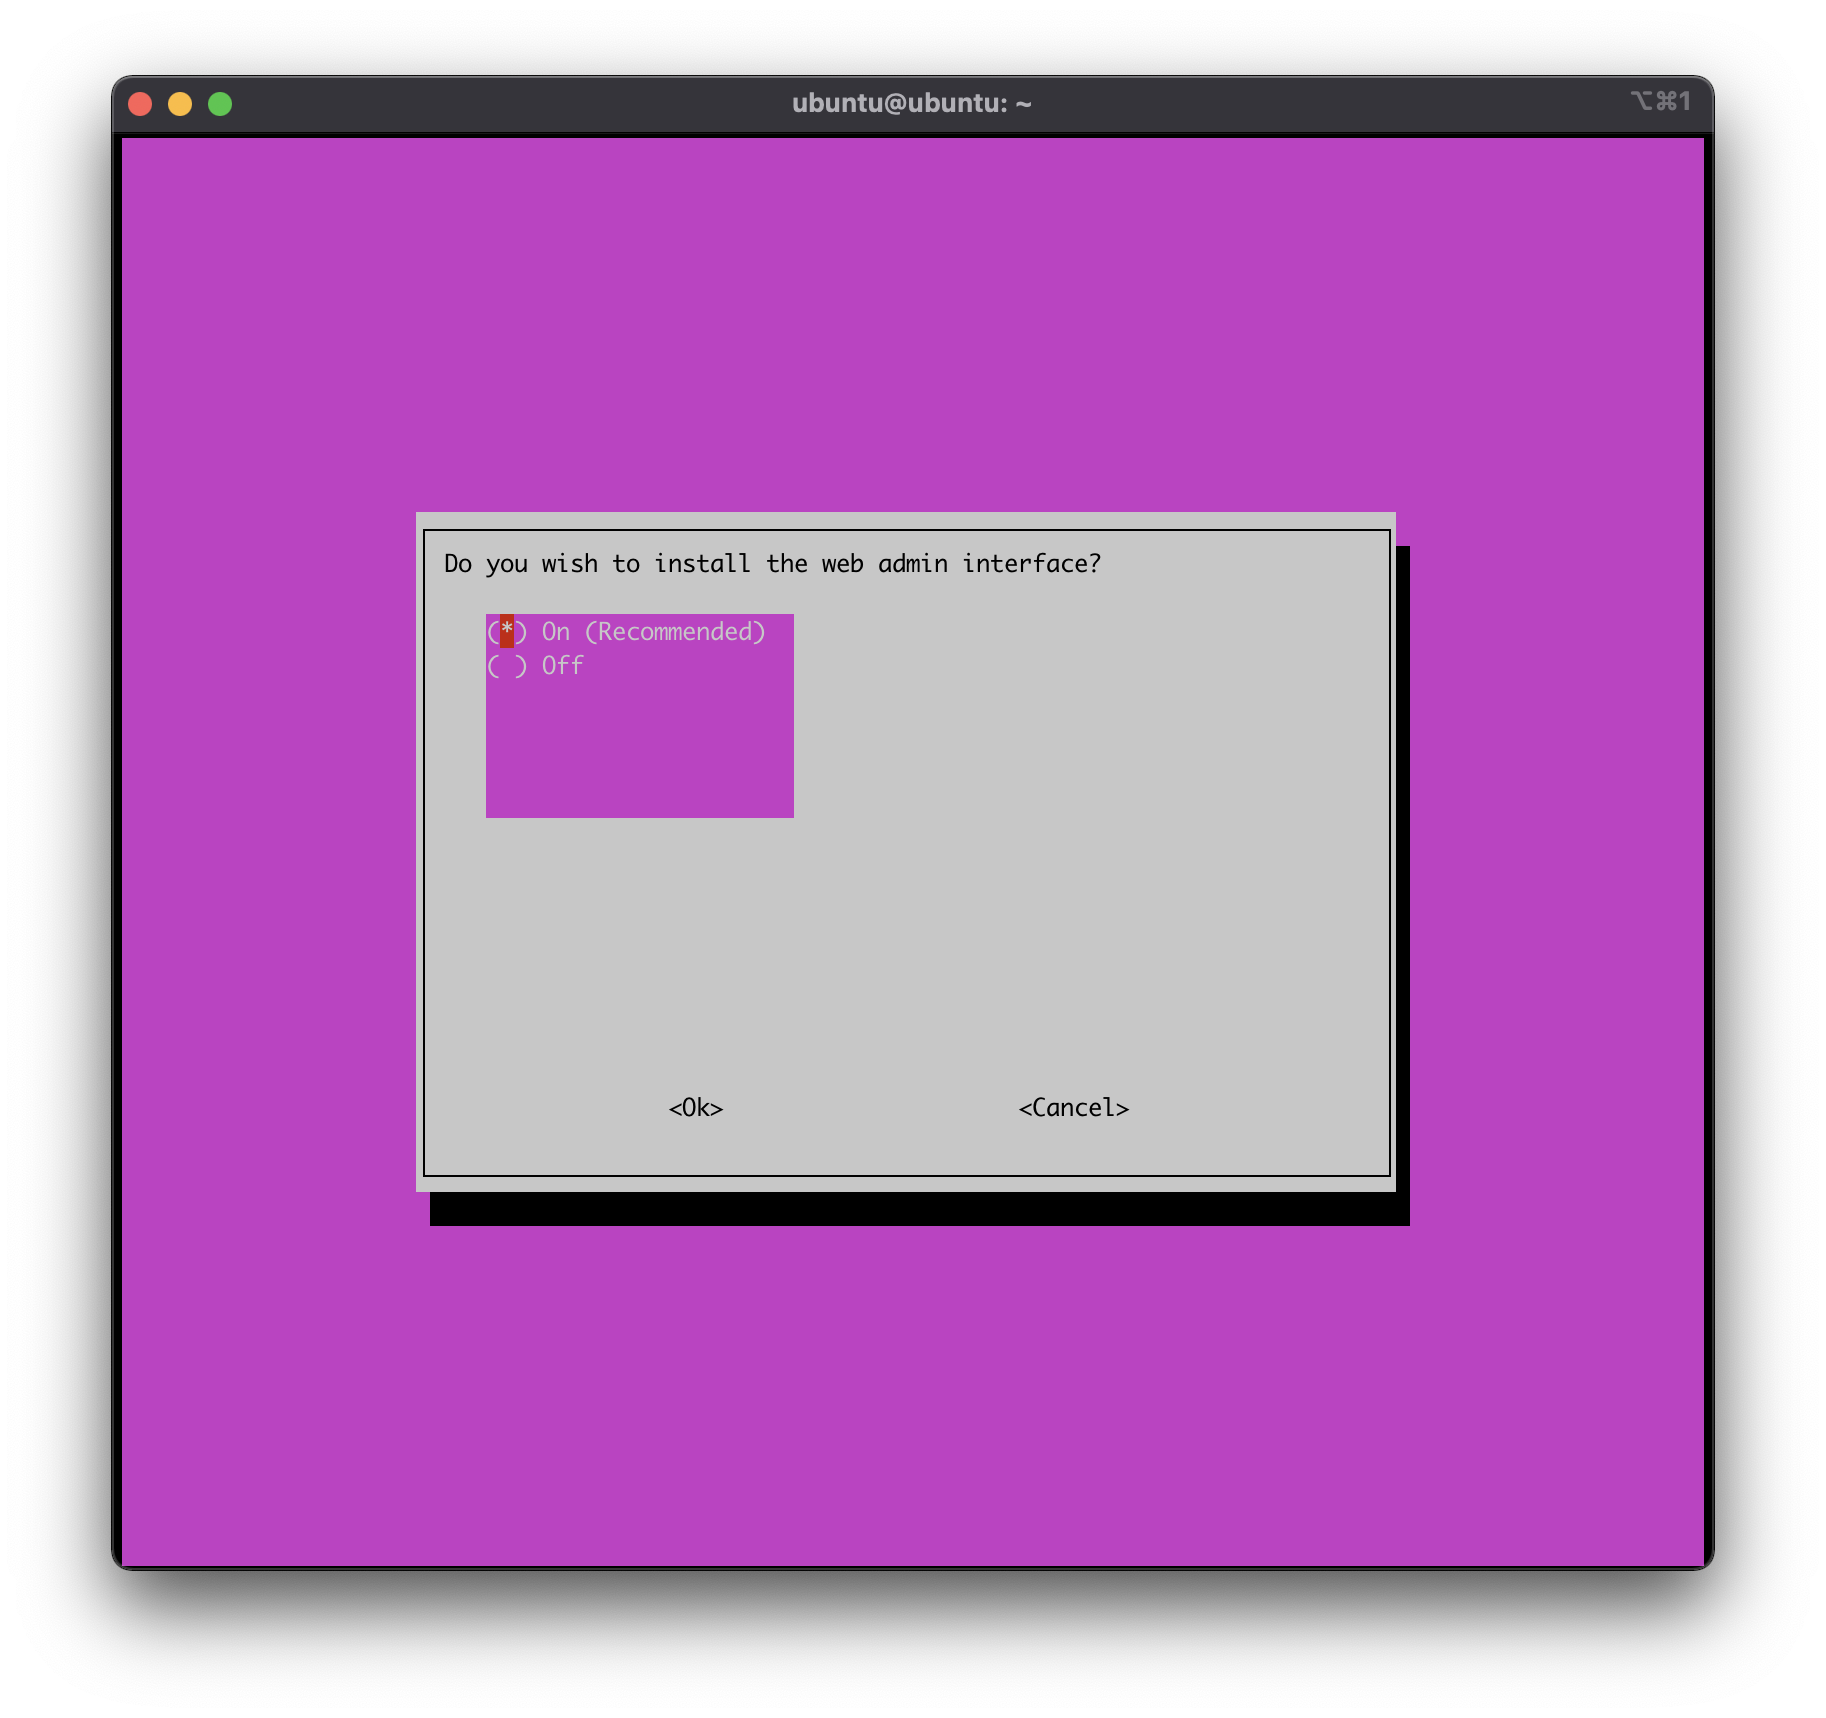
The only detail you need to take note of is the admin password for the web interface. Even this isn’t a disaster if you don’t for two reasons:
- It’s easily changed if you have SSH access to the machine
- Even if you don‘t have access to it, the whole process doesn’t take long to repeat
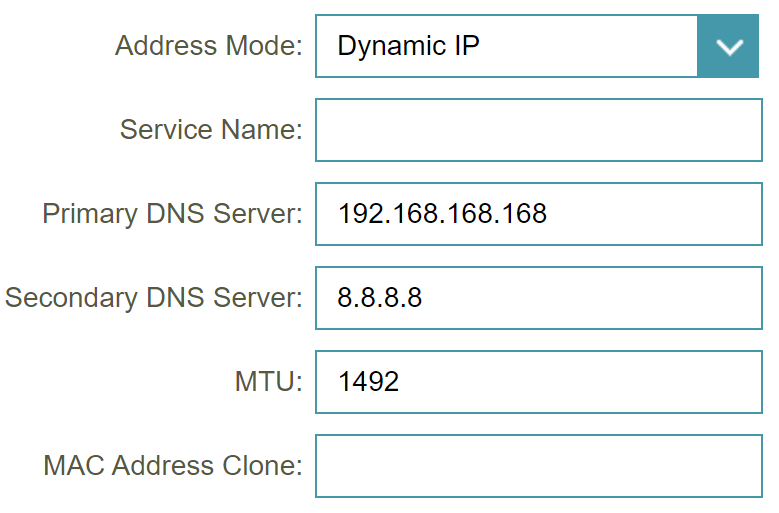
If for some reason you only want PiHole to block ads on certain devices on your network, then you’ll need to change the DNS on those individually. Otherwise, you can now close your SSH session and direct your router to use the static IP of your Raspberry Pi as the primary DNS server. This step will start the Raspberry Pi blocking ads on your network and — in most cases — will require a restart of your router.
There’s a lot more than can be achieved through the utilisation of PiHole within your home which we’ll endeavour to explore in the coming weeks


