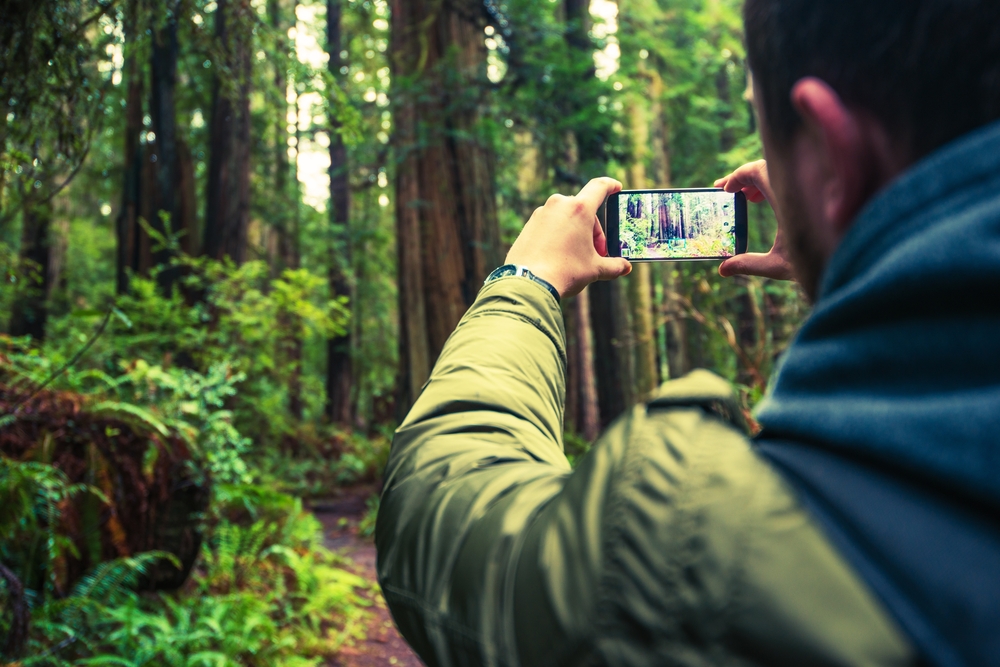
With smartphones getting ever more portable and their cameras getting ever more capable, taking photos has never been easier. However, even if your mobile camera has the sharpest lens, the most megapixels and the fanciest sensor, taking good photos is far from guaranteed.
Fortunately, there are lots of little techniques that can make a big difference to the quality of your smartphone pictures – regardless of whether you want to create a standout Instagram feed or just capture life’s special moments in the best possible way.
Here are 10 pro tips on how to make your mobile photos the best they can be.
1. Know what your phone’s camera can do
Smartphone cameras often have a lot more features than their owners realise. If you haven’t already, take some time to explore and experiment with these so you can use them to your advantage when a photo opp calls for it.
By the same token, it’s important to understand your phone’s limitations. Most mobile cameras use digital zoom to make objects appear closer, though this heavily reduces image quality. Moving physically closer to your subject will deliver far better results. Phone cameras also tend to struggle in dim light, so shoot during the day where possible or use supplemental lighting if necessary.
2. Understand light
What’s the difference between a good photo and a great one? A lot of the time it’s lighting. Photography does, after all, literally mean ‘drawing with light’.
Different sorts of lighting will suit different intentions but—as a general rule—hard, top or frontal lighting (like from harsh midday sun or an inbuilt camera flash) does few subjects any favours. Soft, slightly side-on lighting tends to be most flattering, so try to capture your subject with the light hitting them from a front-to-side angle. Cloudy skies, open shade, and sheer-covered windows and great sources of soft light.
The time known as ‘golden hour’, i.e. an hour or so post-sunrise and pre-sunset, offers a warm, atmospheric glow that can add drama to any shot. Apps like Sunseeker will give you detailed info on not only when dawn/dusk will occur at a given date/place, but also the angle at which the sun will strike.
3. Good composition = strong images
Whatever your subject or lighting, good composition (i.e. arrangement of visual elements in the image) is the key to giving it greater impact. Composition is a lot like design; while subjective, it’s ultimately about creating both balance and drama, or crafting order from chaos.
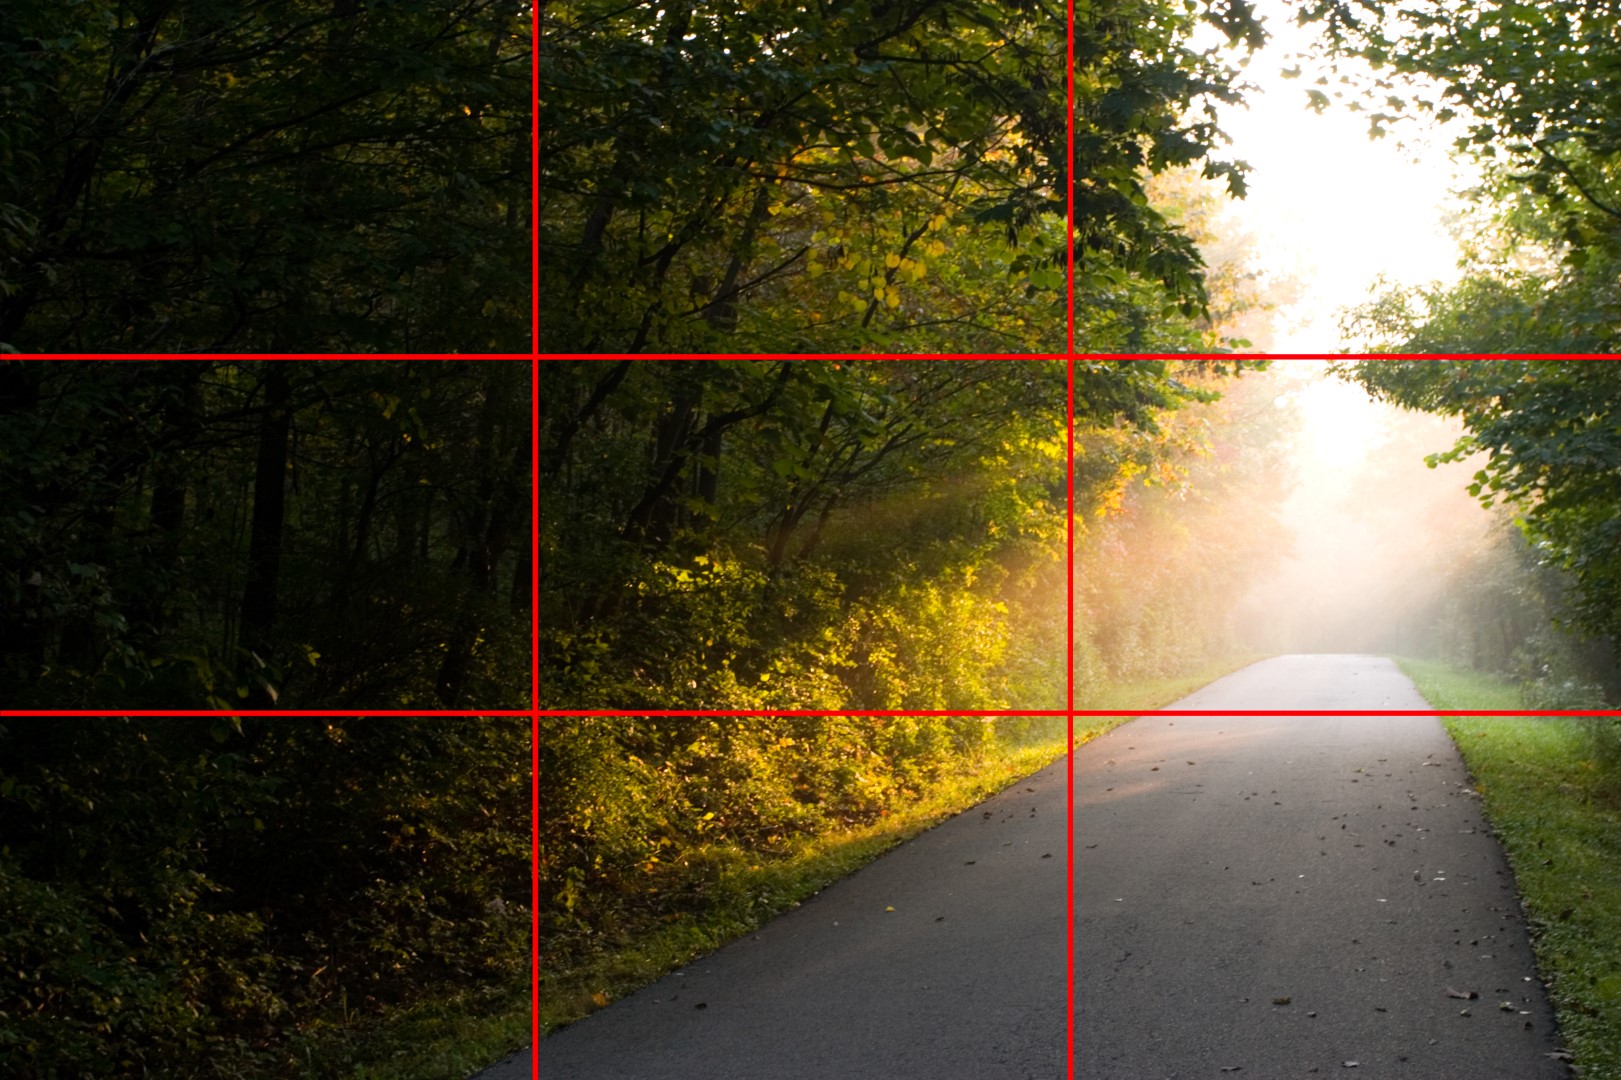
A simple way to achieve this is with the ‘Rule of Thirds’. (Doesn’t sound familiar? In your phone camera’s settings, set gridlines to ‘on’. According to the Rule of Thirds, the major element/focal point of your photo should ideally align with one of these gridlines or intersections.)
Other things you can try:
- Eliminate clutter from your frame. Less is usually more, so let the subject speak for itself.
- Combine elements of high contrast, e.g. black/white, smooth/textured, straight/curved.
- Create depth/dimension by incorporating both foreground and background elements, and/or leading lines (diagonal lines receding to a major focal point).
4. Don’t just point and shoot
The convenience of smartphones makes it all too easy to go for the safe, obvious photo – the one that everyone else will take, and has taken, a million times. To avoid this, you need to treat your phone like any other camera. And that means you need to think like a photographer.
Whenever you see a potential shot, ask yourself how you could make it better or more interesting. Shoot your subject from up high, down low, up close and far away. Look for natural frames such as trees or doorways. Turn a scene into a story by adding people and life.
5. Set your focus point
Again, don’t just point shoot! Make sure you set your focus point by tapping where in the image you want it to be sharpest.
6. Steady does it
Blur caused by you or your camera moving tends to ruin an otherwise good shot. To overcome this and get sharper photos, you can:
- Increase your camera’s shutter speed (though this reduces exposure).
- Steady your body and camera by holding your phone horizontally with both hands, bracing your elbows against your sides and supporting yourself against a pillar/wall.
- For best results, use a smartphone tripod or stabiliser.
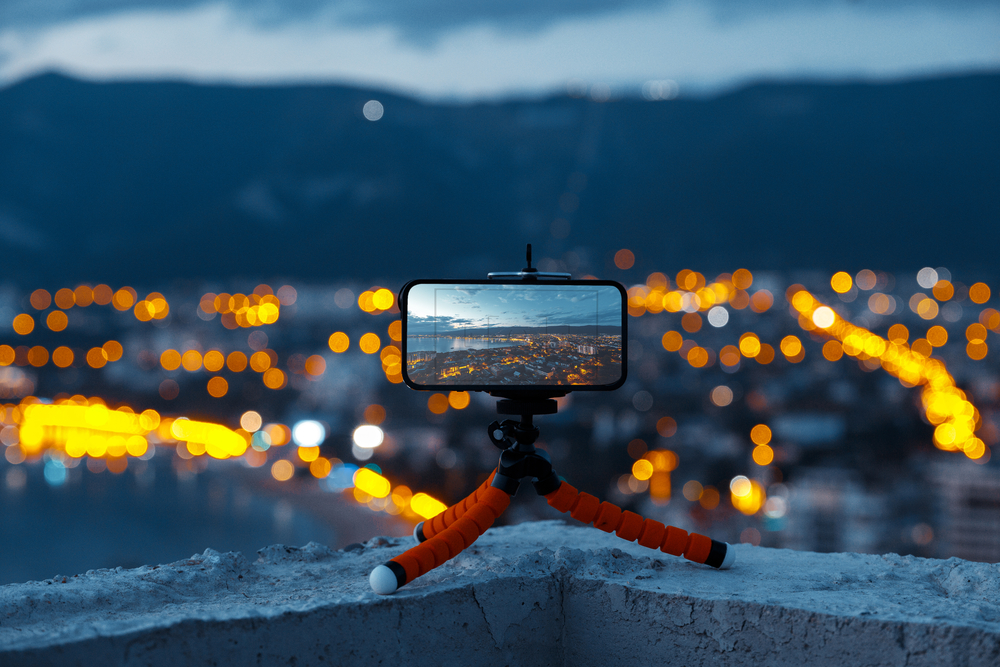
Even tapping your phone’s screen to activate the shutter can introduce blur into an image, so you might want to set a timer or fire the shutter this remotely. In many cases you’ll find that your smartphone’s headphones can be used as a remote shutter release.
7. Play with manual modes
Manually controlling your camera’s exposure settings is the first step towards creating photos that match your vision. But it’s also a cool way to experiment with different effects, be it slowing your shutter speed to capture motion blur or widening your aperture (i.e. reducing your f-stop number) to soften your background.
Not all smartphone cameras include manual modes, but there are numerous third-party apps that will provide this functionality. Pro Camera for iPhone is a great option that gives you the full control of a professional camera.
8. Shoot RAW
Smartphones generally capture photo files in JPEG format. If you really want to refine and/or get the most out of your images, though, it’s best to shoot in RAW format. (Refer to your phone’s manual to see whether RAW shooting is supported; otherwise you may need a third-party app.)
RAW files are much bigger than JPEGs, but that’s because they retain a great deal more of the visual data captured by the camera. They also need editing (a.k.a. post-processing), though doing so produces far more vibrant and detailed images than any JPEG.
9. Be ready at all times
Life’s great moments don’t wait, so you and your gear need to be ready to capture them as soon as the chance arises. Increase your odds by ensuring your camera’s lens is clean, battery charged and camera mode activated at all times.
10. Learn to edit like a pro
Editing is no substitute for good lighting, composition and focus. But, as any professional photographer will tell you, even the most technically perfect images will benefit from some thoughtful touching up.
Popular photo editing apps such as Google Snapseed and Adobe Lightroom have many advanced features that let you finely hone the look of your shots. Fortunately, both programs are (unlike many editing apps) non-destructive, meaning any changes you make won’t alter or destroy the original image data.

What you edit and how is a matter of personal taste, but here’s a suggested step-by-step guide:
- Straighten/rotate: To make verticals straight
- Crop: To cut out unnecessary/distracting detail and get the aspect ratio you’re after
- Brightness/exposure: Increase or decrease if the image seems a little too dark/bright
- White balance: Try ‘auto’ to make whites appear white, or adjust to taste
- Contrast: Increase slightly for more punch; decrease for less
- Tone curve: Tweak to adjust shadow, brightness and mid tones
- Highlight/Shadow: Fine tune until you’re happy with the result
- Hue: Adjust to taste
- Saturation: Increase/decrease to strengthen/dilute colour intensity
Bear in mind that a little goes a long way and remember to save your edits as separate files to avoid wiping the original file and losing unrecoverable image data.
If distinctive presets appeal to you, check out apps like VSCO (for Android/iOS) and Filmborn (for iOS). Both offer gorgeous, editable film-inspired aesthetics as well as sophisticated capture tools.
As with anything, the more you practise, the better you get. Experiment, make mistakes and above all, have fun!
This is a paid editorial from Camera Pro, a leading Australian photo retailer, built on insight and inspiration, for photographers, by photographers.

