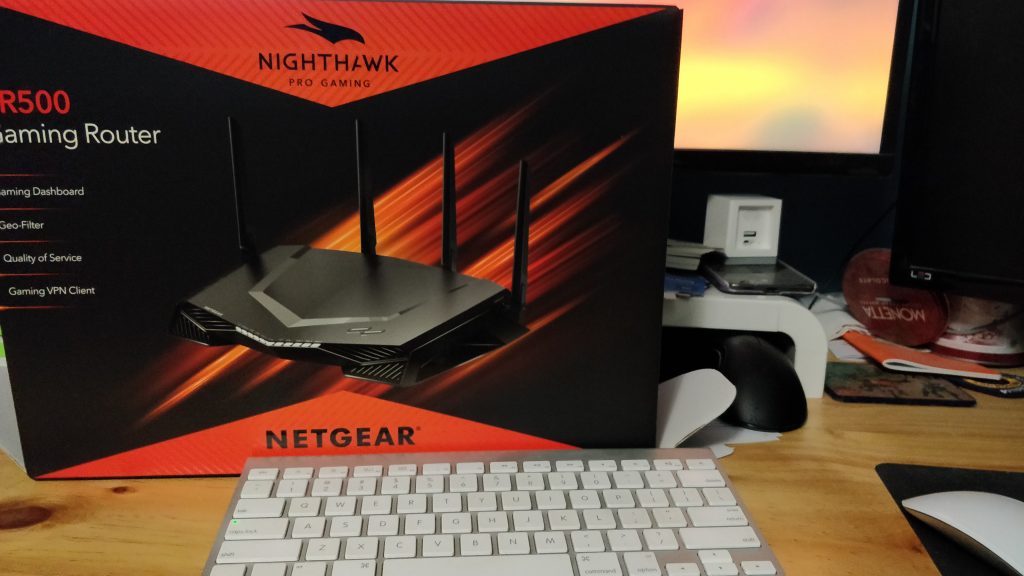
While it’s not Android per-se, the Nighthawk Pro is a top flight router that deserves some attention not just if you’re a gamer (their marketing target) but a user with high bandwidth usage across many devices and there’s a lot to go through.
I feel it’s a really important note that this is not your average home router. This is intended for users who want a lot of control over their network, not just “you’re connected or not”. There are some granular controls over individual devices or services access as well as prioritisation of access and many other monitoring functions to identify issues on your network.
[TOC]
The Hardware
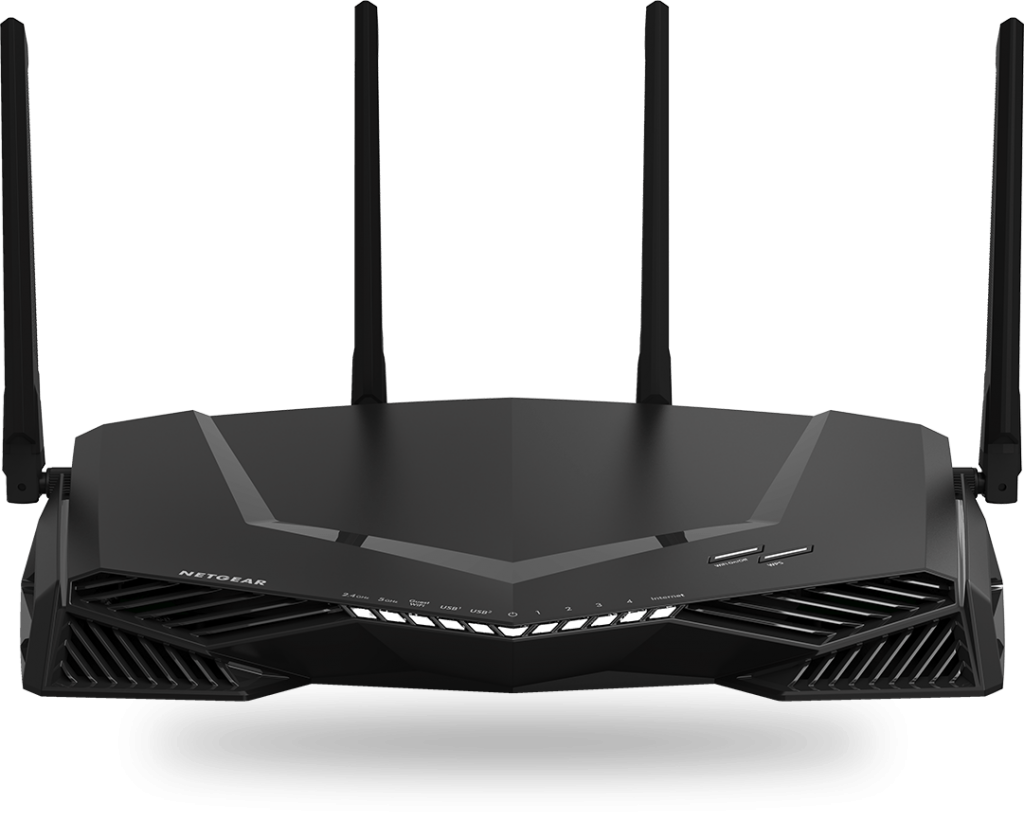
What will set this apart from many other routers is the physical presentation and size of the device… putting it bluntly – this thing is a MONSTER and it’s designed to be shown off! When I say it’s a monster, I mean it because it’s got a near identical footprint to my Macbook. The lights are somewhat imposing at night in a dark room, referred to as “evil demon router” by my family but a valuable addition to our electronic arsenal.
In terms of specs, there’s some significantly beasty gear inside. Starting with a Dual Core 1.7Ghz Processor which feeds many of the other functions, all aimed to improve your online experience.
The Wireless Functionality
The 802.11AC with multiple antenna allows for more reliable, simultaneous streaming connections. I was actually blown away by the speed of the wifi for connections internally – there was a bottleneck which turned out to be the write speed of the disks on my server but even then I still managed to transfer a 3GB file in a fraction over 1 minute.
There’s a lot of smarts built into the auto-negotiation of your wifi connection which means that if one band is particularly saturated with a couple of netflix streams and some YouTube (for instance), you’ll be switched to the other band to prevent buffering and congestion. While I did go poking around a little to investigate this, I’d highly recommend you just let the router do its thing and keep you connected to the net.
Setting up the Wireless the way you want it is simple, including the smart connect feature built into the router. This has the router handle the wireless negotiation in terms of which band to connect to, maintaining the best possible connection for users.
![]()
If you choose do do so, you can also name of the access point, change the password (make it secure!), setup what connection channels to use and the maximum speeds that you can setup for the router.
The guest wifi network which many consider unnecessary,allows your guests internet access only without allowing access to your internal machines, NAS or even streaming speakers – many power users do like this functionality.
Setup
The initial setup of the XR500 Router couldn’t be easier, there’s a “bouncing ball” to follow from either your desktop or mobile browser. Provided you know your username and password for your ISP, you can literally be connected in a matter of minutes.
As soon as you get into the menu system it becomes apparent just how easy it is to use the router. It’s very graphic, clear and easy to understand exactly what it is you’re working on. This starts at the design of the menu structure which is intuitive and, possibly more importantly, puts the more advanced functions a step or two deep. This is really clever on two fronts – users who want to or need to use the more advanced functions will go looking for them and still be able to easily find them. Users who don’t know about these functions are far less likely to go poking around for them, potentially causing themselves massive network issues.
For users who want to take control of their network and decide what IP ranges are in use, you can do so in the LAN setup where you can set the IP of your router and the available IP addresses for your devices. This is also where you can add internal static IPs if you need them.
The Menus and functions
The Dashboard
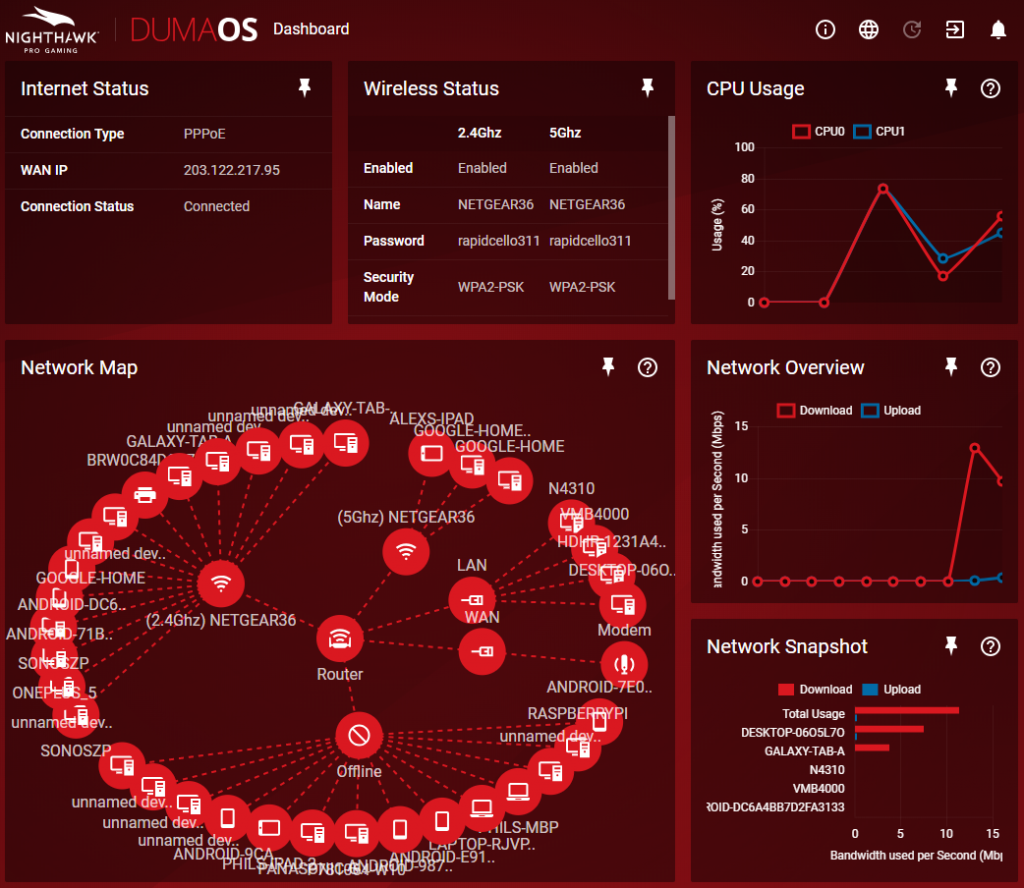
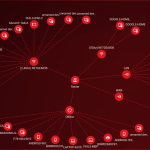
When you log into the router you’ll land on the dashboard which is customisable to offer you the information you specifically want to see at a glance. I quickly found a combination that worked well for me displaying the Internet Status, Wireless Status, CPU usage, Network Overview (data throughput), Network Snapshot (data use by device) and the Network Map showing connected devices.
Geo Filtering site access
The Geo Filtering function is very neat – but I suspect from my experience a touch hit and miss based on IP regional allocations. It gives you immediate control over traffic and prioritisation through your network as well as (focussing on gamers) a way to reduce ping times without much effort.
Quality of Service (QoS)
The QoS or “Quality of Service” really impressed me on the XR500 due to its outrageous simplicity. As part of the initial setup, you run a speedtest on your connection which gives the router a baseline for your available bandwidth. Once this is done you choose when (always, or only when priority traffic is detected) to apply QoS and finally prioritise devices with a drag display.
While this isn’t the end of the story by a long shot, for most users that’s going to be
More than previously done in terms of QoS and
More than enough to prioritise their traffic and stabilize a potentially inconsistent connection.
Real world testing
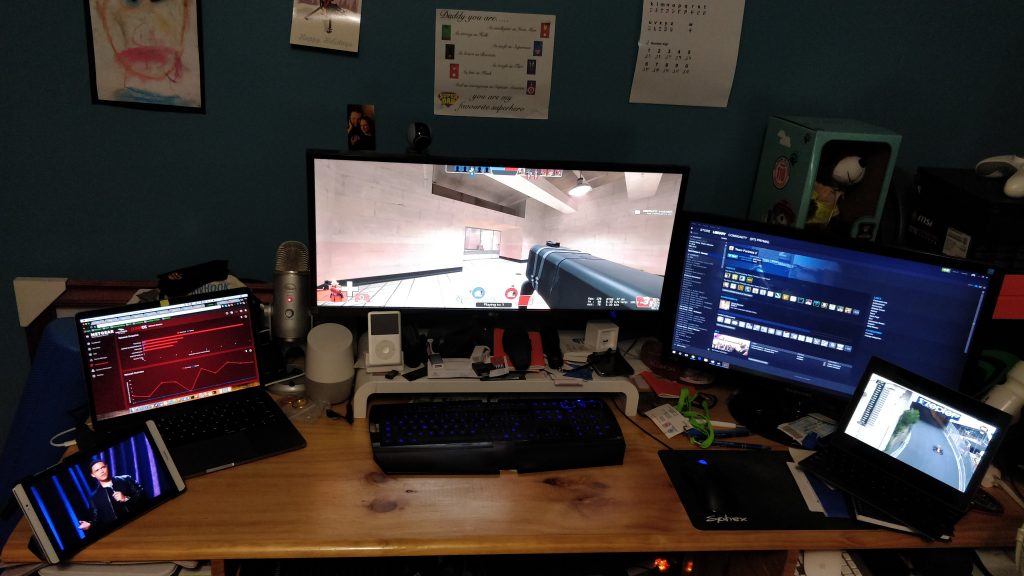
To put this to the test, I had 4 devices streaming HD video and then had a game running on my PC. While the connection wasn’t critically impaired by the multiple streams running, there was a notable degradation in the speed for my PC and of course – ping which IS what’s critical in gaming scenarios. A quick “flick of the switch” to turn on QoS and prioritise traffic to my PC, the world was a very happy place once again with the ping reduced and the smoothness of gameplay restored – all while the multiple streams were maintained.
Delving deeper into the QoS you’ll find that there are some types of traffic (primarily gaming and streaming services) that are automatically identified as priority traffic. This is great if you’re not clear about how to do this yourself but but still want to do so. There’s a fairly impressive list of mainstream services and games already listed which you can add as priority traffic for individual devices on your network or identify ports for prioritisation as an advanced option.
This isn’t the perfect setup or most exhaustive around, but without going to the extent of completing CCNA (Cisco Certified Network Associate for those not aware) and the expense of all Cisco gear, or heavily customised routing tables on a capable router – you’ll struggle to find a more comprehensive option that offers big bang for your buck.
Device Manager
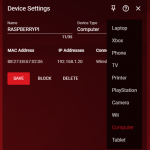
The device manager is really simple to use and understand – click a device and you get a single screen of what the device is (educated guess work in the first instance), allowing you to name the device, see the IP address, and if needed, block the device from connecting to the network. This is just a really simple and solid control point for your network.
USB Storage attachment
The USB Storage capabilities are a little buried in the settings menu but i’ve brought them up in the review because they’re not just useful, they’re really well structured and hugely functional and easy to use.
Once you’ve got your USB storage enabled, you can selectively turn on the Media Server, TiVo support and iTunes Music server. This is all automated and (provided you’ve got network discovery turned on for your PC/Laptop) the shares will just pop up ready to use in the network section.
This is where it gets really cool, particularly for users looking to build their network capability without spending a fortune on doing so. The readyshare storage availability can be local network only or via HTTPS/FTP if you choose to do so adding not just local NAS functionality to your network for the cost of an external hard drive, but having your files available from outside your home with the addition of password protection.
The other option that many people should be using, but far too many are likely to ignore is the ReadySHARE Vault. An integrated backup solution as part of the router with USB storage enabled and utilizing the Netgear Genie Software.
Network Monitor
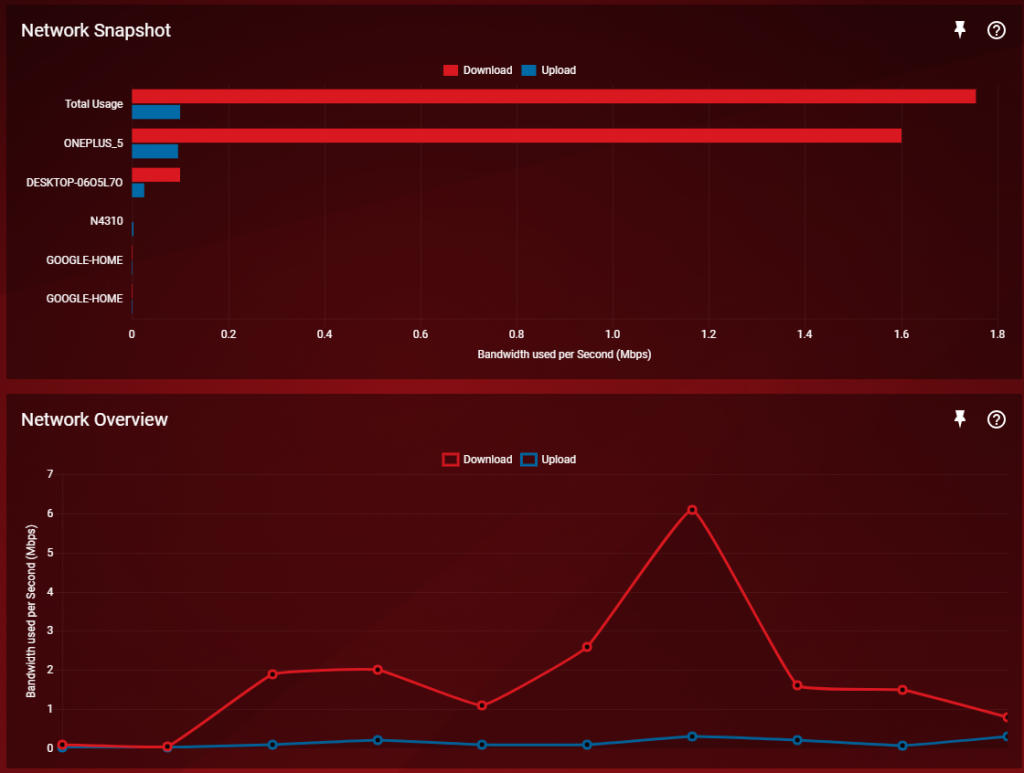
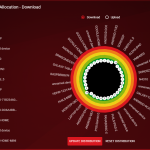
If you’re on particularly limited bandwidth this could be a really useful tool for you. It provides a second by second view of what devices on your network are using the most bandwidth as well as a view of the total up and downstream bandwidth being used. A very simple way to identify the bandwidth hogs in your home or potentially, if you’ve got some gremlins floating around that are chewing a bit of precious speed from your network.
Monitoring and Filtering Content
This is a simple traffic meter which tells you the days traffic, month and average for the current and previous day as well as the current week and month.

With young kids in the house I’m more and more conscious of the potential for harm on the Internet. Being able to filter content by keyword or block sites outright is a peace of mind function that I’m really happy to have. Particularly as you’re able to either schedule the blocking to certain hours (when kids are likely to be using the Internet) or specifically allow devices by internal IP to access all sites at all times.
Router Administration
The basics are here which are easy to navigate and just as easy to use. The router admin password can be set here along with applying any firmware updates. It is important to note that if you’re going to run a Firmware update, backup your settings first – it’s 99% likely to go off without a hitch, but better safe than sorry particularly if you’re someone with a non-standard setup that would require some fiddling to setup again if the update doesn’t work properly.
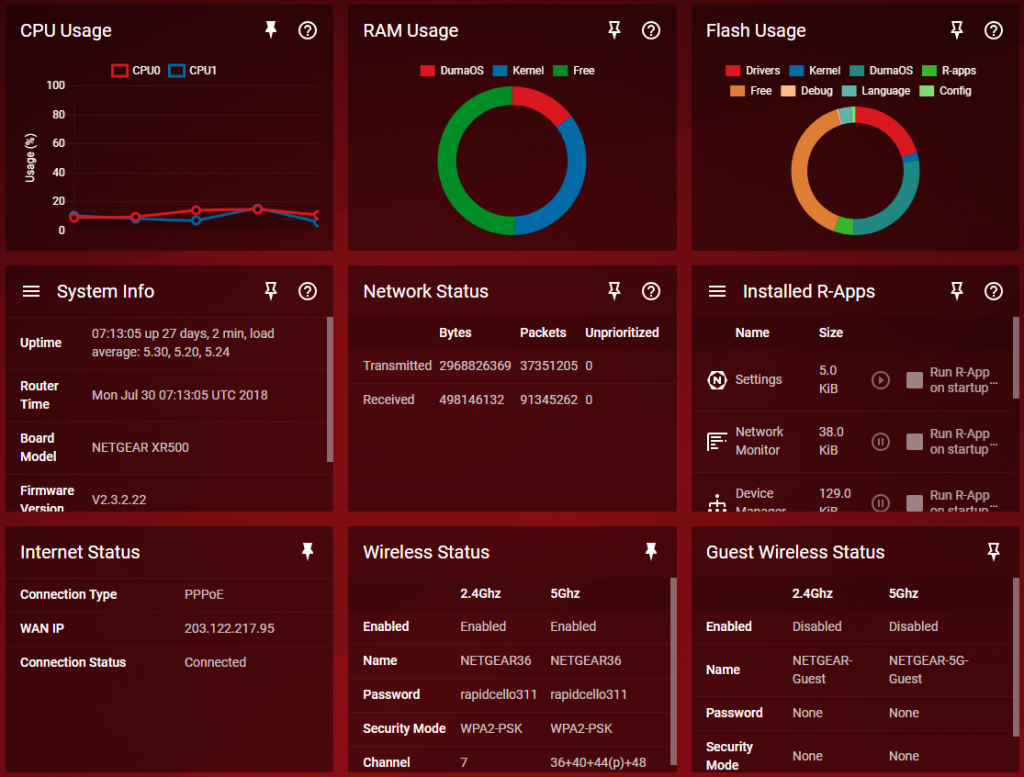
There’s some pretty solid options when it comes to the advanced settings on the router as well. For users who utilise the functionality of static routes, port triggering or port forwarding they’re found in the advanced settings tab.
There’s also some extra services that people wanting to potentially access their network from outside the house or create an easy to remember pathway can use. One of these functions that I absolutely love is the VPN service built into the router. Compatible with OpenVPN, all you need to do is turn the VPN service on and download the file that the router creates to your devices.
Perhaps redundant for most users, even before considering the VPN capabilities – You can enable remote management of the router by username/password or if you have a static IP at your office, you can allow specific IP’s to access remote management functionality to administer the router.
For those inclined, you can setup VLAN and bridge groups. This is a far more complex network setup that the vast majority of home users are unlikely to use, but if you do want to you can. For those not familiar with it but curious, there’s a great wiki article about VLAN which is basically setting up a sandbox for different groups on your network and similar with Network Bridging (joining 2 networks by LAN cable or Wireless AP).
There is so much in the Netgear Nighthawk Pro Gaming Router to explore and it’s been a fascinating review to do, every time I thought I was getting great progress on the review – I dug deeper into the capabilities of the router and found more to play with!
Conclusion
A cost of $449 is pretty steep for a router for users who do not want, nor need, high end controls over their network, but for someone that is looking for that then you know you’re in the right ballpark with costs here.
The diverse and high levels of functionality on the XR500 make it a really sound player in the field with both wired and high quality wireless functionality to offer. Short of getting into high end, customisable routing I haven’t seen anything stronger in terms of ease of use and the broad ranging functionality that this router offers.
The only drawback for some will be the cost which (if you’re more than a casual Internet user) is well worth the investment for the control and scalability it adds to your network.
Should you buy one?
If any of the notes along the way have resonated with you in terms of the functionality and control that you require on your network then you should definitely put the Netgear Nighthawk Pro Gaming router at the very sharp end of a very short shopping list. Personally I’d be happy to put my name on a recommendation for it that’s for sure — although the functionality is aimed at gamers, everyone connecting to your Internet will benefit from having this beast in the house.
TLDR: This thing is a beast and if you decide to invest in one you’re unlikely to be disappointed. It offers outstanding connectivity with wired and wireless connection to the router and some serious smarts in terms of the wireless to keep you and your family connected and protected on your terms.
The Netgear Nighthawk Pro Gaming Router is available from most major retailers or you can visit the buy now link on the Nighthawk website.
What features are on your need to and nice to have lists when you’re searching for a new router?
Disclosure Statement
Netgear have allowed Ausdroid to retain the XR500 on long term evaluation.






There is no mention of Wifi range. Important if you wish to connect phones and other Android mobile devices
“evil demon router” *giggles* Great review.
Re open guest networks btw – is having one reliably secure? (not nec on this modem) I always want to enable that feature as a sort of service to the community, but don’t because, well, open access to my device seems like inviting trouble…
For anyone who is not a hard-core gamer or lives in a small 1~2 bedroom apartment, a mesh system is a far better option at this price point. No matter how many antennas these routers have, they are no match for a mesh system in terms of wireless coverage.