
We’ve seen a number of entries into the 360 degree camera market across the last year or so, but just about everyone I know who’s had one now has it sitting in their discarded tech drawer. There could be a number of reasons for this — did they simply not have a need for a 360 camera? Are the current range of 360 cameras no good? Are they just too hard to use?
I’ve been having a play with Garmin’s VIRB 360° for the last little while, and I hope to answer some of those questions from here on in.
What is Garmin’s VIRB 360?
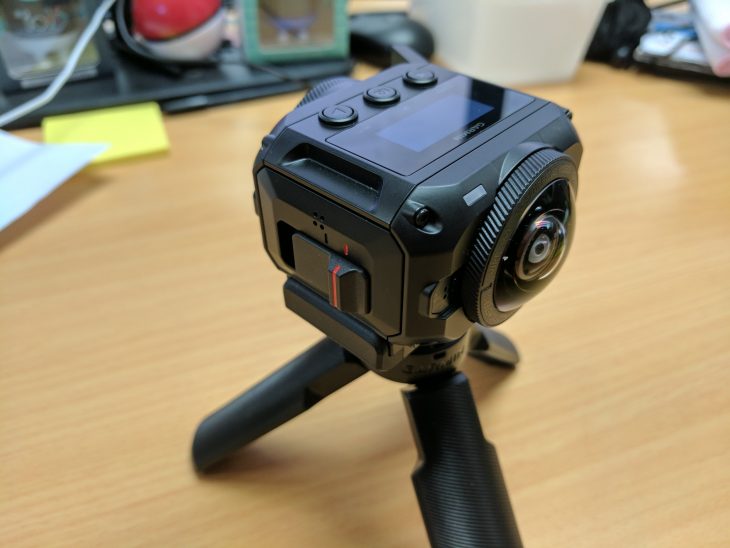
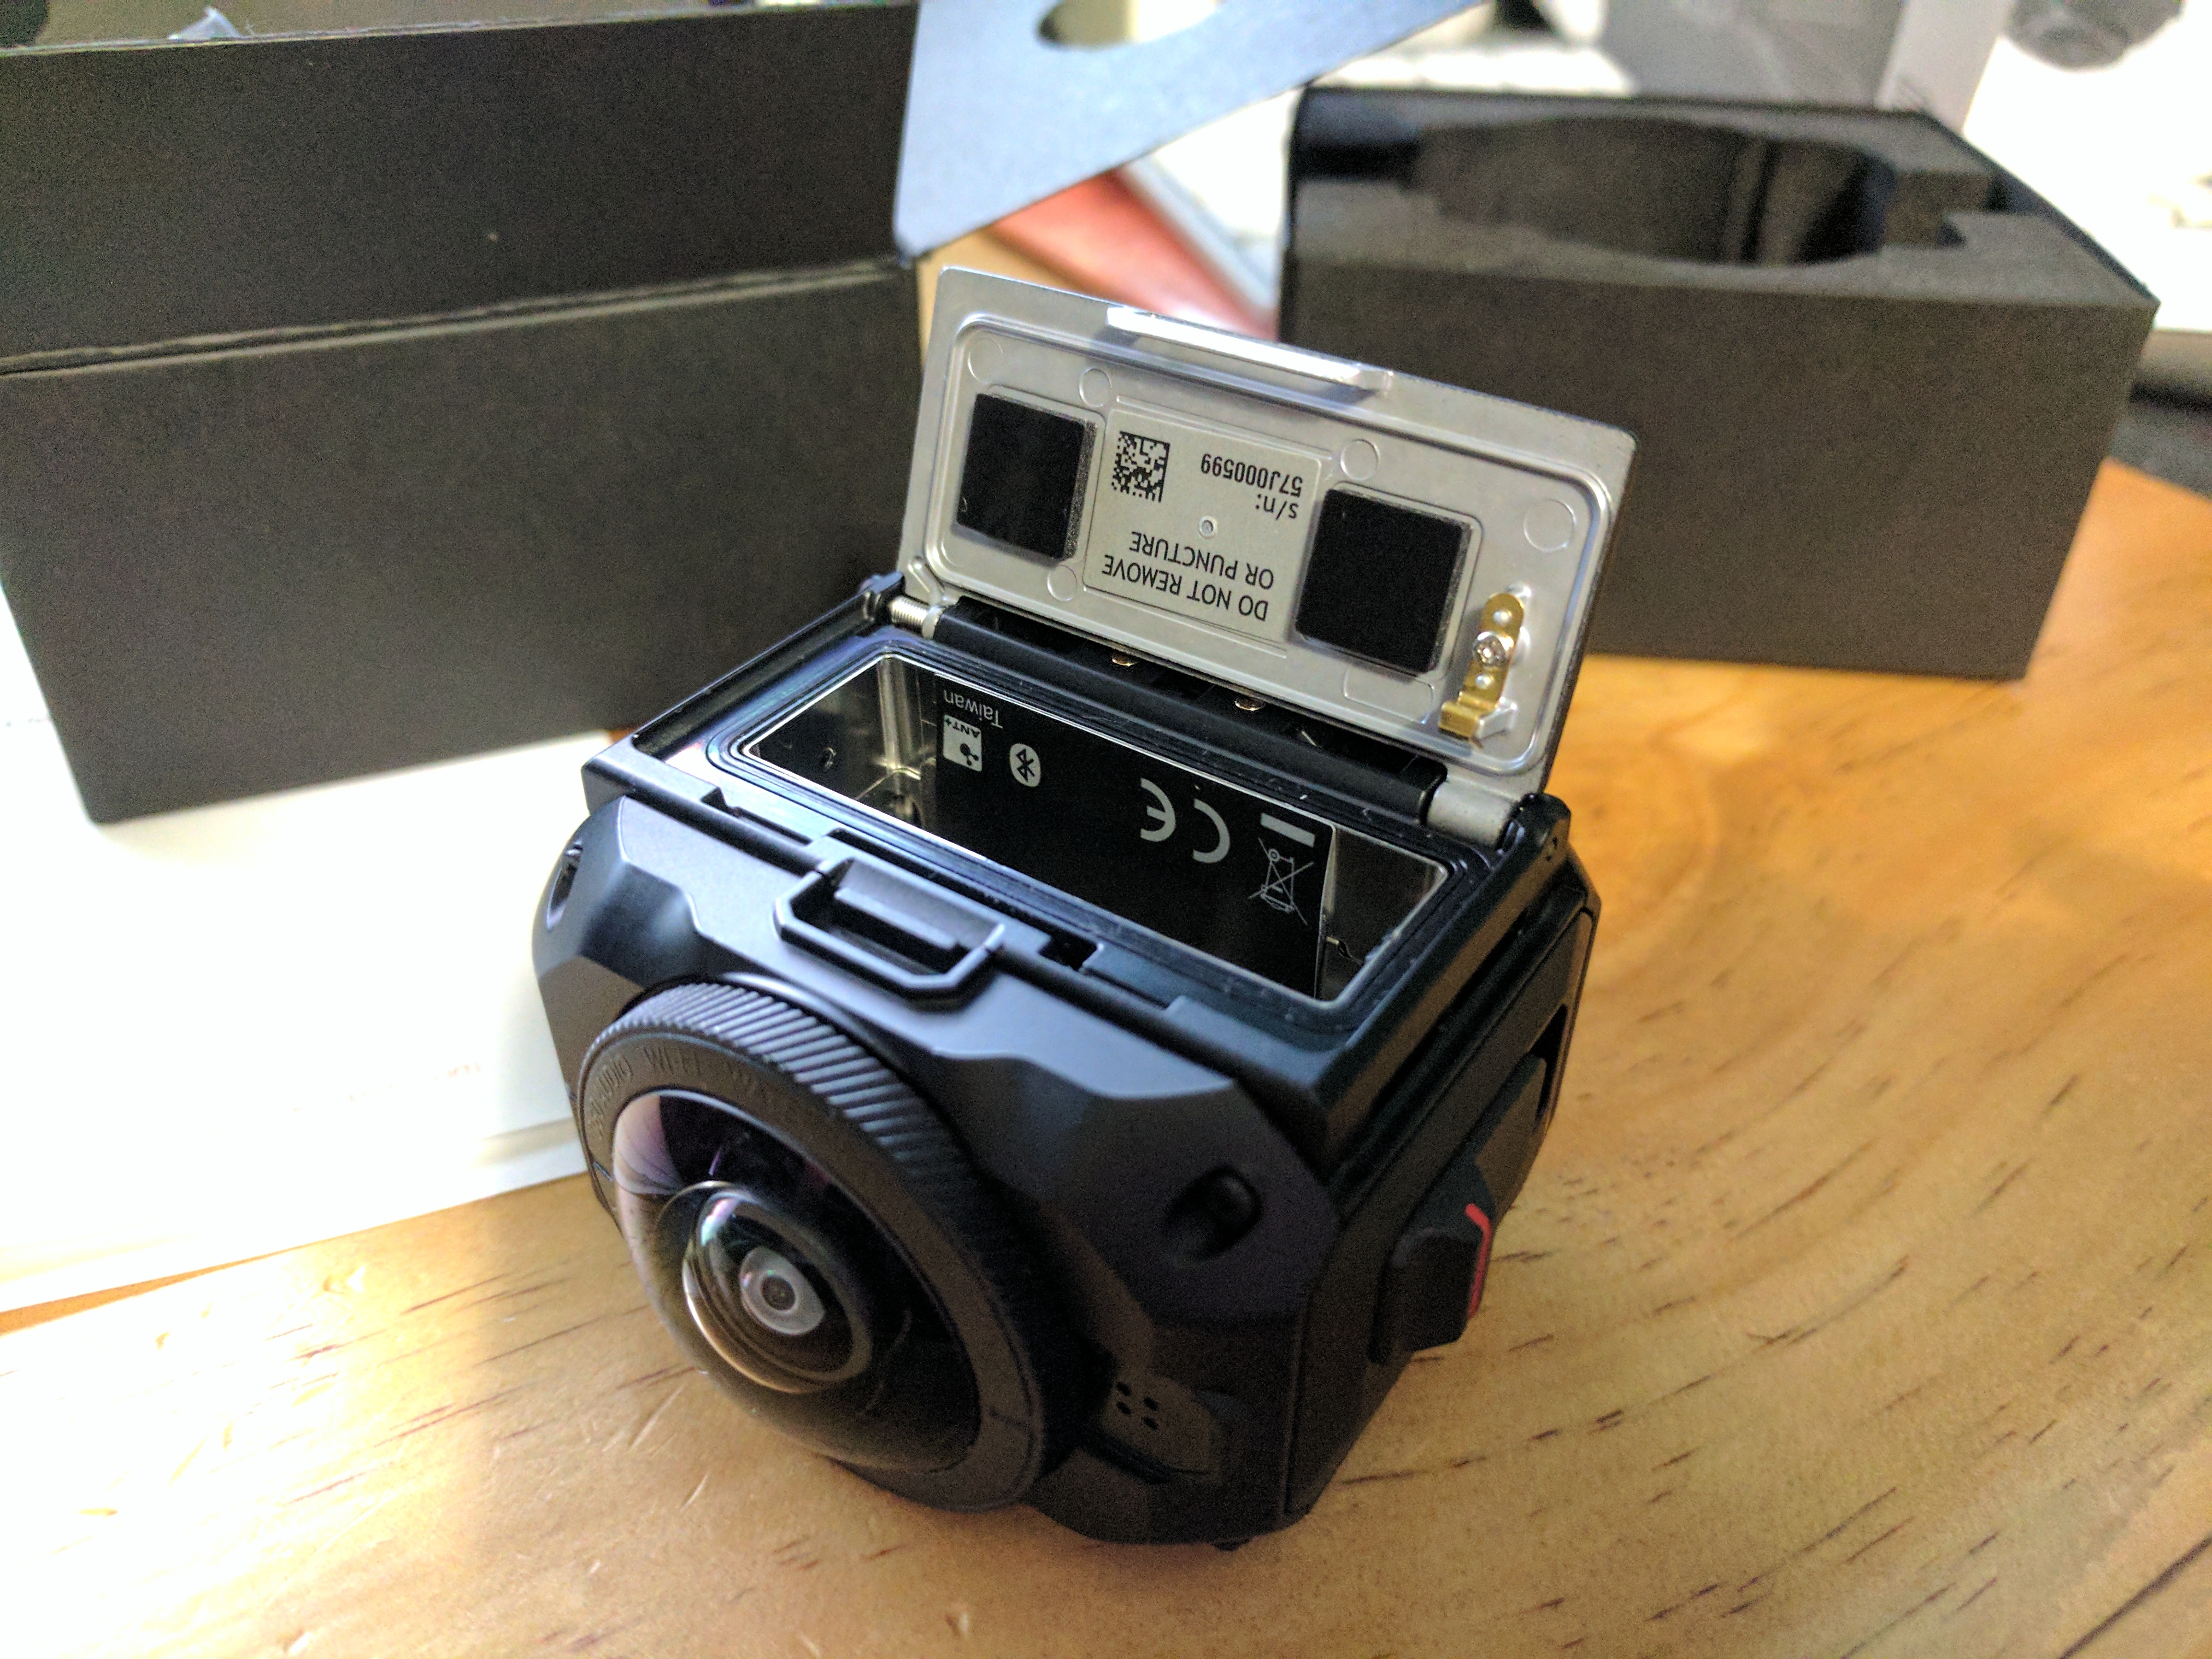
As the name suggests, it’s a 360 degree camera, but it’s a bit more than that. Firstly, the VIRB has a few advantages over the competitors in this market. Starting with the waterproof casing for the device, making it more resilient than the competitors – some of which offer specific cautions against getting them wet.
[vr url=http://ausdroid.net/wp-content/uploads/2017/07/SES-360.jpg view=360]
It runs a huge resolution of 5.7k that you can take swimming because it’s waterproof to depths of up to 10 meters. VIRB also offers GPS data that you can overlay onto your 360 video to show off your speed and elevation data to your mates for those really gruelling outdoor adventures.
What’s in the box?
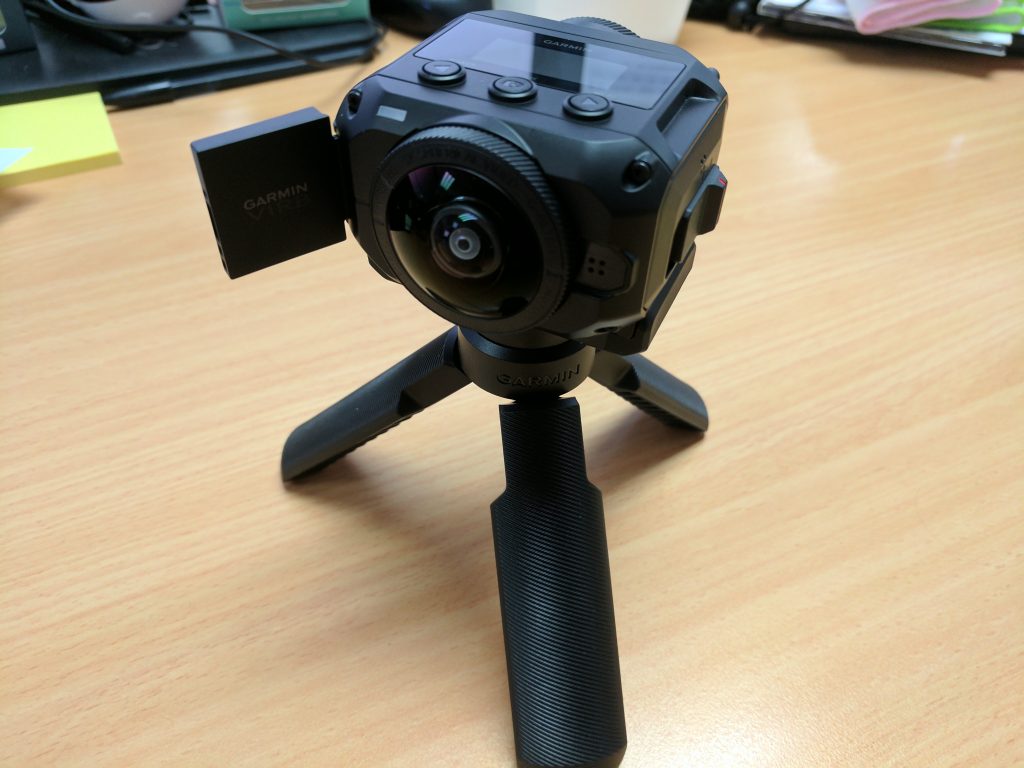
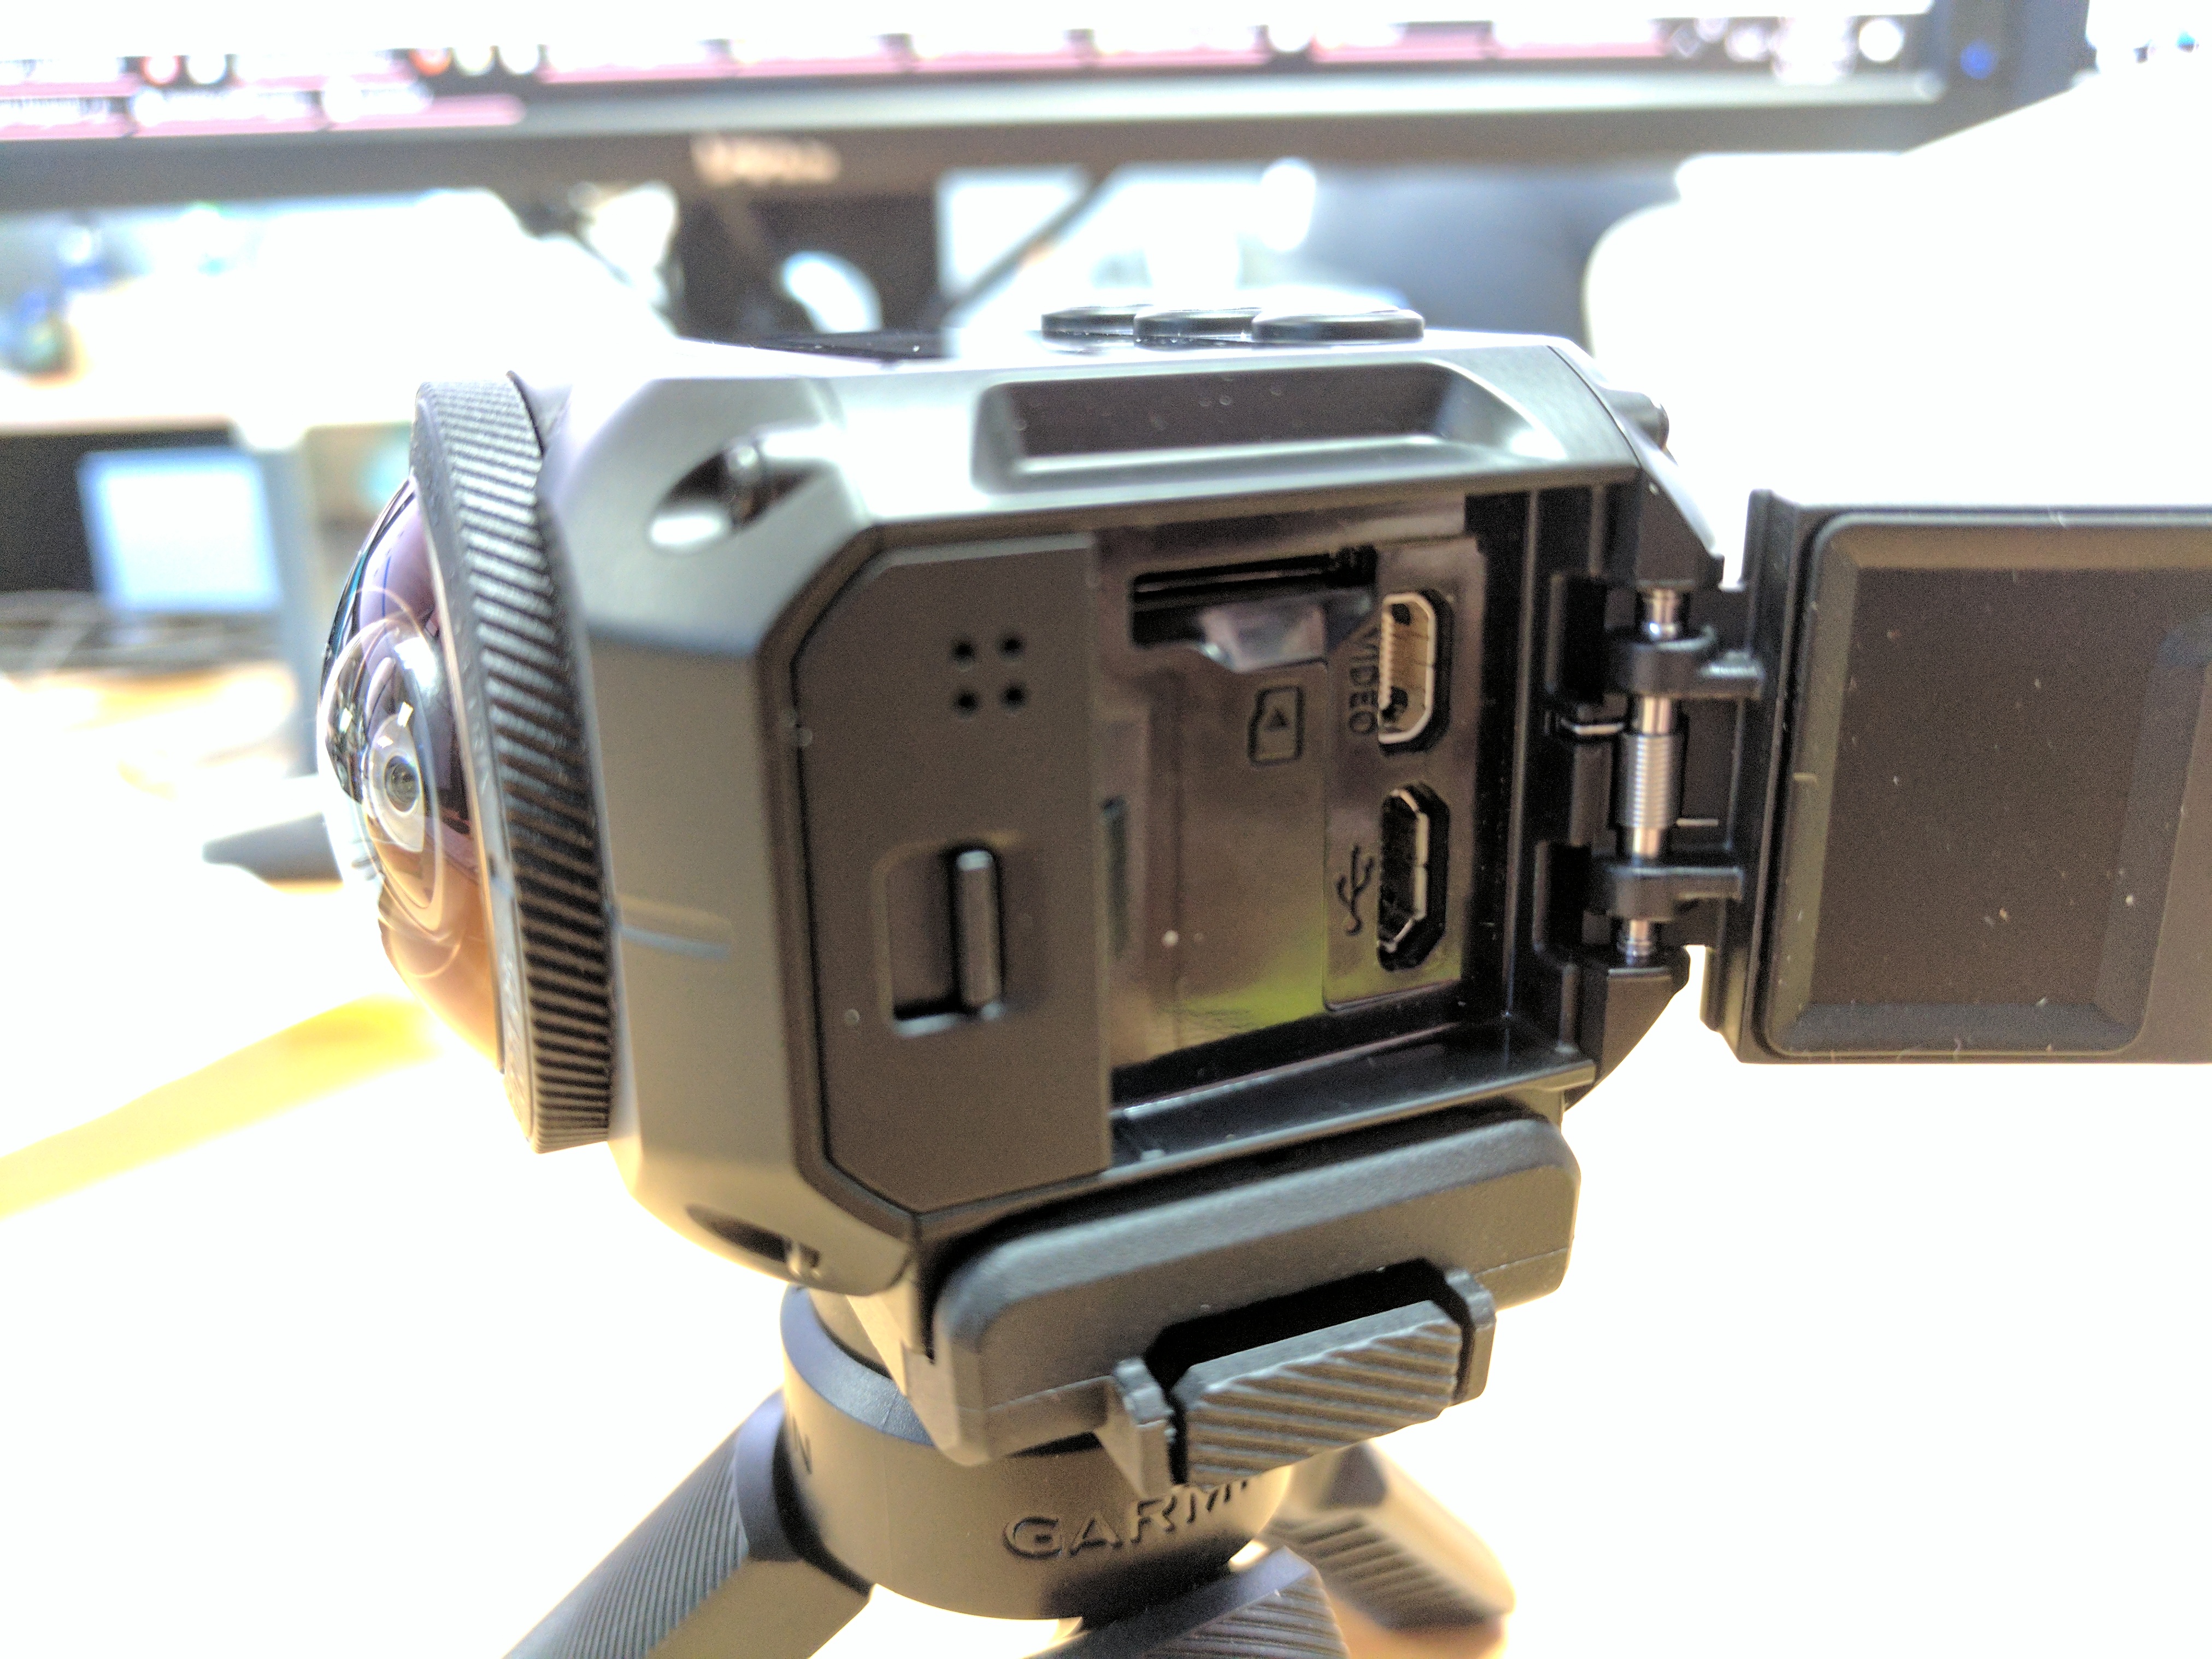
Not an awful lot. There’s the VIRB 360 itself, which is a really nice looking piece of hardware with dual fisheye lenses (necessary for the 360 degree functionality) in a nice package little square-ish package.
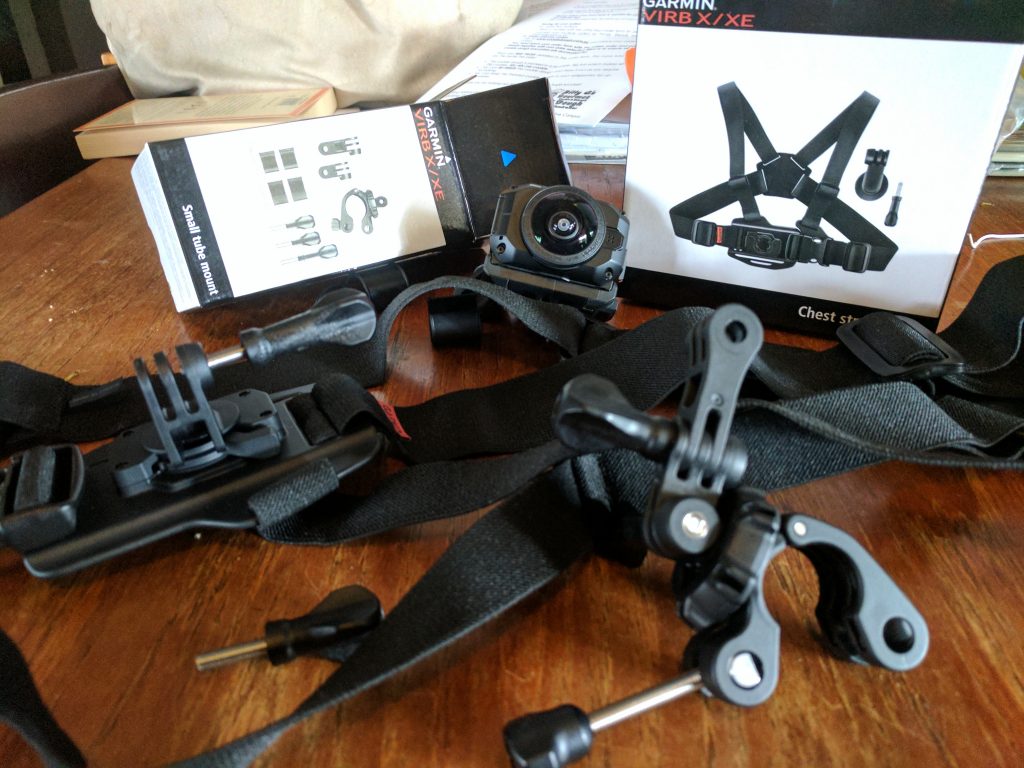
Under the foam packing for the camera itself, you’ll find a box with instruction manuals, a charging/data (micro USB) cable and a miniature tripod for mounting the camera for your stationery photos and videos.
One thing that struck me here is that it’s not just about 360 photos and videos, it’s also an action camera but doesn’t come with a chest, helmet or tube mount for people who want to get out and about with their new camera. Sadly, those cost extra, and at the price Garmin are asking for the VIRB 360 I’m pretty confident they can afford to give you one of the above.
(Ed. We note that most other action cameras typically don’t include mounts)
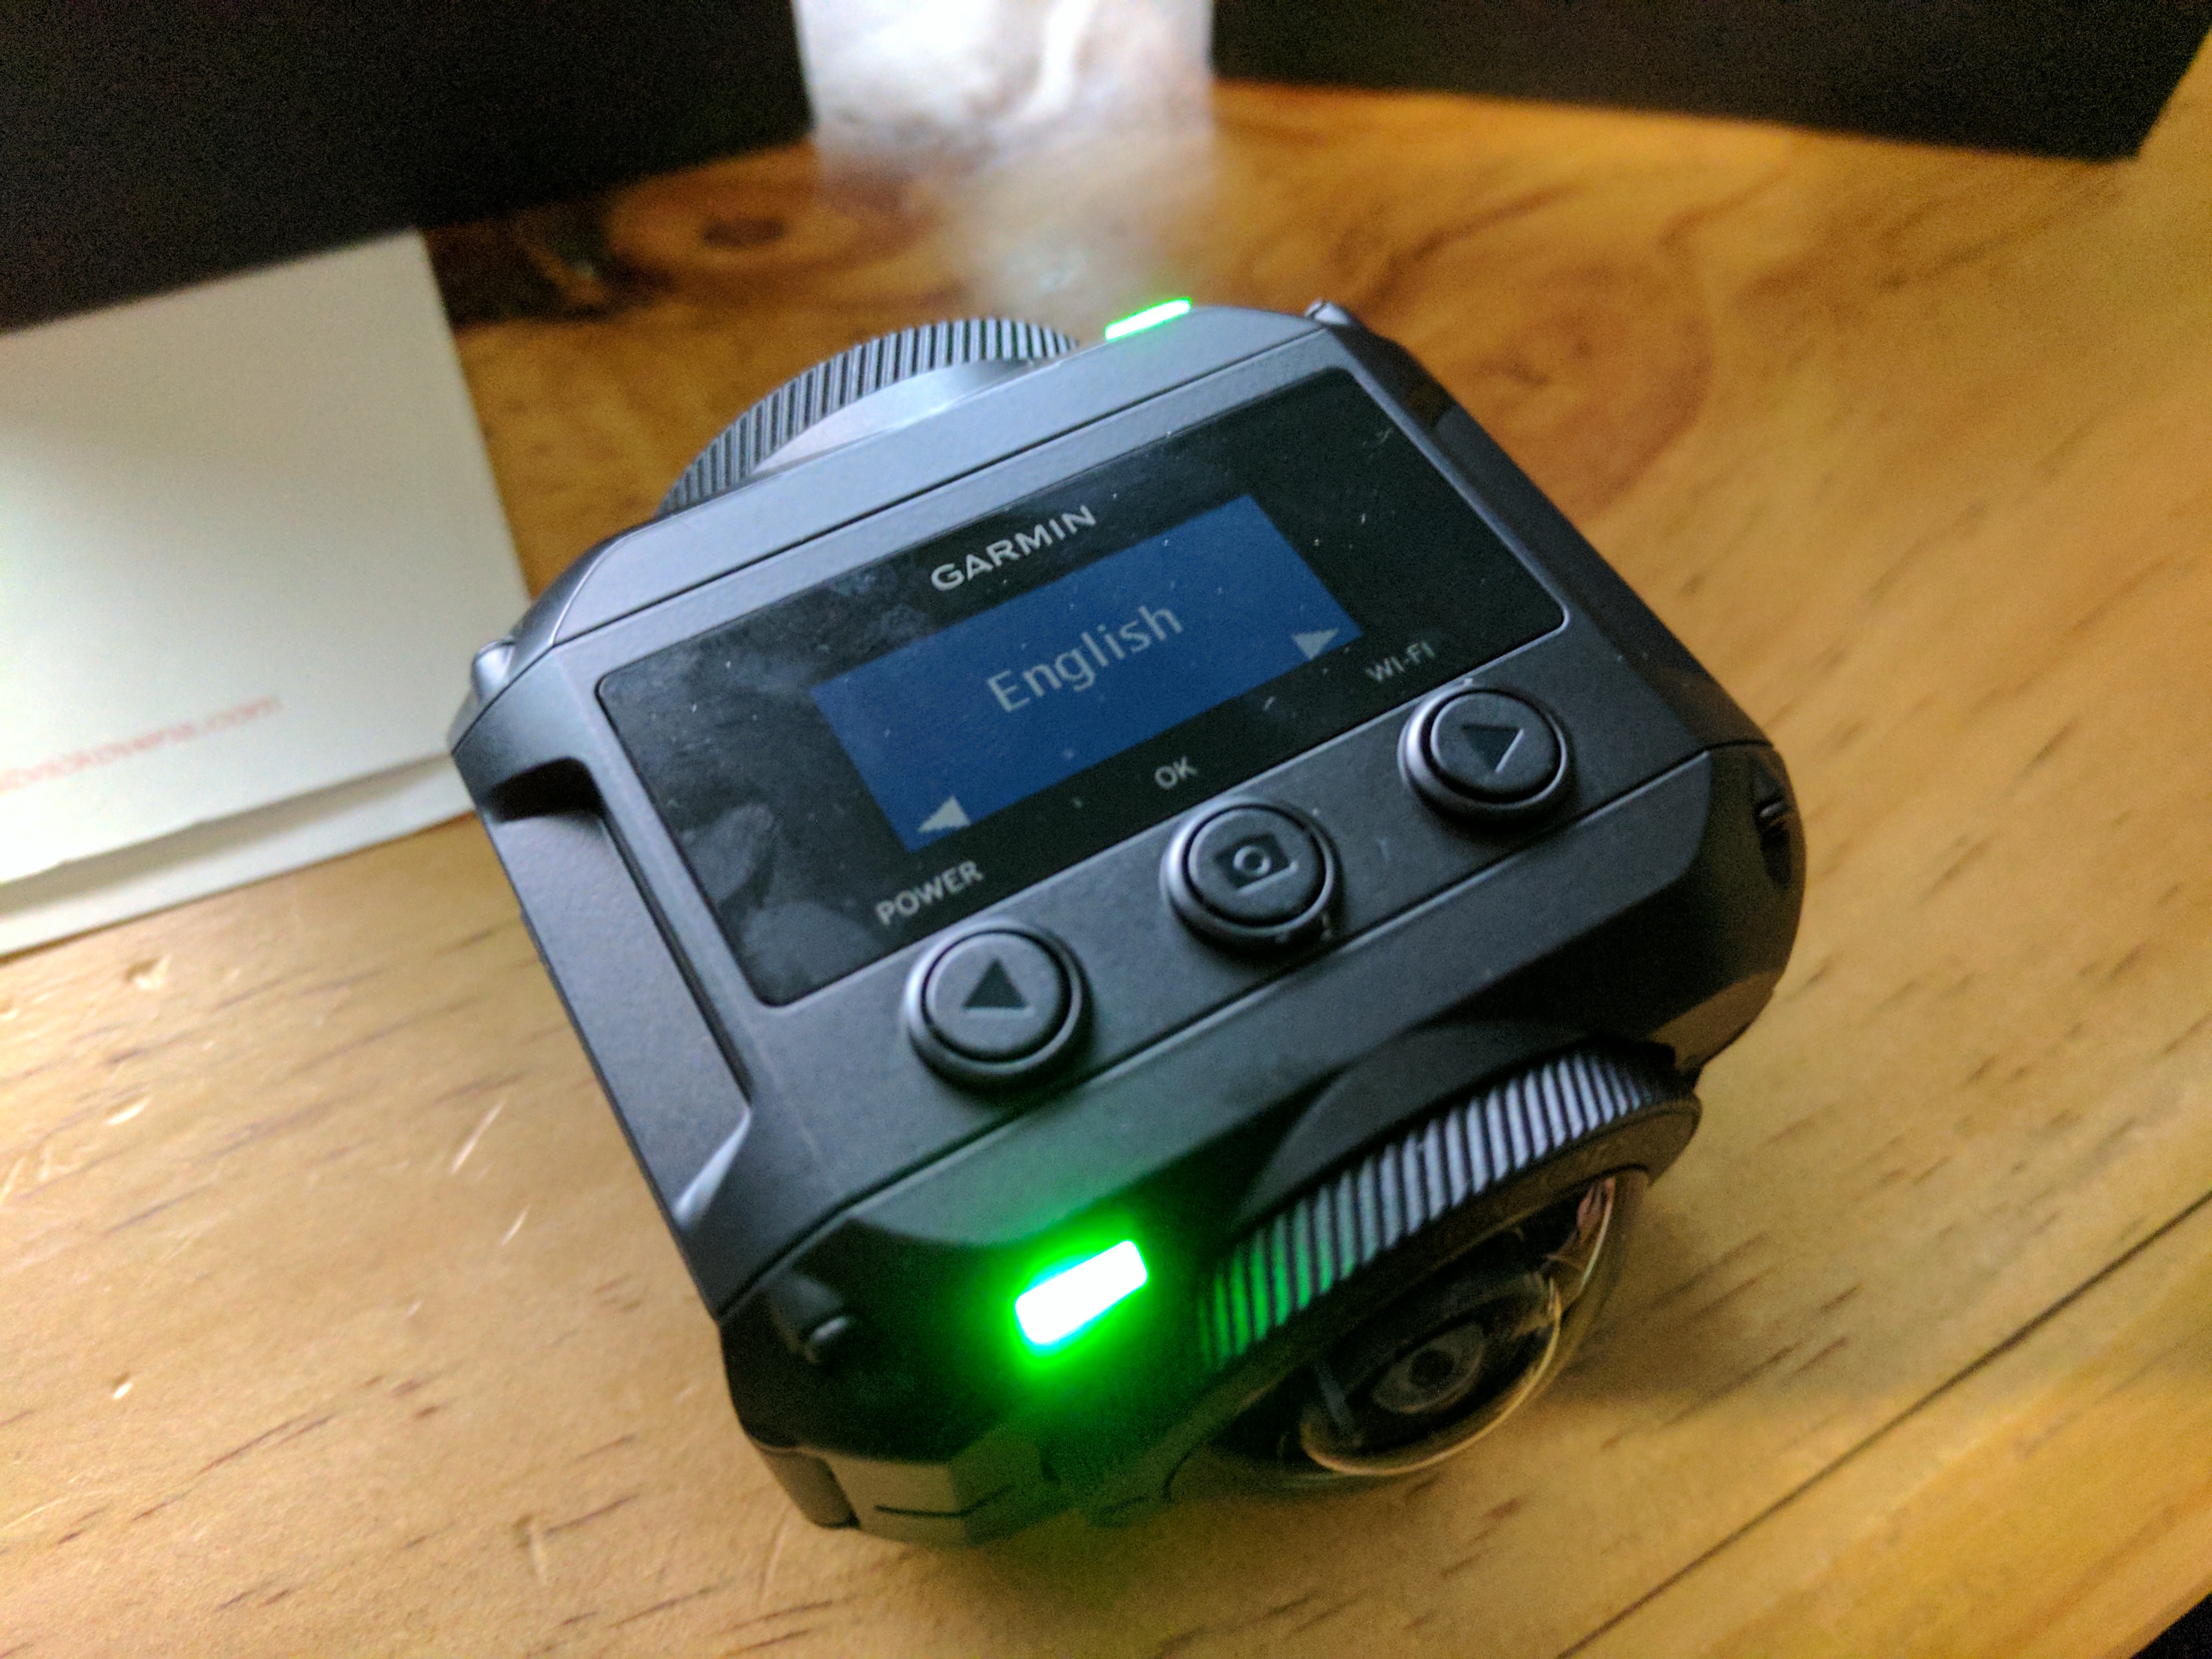
How to use the VIRB 360
There are a couple of options to use the VIRB 360, either by remote from the VIRB App on your phone/tablet, or on the device itself with its built-in controls for when you’re out and about or perhaps smashing through some trails and need to get that moment without clambering for your phone.
Remote Functions
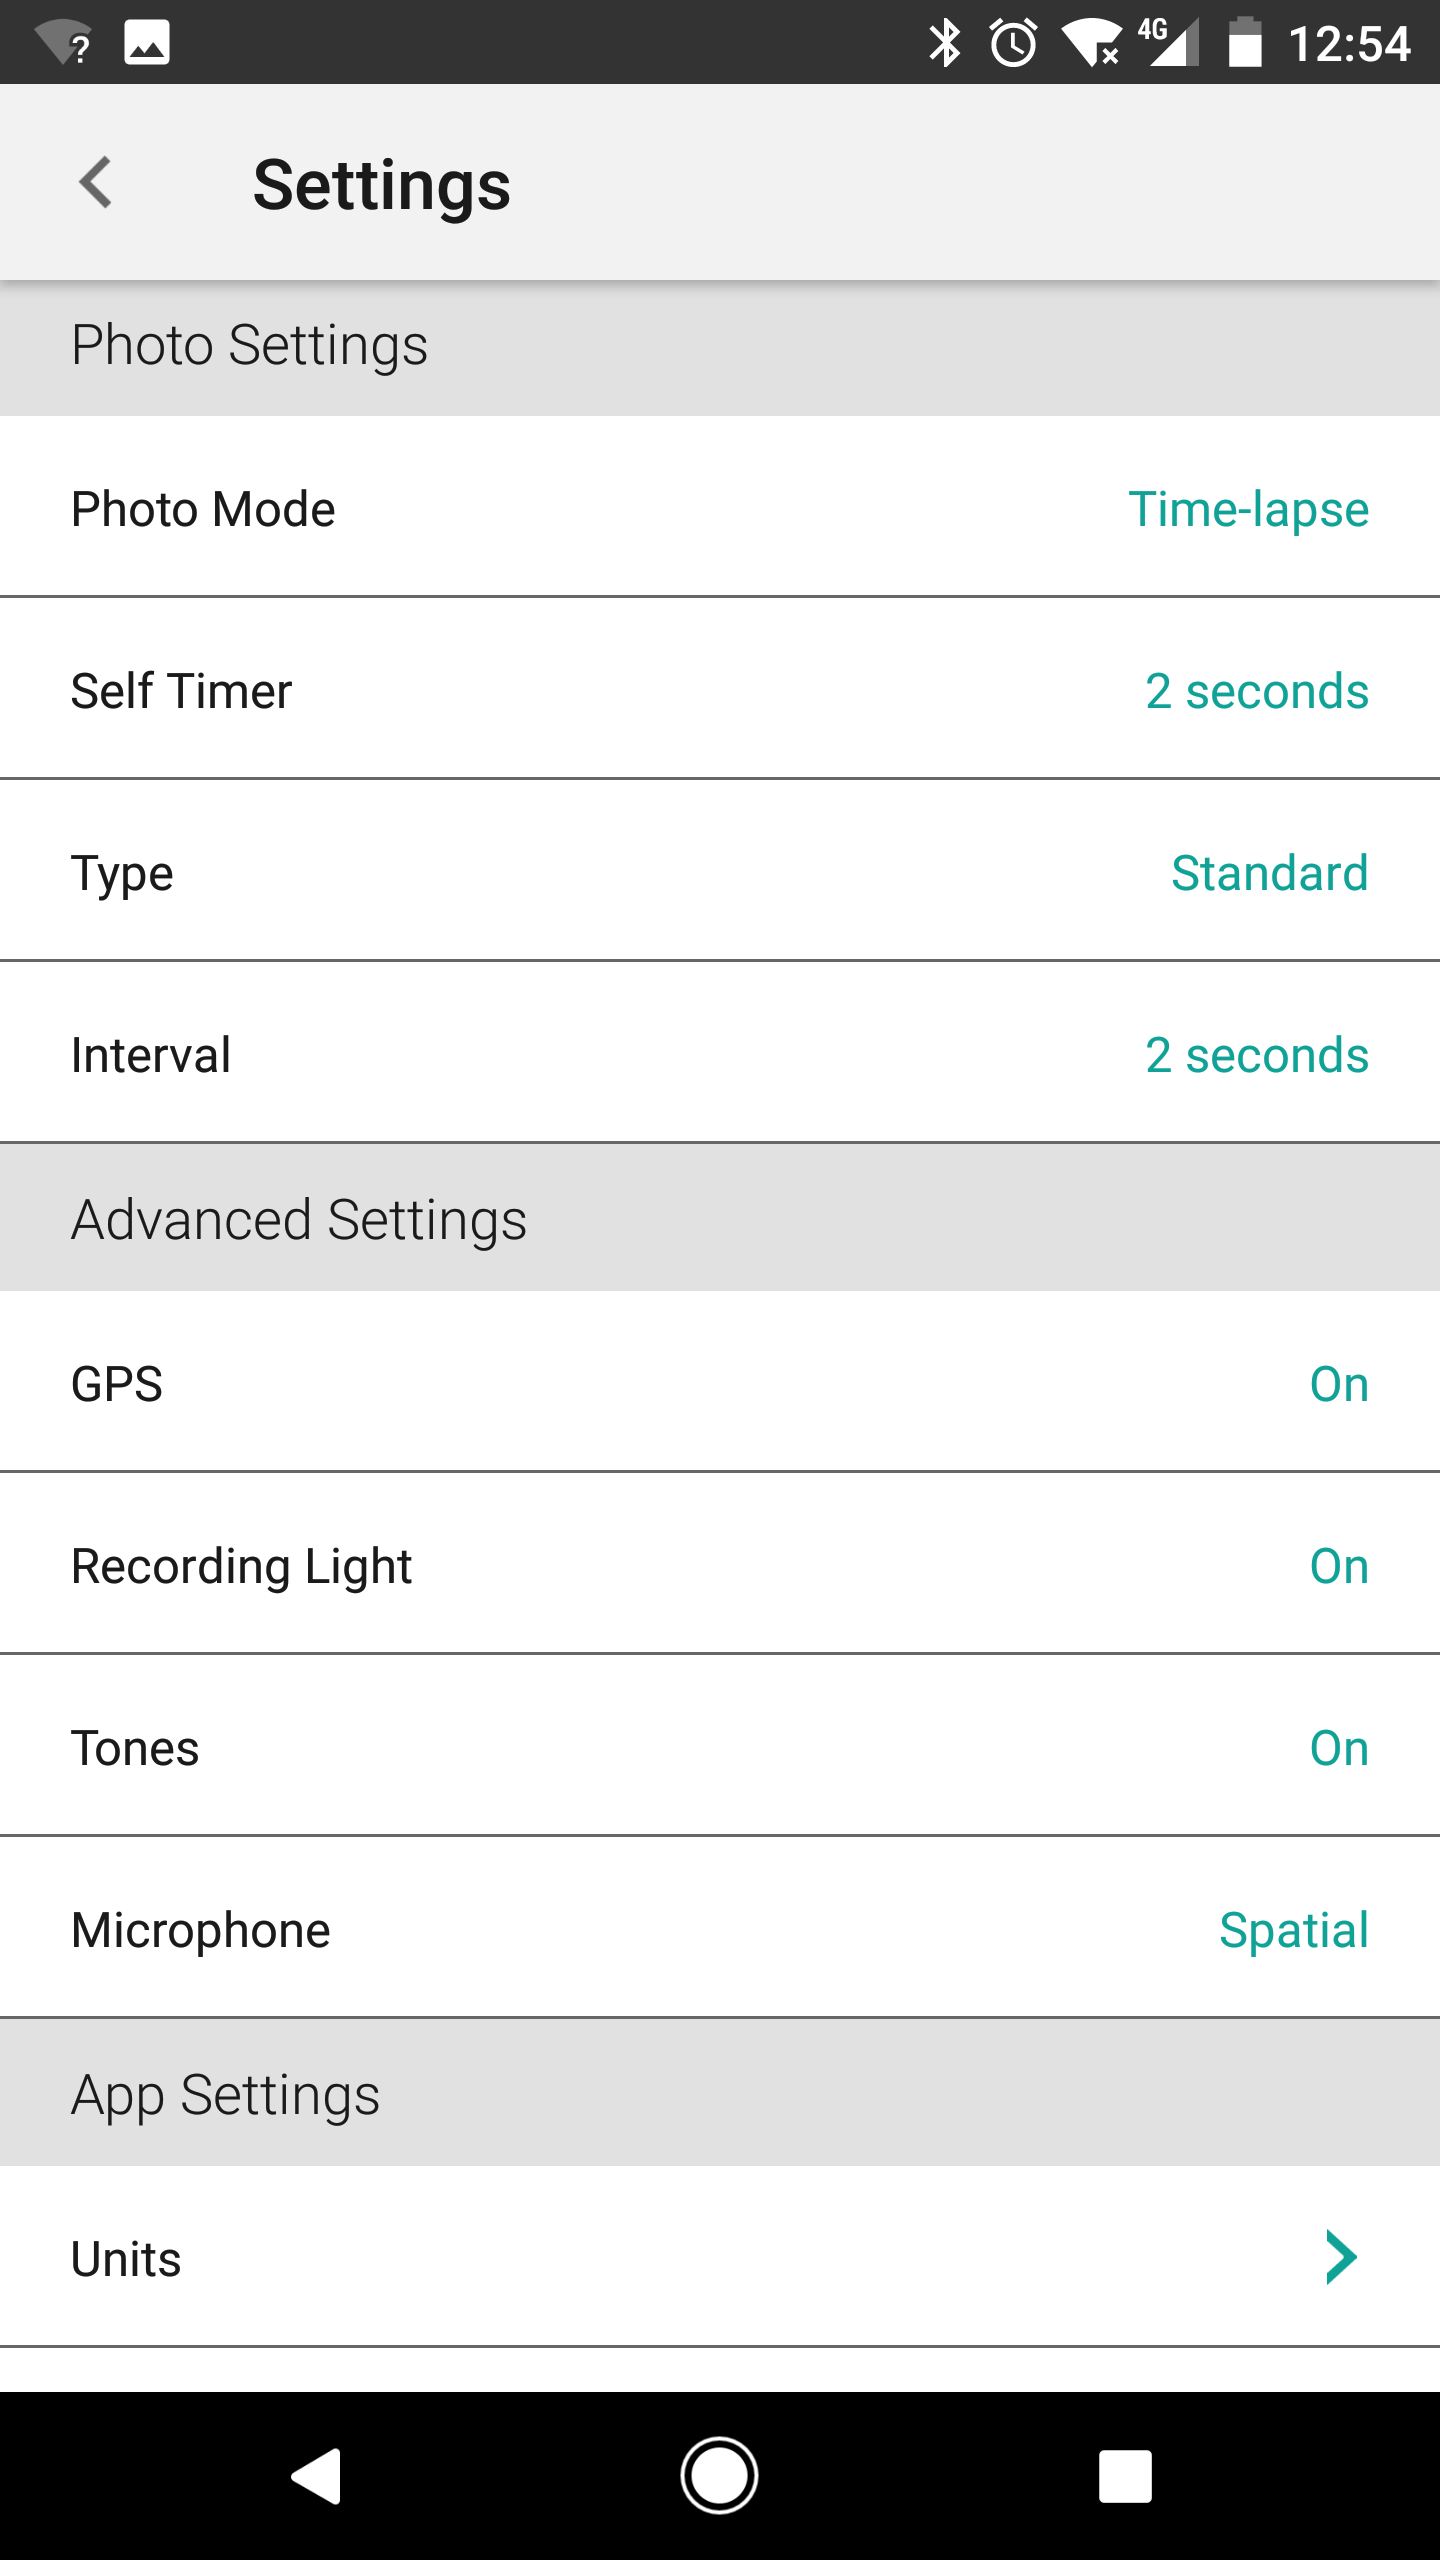
If you’re setting up a single 360 degree photo, stationary video or timelapse then this is the way to do it. You get a near real-time display on your phone/tablet showing you what the camera is seeing. You can spin the full 360 degrees to make sure that your setup is level and ready for action then hit the go button.


Device Controls
The controls for photo or video on the device are really simple. Slide the record switch to start recording with your VIRB 360 or press the OK button the start the timer on a single photo. The timer can be set for anything from 2 seconds up to 60 seconds in various intervals to allow you time to get your hand out of the way or setup that perfect group shot around a table or room.

Voice Controls
There are some simple controls triggered by saying “OK Garmin” to the device, which allow you to have your hands and general concentration on what you’re doing rather than grabbing at the camera to control it.
The controls are limited but functional:
- Start Recording
- Stop Recording
- Take a picture
- Enable Wifi
- Disable Wifi
Unfortunately, I did have some difficulty with for a couple of reasons. The main one being that I’m not American, much like the first generation of Android Wear, if you put on a vaguely cheesy American accent and talk to it your success rate will greatly improve.
Secondly, ambient noise can have a huge impact on the camera’s ability to hear and decipher your voice, but that’s really not all that surprising. This is a 360 action camera, not a Google Home.
What’s it good at?
You’d expect a device that retails at $1,099 to be good at everything it claims to do. Photos on either single lens, full 360, videos for single or full 360 and using the built in GPS and G Sensors to give you an overlay of speed for your action videos.
[vr url=http://ausdroid.net/wp-content/uploads/2017/07/yard-360.jpg view=360]
There’s a reasonable number of applications for 360 photos from panorama views, to photos around a table at a party, to building tours and the combination of the hardware and software controls for the camera make this really quick and simple.
When it comes to the quality of photo and video in decent light conditions both the photo and video capabilities are really good. Even to the extent of fading light you’ll get a pretty solid video. The stabilization is excellent as evidenced by the videos I took on the handlebar mount while crashing around a couple of local tracks, but you’ll get a significantly better video if you wear the camera on a helmet mount or chest pack simply because your body stabilizes the camera naturally as you move around.
There’s a little trap for those who capture 360 video and try to upload it to YouTube the first time, and it can be a painful lesson if you’ve just uploaded a huge video: you need to inject some meta data into your video to make YouTube aware that it’s a 360 video. If you don’t, you just get a fairly ugly result.
A little bit of Googling later and I had the right tools to get 360 video cranking.
What’s it not good at?
The need for decent light is possibly the biggest (and only) disappointment in what is otherwise an outstanding bit of kit. In fairness given what the hardware is doing, I don’t really think this is a deal breaker since people recording 360 degree videos generally will do it in good light. But as soon as the light conditions get a little dull, the still shots and particularly video start to lose that dynamic focus and get a little grainy.
The only other issue I faced during my time with the VIRB 360, is the connection challenge which was a little finicky to start with via WiFi. The problem was (I believe) two things; a not-so-great Bluetooth connect, and the fact that my WiFi at home is dual channel. To work around this, I had to specifically go into WiFi settings and create the WiFi connection to the camera before opening the app. A minor inconvenience when you consider that you’re unlikely to be doing this type of connection close to familiar WiFi regularly.
Conclusion
The best description I can give you is that the VIRB 360 is an absolutely ripping bit of kit. It does everything that it is advertised to do and it does it well. The deal breaker for anyone seriously considering hardware like this is the $1,099 you’ll have to part with to get your hands on the goodies and that doesn’t include a helmet, chest or tube mount for the thrill seekers among us. When you do go out with the VIRB 360 to record some adventures, the controls are simple and the quality of the images you get out of it are excellent.
For me what the VIRB 360 really boils down to is this: if you’re using it for just the 360-degree photo functionality, then there are many cheaper options out there that will give you similar results.
On the other hand, if you’re heading out on some outdoor adventures that are likely to provide some amazing scenery or action shots, then it’s absolutely you should seriously consider.
You can pick up the Garmin VIRB 360 through Garmin’s online store or through various retailers. Contact your local stores for availability.


