
Remember when you got that Samsung Galaxy Nexus on a contract from Telstra? You thought you would receive updates forever didn’t you? Unfortunately the Galaxy Nexus is now two years old and Google have washed their hands of it. No KitKat for your phone coming from Google and you really don’t have the money to fork out for a new phone at this stage. What to do? Fear not, all is not lost, the developers at XDA-Developers have got your back.
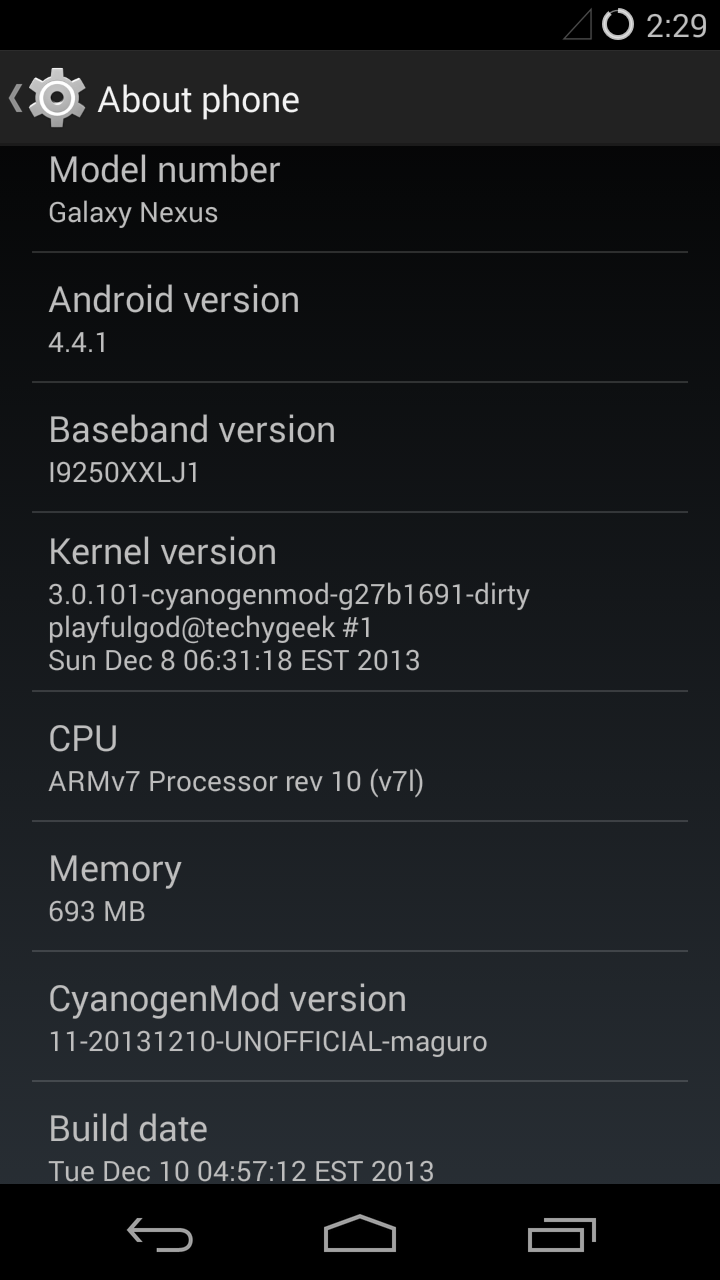
Developer PlayfulGod has managed to get a fully functional version of KitKat in the form of CyanogenMod 11 working on the Samsung Galaxy Nexus. As per usual, we weren’t willing to just report on it for you, our loyal reader; we put our devices where our mouths were and installed it on our Galaxy Nexus (well, I did, on Geoff’s Galaxy Nexus). Starting at a fully stock 4.3 version, we now have a rooted Galaxy Nexus running KitKat (CM11). Only issue in doing to is that we have unlocked the bootloader. By now your phone is most likely out of warranty so what have you got to lose? The process is relatively simple if you follow the steps listed below.
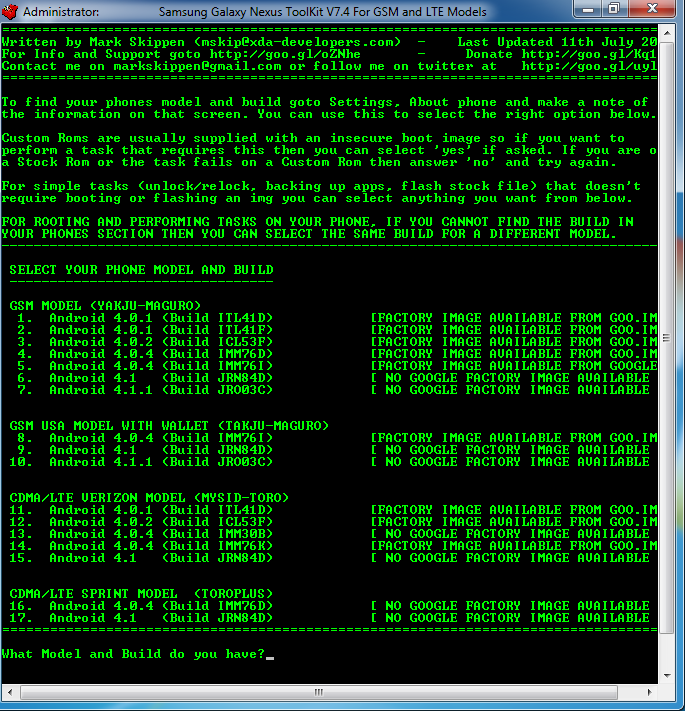
There are several ways to perform this. The easiest way, but it also means you will learn little in doing so, is to use a Toolkit to unlock bootloader and install a custom recovery (Yakju is the model of phone you will need to follow instructions for). If you choose the easy way use these instructions to first install the correct drivers, these to unlock the bootloader and these instructions to install the custom recovery of choice (I prefer TWRP). If you do this skip ahead to step 5. Make sure you download all the files listed below though. You will need them all except for the custom recovery. The toolkit will get that for you.
If you choose to do things the way so as to learn what you are doing (which will help you if you wish to hack your phone in the future) then follow these steps:
1. Setup the Android SDK
The first step, if you haven’t previously, is to setup the Android SDK on your computer, be it PC, Mac or Linux variant. I like this guide here or here because it shows you how to change the environment variables so that fastboot and adb will work from any and all folders/locations on your computer not just the folder where these tools are installed. For Mac instructions head here and for Ubuntu head to here, although a quick Google search for “sdk setup windows environment variables site:forum.xda-developers.com” will find any number of examples of how to perform this task.
2. Download All The Required Files
Before starting, download all the files you will need for the entire process, saving them all in the one folder for ease of use. You will need:
- The latest CM11 build linked to at XDA.
- A Google Apps package. I recommend the standard package as well as the Google Dialer.
- The fix for some GApps issues.
- A custom recovery- my favourite is the TeamWin version- TWRP. The latest version at the time of writing this post was 2.6.3.2.
3. Unlock the Galaxy Nexus Bootloader
Once you have your Android SDK setup you need to unlock your bootloader. You have a Nexus device so this is incredibly simple to do. Keep in mind that unlocking your bootloader will wipe your device so make sure you backup everything you want to keep. There are any number of backup tools available to users. Helium by well-known developer Koush is one that works well for those with a stock rom.
Once backed up turn your phone off and then boot into your bootloader by first pressing and holding both volume buttons and the power button. Once you feel it vibrate take your finger off the power button. When see the image of the Android bootloader screen you can remove your fingers from all buttons. Then plug your phone into your PC using the usb cable.

Open a command prompt where you saved the files downloaded above by holding shift and right clicking on a blank part of the folder (“open command prompt here”). Check that your fastboot is working and device is recognised by your PC.
fastboot devices
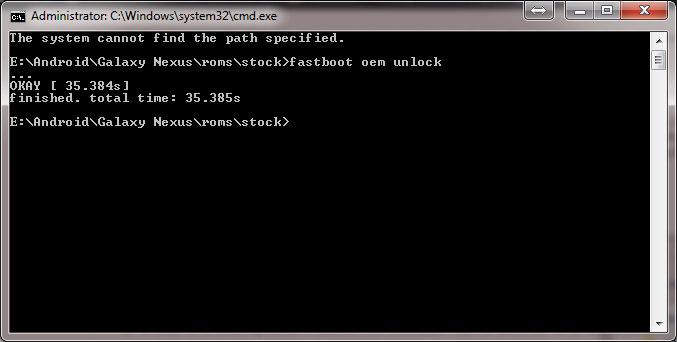
The command prompt should then list your device under fastboot devices. Next step is to unlock the bootloader:
fastboot oem unlock
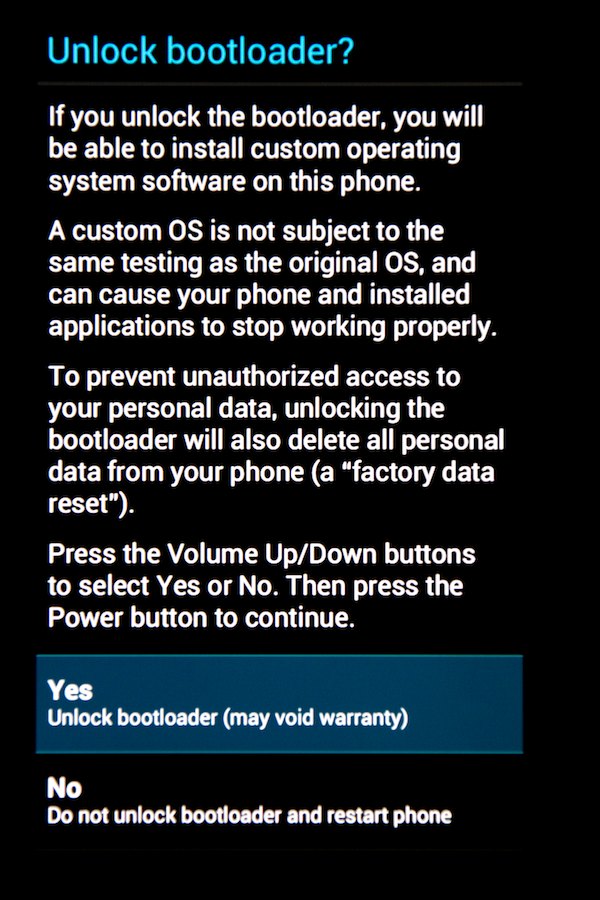
You will then be greeted with a dialogue on the screen of your Galaxy Nexus asking if you want to unlock your bootloader. Choose the red pill, navigate to yes using the volume keys and confirm it using the power button.
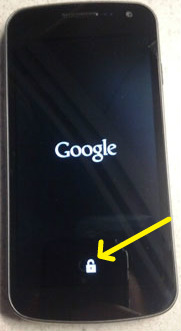
The command prompt will let you know when this is finished. Use the volume keys to scroll up to “Start” and reboot your phone. As it begins booting up you will notice an unlocked padlock at the bottom of the Google splashscreen signifying an unlocked bootloader.
 |
 |
Once it has booted up, drag and drop all of the files downloaded above, except the recovery, to the root of your SD card on your Nexus.
4. Install Custom Recovery
Turn the phone off and boot into the bootloader again. From here use the same command prompt as before. Check your phone is still recognised by the computer:
fastboot devices
Once you get the correct response time to flash the recovery with a custom recovery
fastboot flash recovery path-to-recovery\openrecovery-twrp-2.6.3.2-maguro.img
I like to type “fastboot flash recovery” and then drag and drop the recovery file into the command prompt window which negates any chance of typos or getting the path to the recovery wrong.

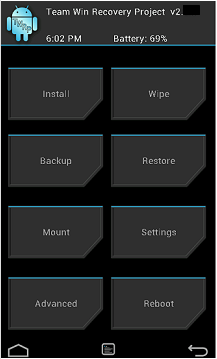
5. Boot into Recovery
Once this has been completed use the volume keys to navigate to recovery mode and select this option using the power button. The phone will then turn off and boot back up into the recovery. From here select “Wipe” and “Swipe to Factory Reset” and the phone will wipe/clean any remaining data.
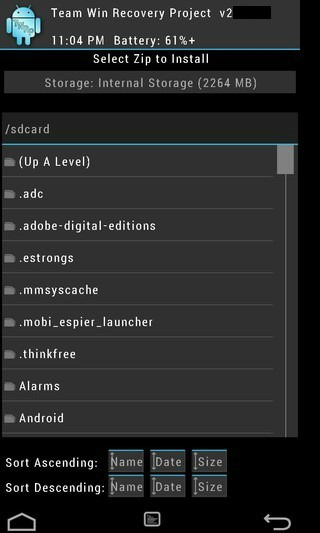
6. Install CyanogenMod 11
Then select Install and then navigate to and select first the ROM:
- cm-11-20131212-UNOFFICIAL-maguro.zip
Then select “Add More Zips” and choosing the following, in order:
- 12-11_GApps_Standard_4.4.2_signed.zip
- 12_11_GoogleDialer_4.4.2_signed.zip
- cm11_maguro_panorama_faceunlock_fix_v1.zip
After selecting the last zip to flash swipe the bar across: “Swipe to Confirm Flash” and the four zips will be flashed to the phone. Be patient as it may take a few minutes. When it says successful hit the home button followed by “Reboot” and “System”.
 |
 |
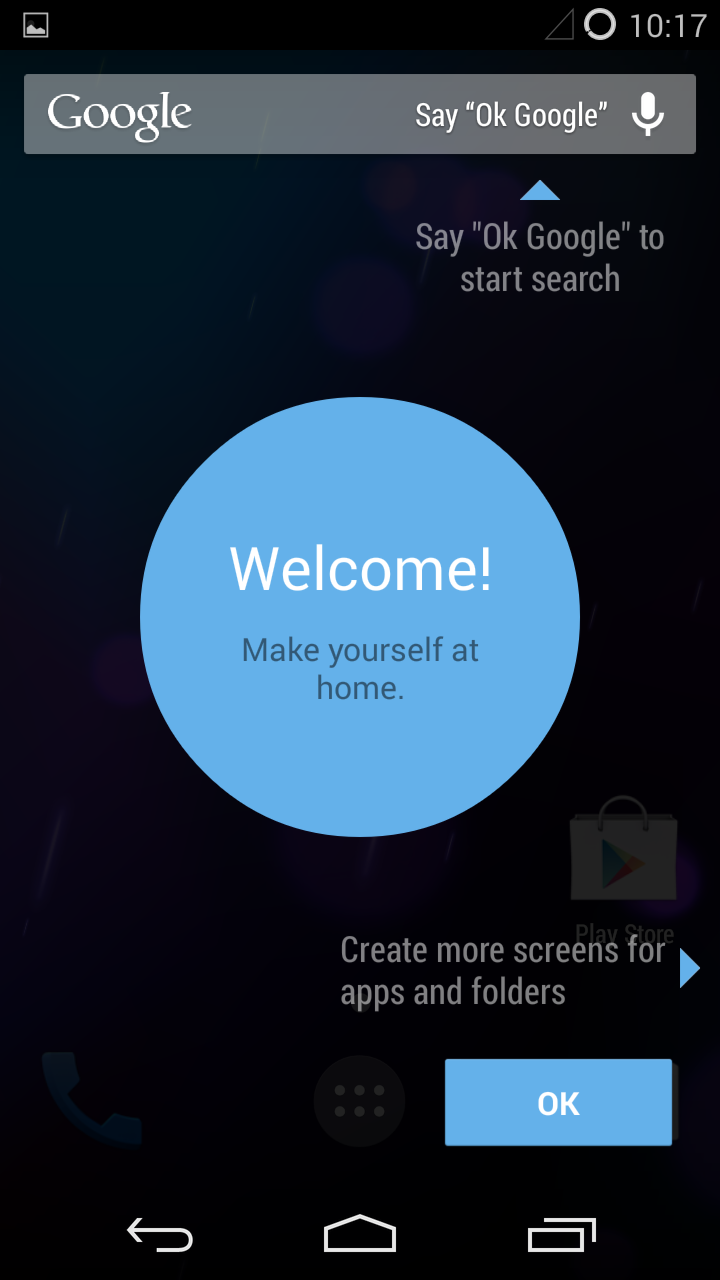
The phone will then boot into Android KitKat, CM11. Once again be patient as the first boot often takes a while. Once it has booted up log into your Google account, setup your phone as you see fit and install the apps and data you backed up. You do not need to have a CyanogenMod account to use this rom but I would assume that not every service will be available to you if you don’t. Their upcoming encrypted text messages may be one but my suggestion if you are in any way in doubt don’t get one until you find something you must have and cannot have until you sign up.
 |
 |
 |
 |
Once this is done sit back and enjoy some KitKat goodness on your Samsung Galaxy Nexus. See what all the fuss about KitKat is about while you save up your money for a Nexus 5. ART will work on this ROM by the way if you want to give that a try and check out the future of Android.
Do you still have a stock Galaxy Nexus? Is this something that you will consider doing?


