
Privacy is a big thing for everyone online, so it stands to reason that you want to protect yourself when you’re at home and on the move. After several false starts, I’ve settled on a relatively cheap option that makes connecting all of my hardware safe at home and, more importantly, when I’m travelling by using a Raspberry Pi.
There is also the added convenience of having a single network — that all my devices already know and automatically connect to — for my devices to connect to, identifying as a “single device” when I connect to other networks. With my choice of hardware, I’m also able to power this via a portable battery bank which means airports, cafes or any other public Wi-Fi, not just hotels where I have mains power available, are usable with that same protection for my devices.
It’s important to note at this point that if you’re not comfortable using a command line interface and at least somewhat (not needing network engineer level) knowledgeable about networks, this probably isn’t a project for you at this stage.
What is it, and what do you get?
Once set up, you have a single device — The Raspberry Pi — to take with you and connect to any hotel or public Wi-Fi, that the re-broadcasts a separate SSID utilising OpenWRT for you to connect to. Once connected, all of your traffic will be routed through your chosen VPN, encrypting and protecting your traffic from prying eyes.
What you need
You can make this as simple or as complex as you want to, but today we’ll make this as simple as possible. As a starting point, you’ll need to purchase some hardware:
- A Raspberry Pi (anything from a model 3 up will do)
- A suitable case
- A 32GB MicroSD card
- A suitable power supply for portable use — more on this later — and a mains power pack
- An SD Card reader for your computer or laptop
- An adaptor to give you a second Wi-Fi network
With this in hand, you’ve got everything you need to set up your own travel router with an automatically connecting VPN to protect all of your devices while you’re on the move.
Dual Wi-Fi, OpenWRT and VPN: The setup
You can skip this bit if you’ve previously installed a downloaded image on Raspberry Pi. For anyone who hasn’t, you can check out the install guide on RaspberryPi.org. The process has become significantly easier over the past couple of years, now requiring minimal technical knowledge to get started.
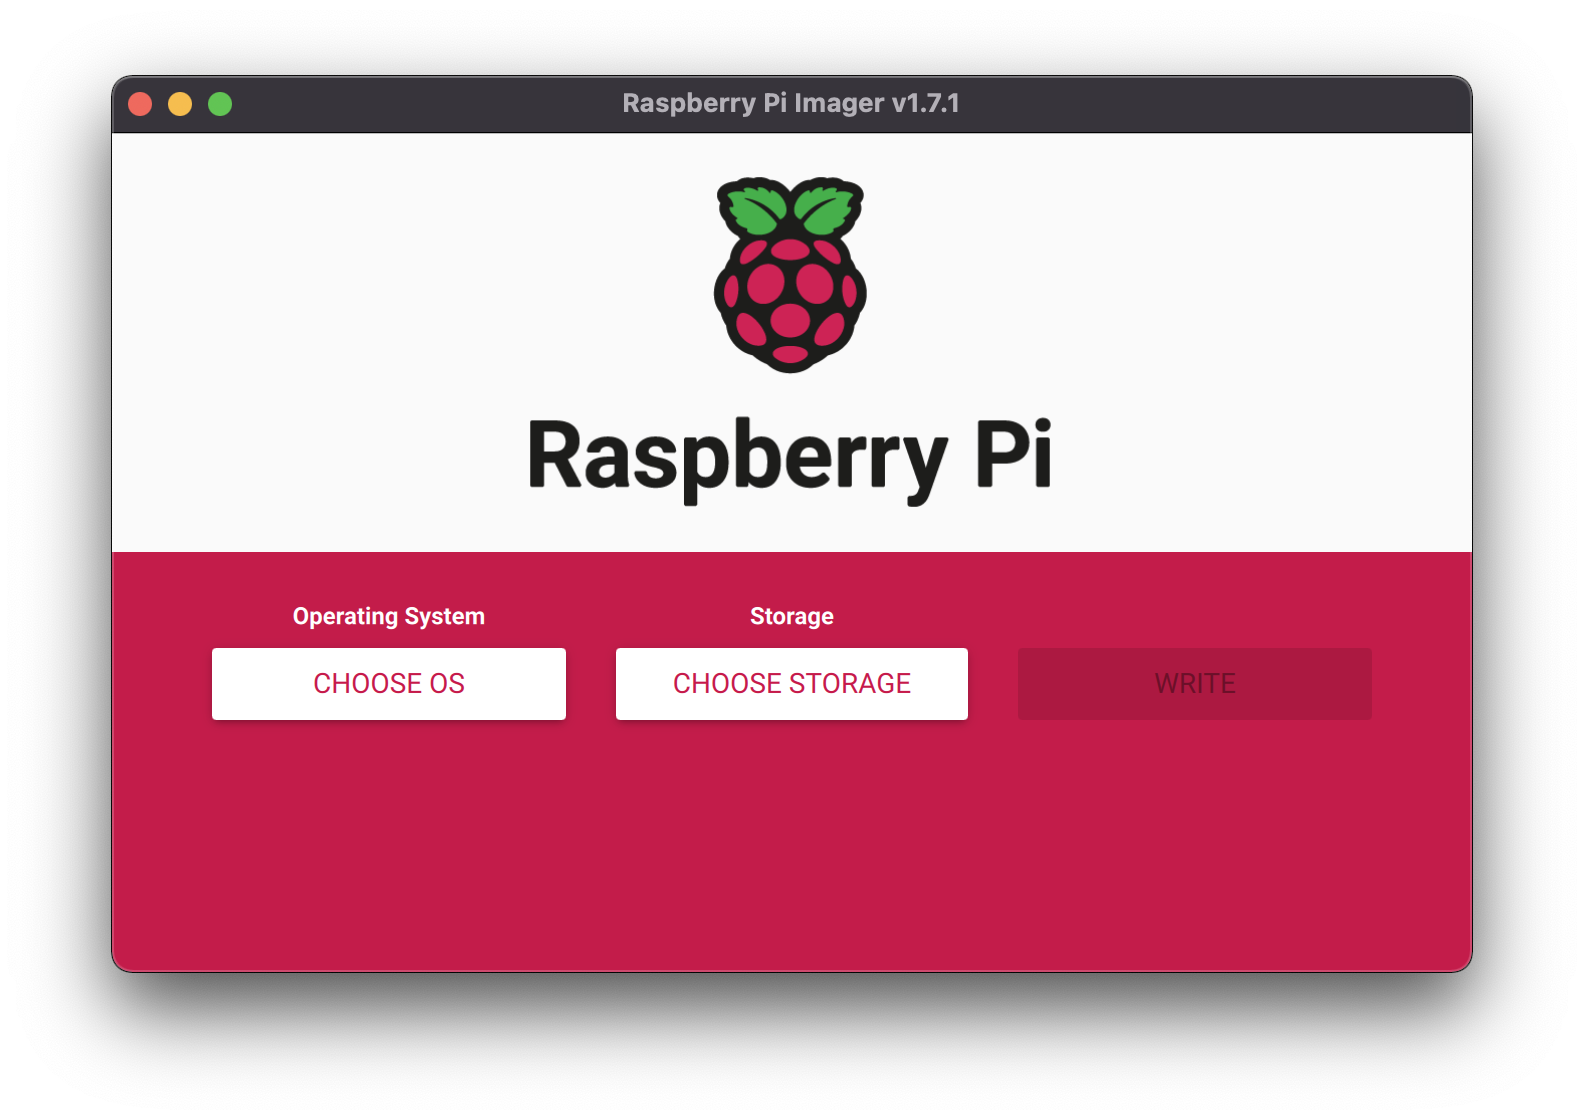
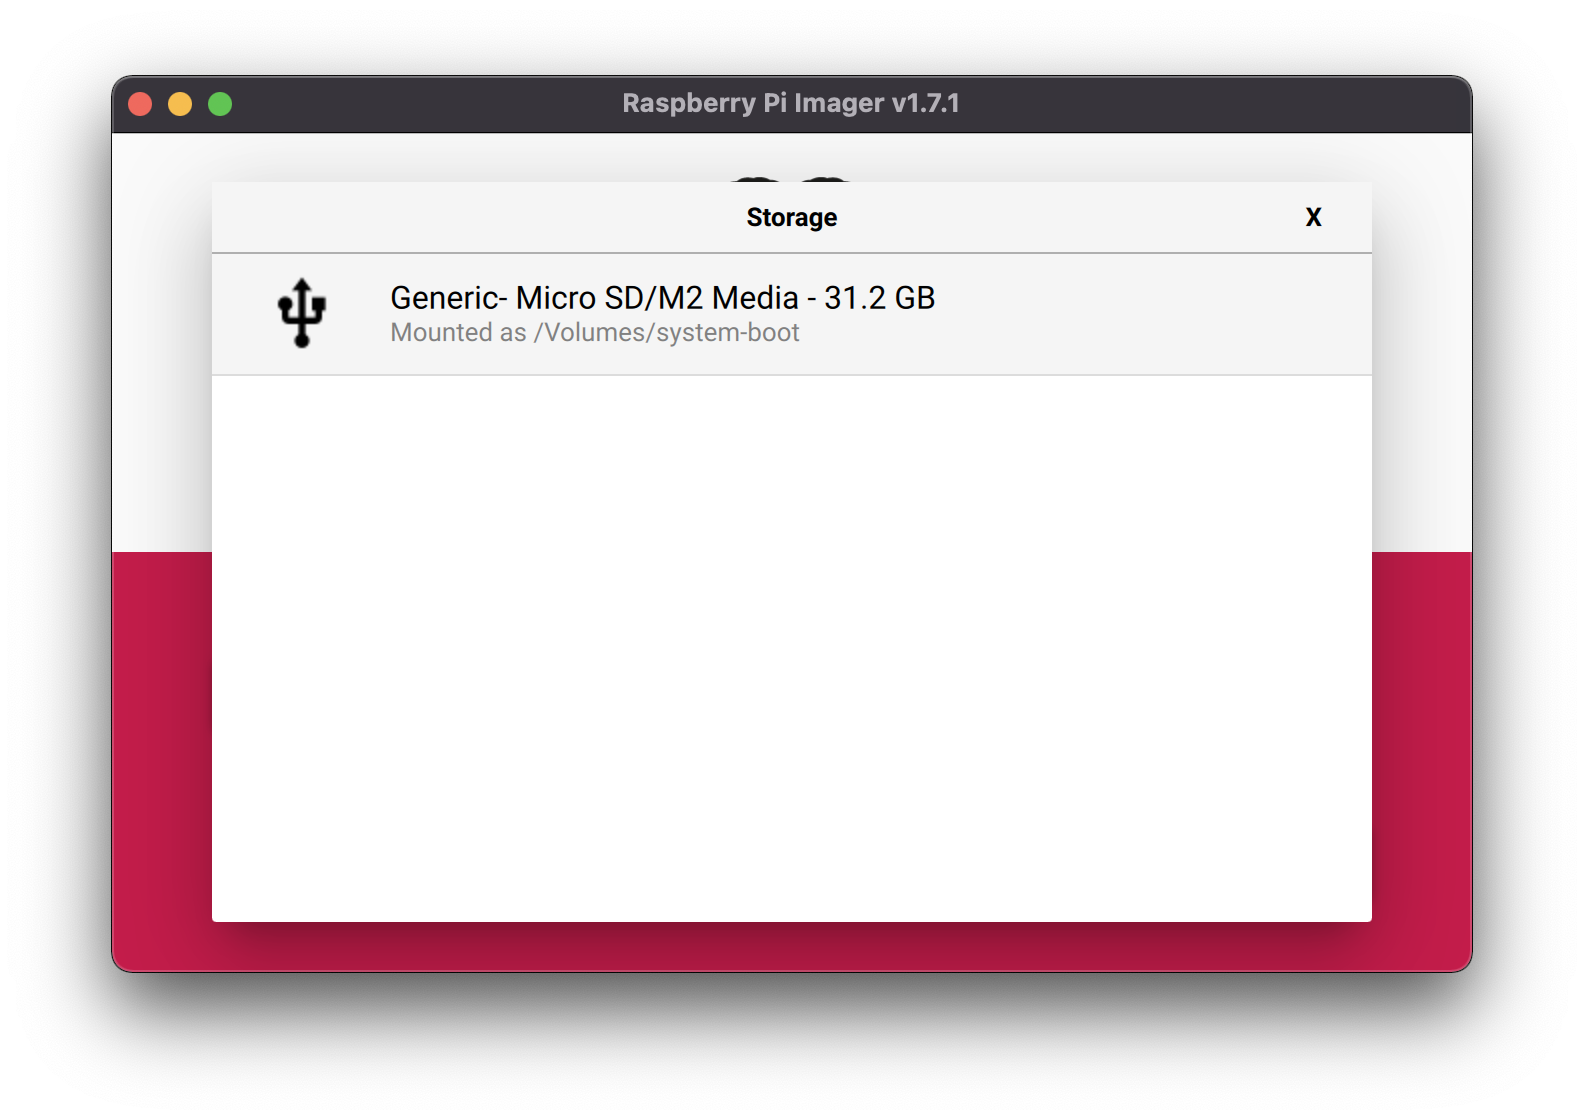
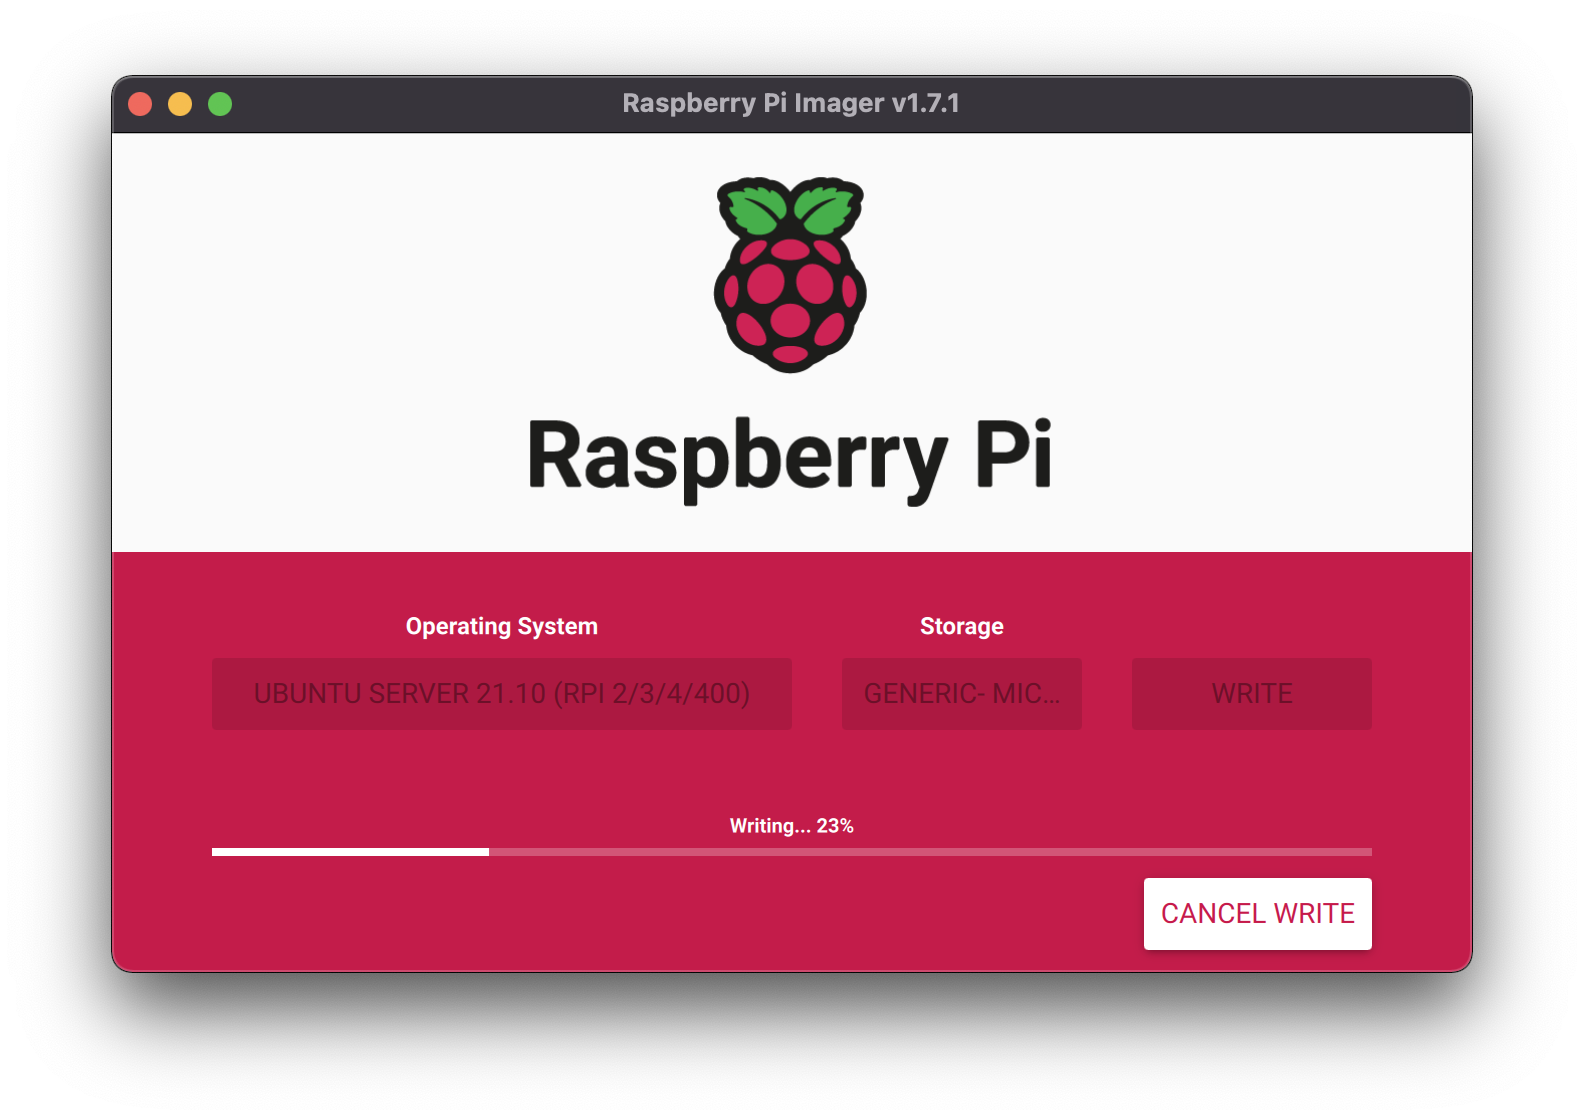
You’ll need to install the version of OpenWRT appropriate to your Raspberry Pi by using the Raspberry Pi Imager. Once you’ve got your card in the reader and the imager open, it’s a case of identifying the download file, the SD card and hit write.
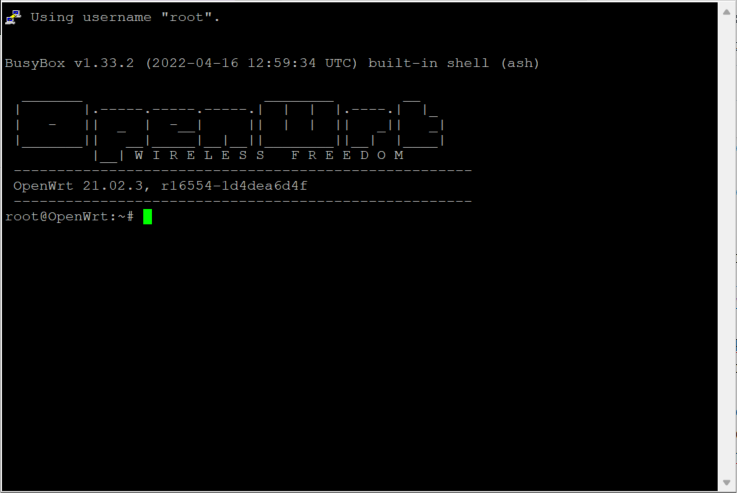
The next step is to put the SD Card in your Raspberry Pi, boot it up and start the fun.
Login and basic setup
There are several ways to handle the initial setup for your OpenWRT Raspberry Pi. Perhaps the easiest would be to plug it into your monitor, keyboard and mouse. But if you can either jump into your router or use a network scanning tool, you can identify the IP of your Raspberry Pi and complete the set-up via command line install if you don’t have spare peripherals or simply prefer this option.
To complete this, you can connect via your preferred interface, whether that’s power shell on windows, Putty or any of the many SSH clients for Windows, Mac and Linux. You’ll need to make basic changes to your Raspberry Pi’s interface to access it because it will have DCHP turned on by default. This is a good thing for the intended use of OpenWRT but not so great for our purposes during installation: While entertaining at times, DHCP wars isn’t a game you’ll typically win.
A couple of notes: By default, your Raspberry Pi will have a default IP of 192.168.1.1 which will likely cause short-term problems because; if you’re using the default DHCP setup on your home router, then this is probably the IP of your router.
If you’re not using the default setup, it won’t match your IP range and you may be unable to connect.
So you’ll need to either:
- Manually assign an IP to the machine you’re working from
- Turn your router (and internet – EEEEP!) off while you set this up
- Directly connect your working machine to the Raspberry Pi
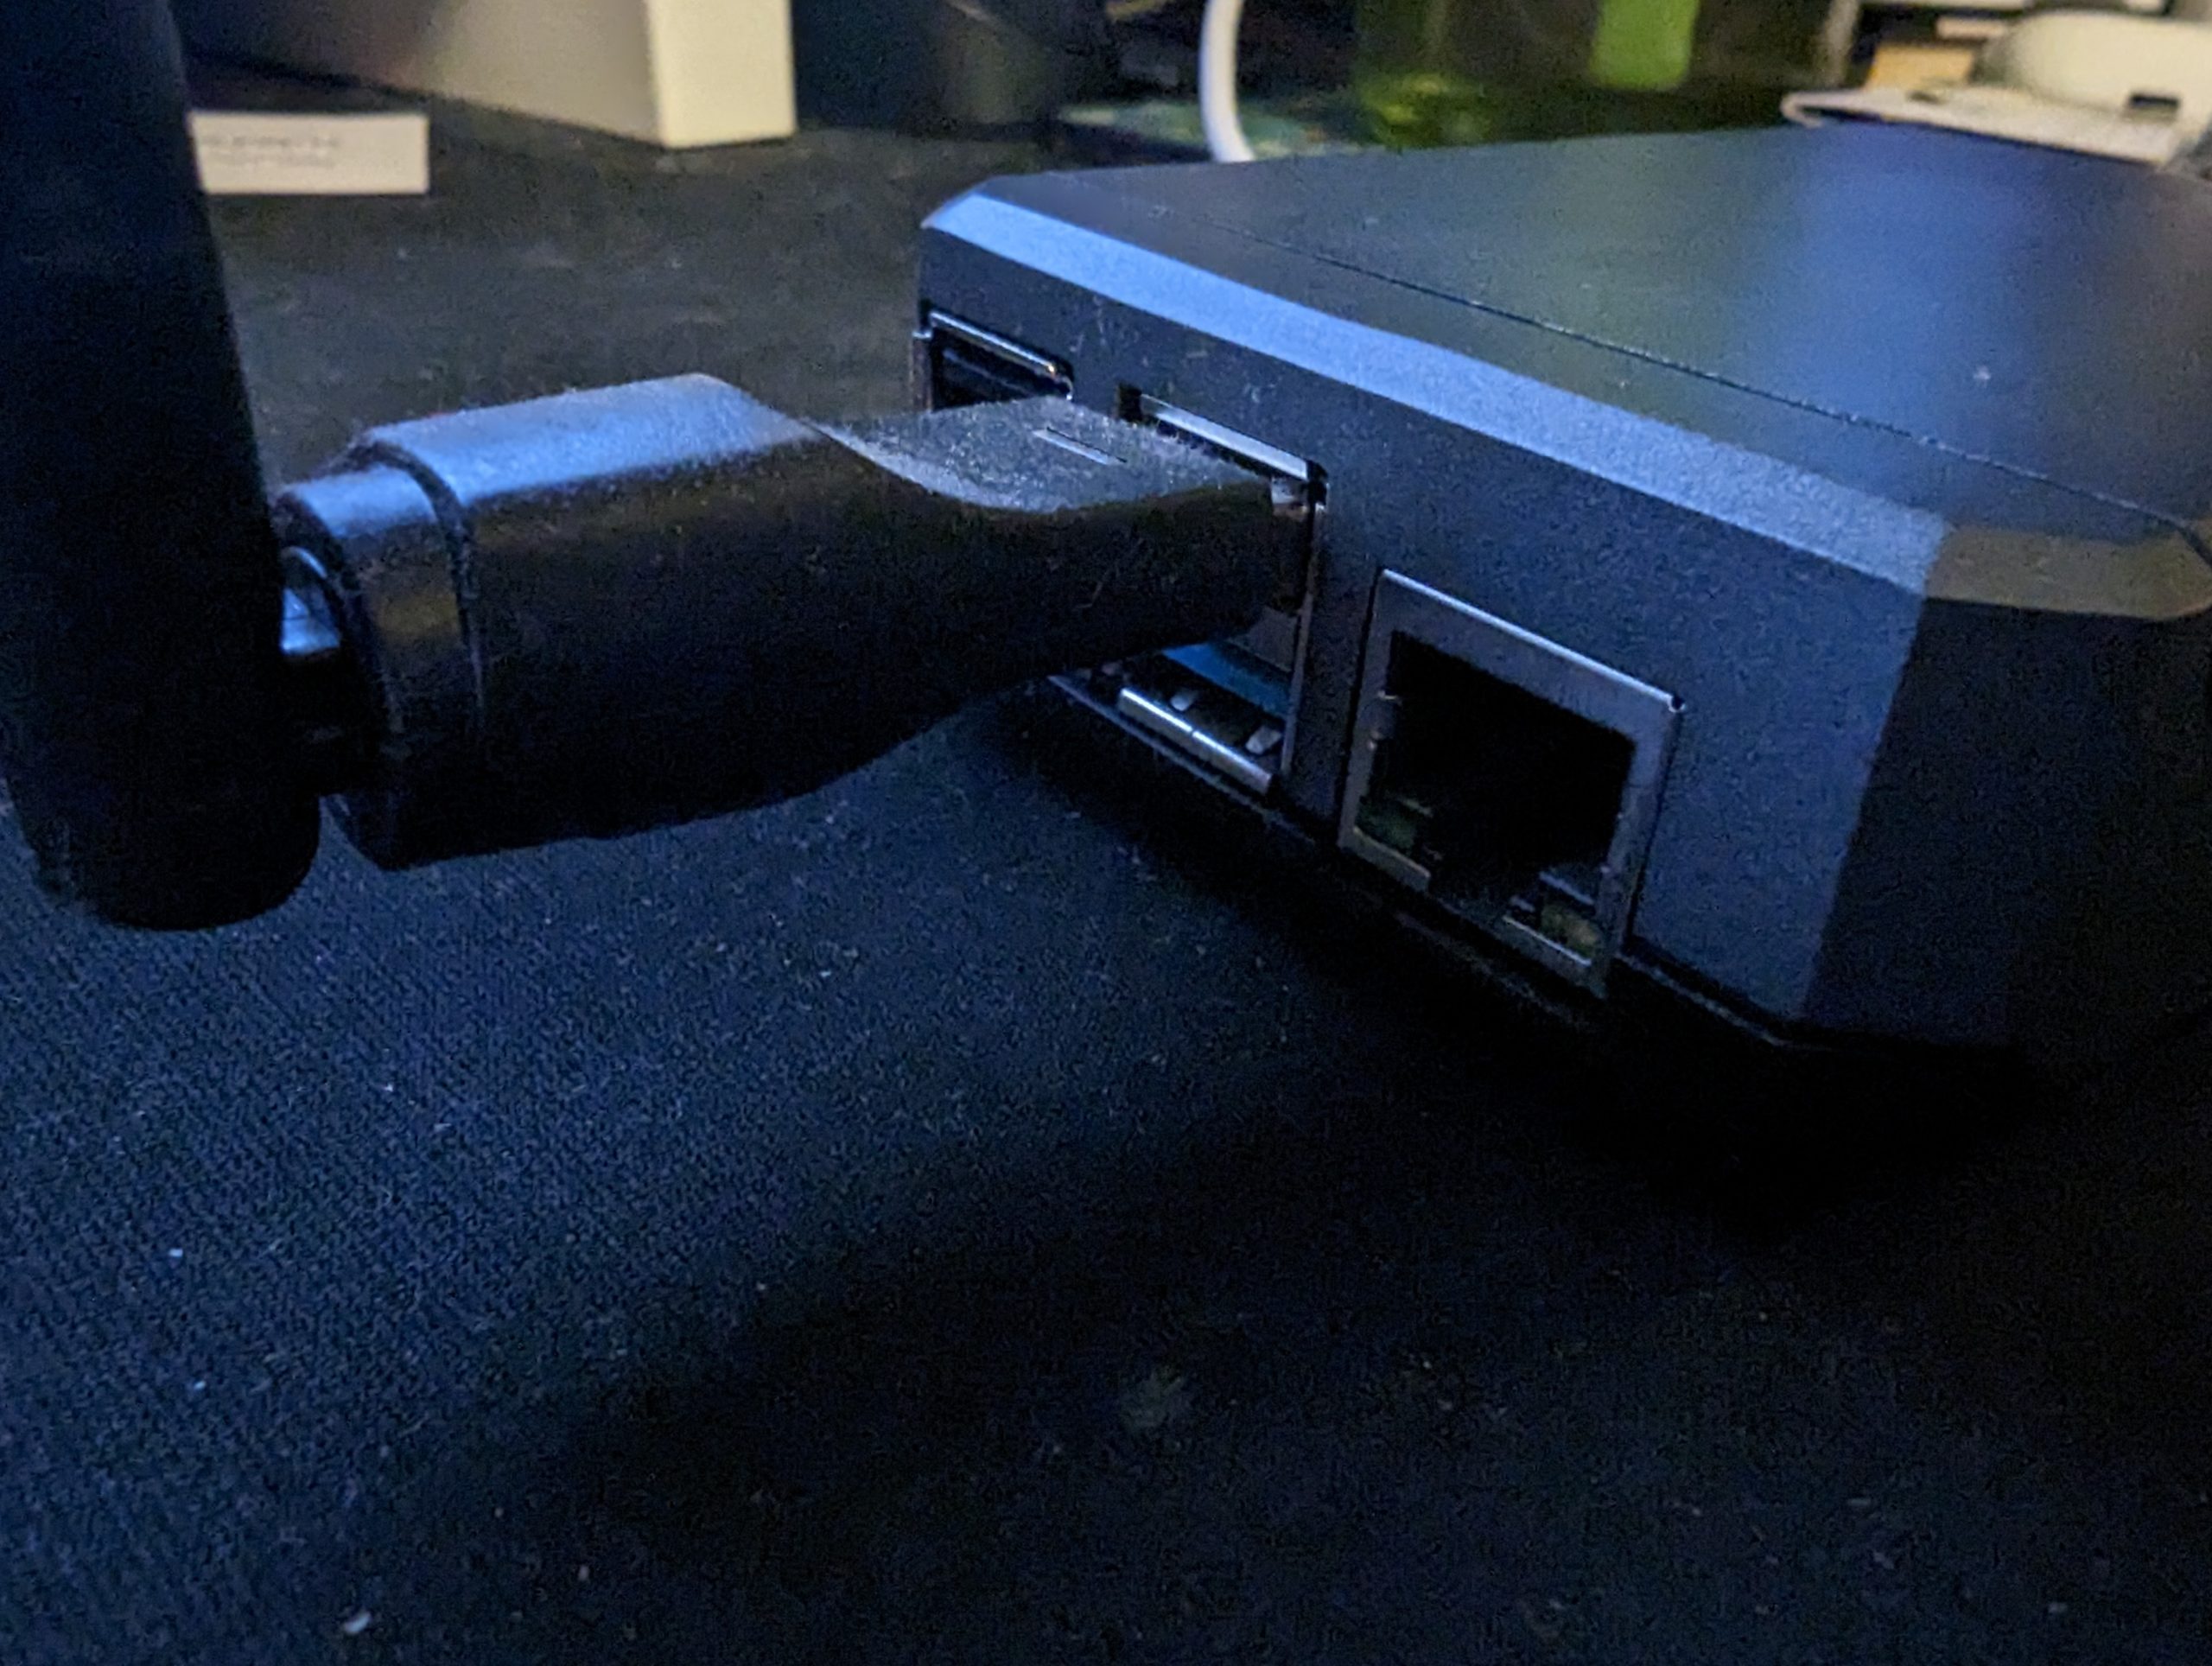
In my case, this was a USB to Ethernet adaptor connected from my laptop to the Raspberry Pi while still connected to the Internet via Wi-Fi. One way or the other, you need an IP in the 192.168.1.X range with the default gateway becoming 192.168.1.1
Once you have an IP in the correct address range, you can SSH into the machine with the default username root and get ready to start the detailed setup. A quick point of note is that there won’t be any password for SSH or access to the web interface at this point: Change that before you do anything else!
The next trick is configuring some of the network interface changes needed starting in the /etc/config/network file.
Network setup
Under the config interface ‘lan’ you’ll need to add a single setting and — personal preference — change the default IP range. Then configure two new interfaces, one for your WAN connection to the Raspberry Pi, one for your VPN.
The LAN changes
I prefer not to have any of the networks I have control over running the most common IP ranges as mentioned earlier: 192.168.1.X so I change it. In this case I’ve changed it to 10.10.10.X and added the option to force link (keeps the link live even if the device isn’t connected to the web) which is important later.
New interfaces to add
The two interfaces to add are for your WAN and VPN links, mine look like this: Feel free to simply copy and paste them.
config interface ‘outwan’
option proto ‘dhcp’
option peerdns ‘0’
option dns ‘8.8.8.8 1.1.1.1’
Simply put, outwan is the name I chose for the interface, and it is the outbound interface that will connect the Raspberry Pi to the Internet. It will take its IP address from the DHCP server it connects to. On the tail of this, the DNS option tells the Pi to ignore the DNS provided by the router and use 8.8.8.8 (Google) and 1.1.1.1 (Cloudflare).
The second is to add an interface for VPN which we’ll configure in detail later.
config interface ‘vpn’
option ifname ‘tun0’
option proto ‘none’
This creates an interface for us to use for the VPN to connect automatically when the Internet is online later.
The last step at this stage is to make a quick change to the /etc/config/firewall file and change the setting of REJECT to ACCEPT under config zone ‘wan’ for option input. This will allow traffic through from the outside connection and that’s important if you want Internet traffic flow.

Once you’ve saved these changes, you can undo any manual network changes you made to your setup and reboot your Raspberry Pi. At this point, you can log into your Raspberry Pi and use the root login to access the web interface if you want to complete the installation here. I’m reasonably comfortable in CLI and tried to challenge myself as I’m still learning a lot about the Linux world, so I stuck with doing the installation via SSH.
In theory, the Raspberry Pi now has DHCP running and will assign your machine an IP address once it has rebooted. You’ll need to keep your machine segregated from the rest of your network for a short while longer, though…
Wi-Fi setup
If you continue in the command line here, remember that your Raspberry Pi has now changed IP address. You’ll need to connect your Raspberry Pi to your Internet to grab drivers for the next step. To achieve this, you’ll need to make a few little changes to the wireless configuration.
Your specific needs may vary depending on the hardware you purchased, but for me, I needed to do a few things, including:
Install the drivers: opkg install kmod-rt2800-lib kmod-rt2800-usb kmod-rt2x00-lib kmod-rt2x00-usb kmod-usb-core kmod-usb-uhci kmod-usb-ohci kmod-usb2 usbutils openvpn-openssl luci-app-openvpn nano
I’m unsure whether it was the combination or one of the specific drivers above, but it’s now working.
I had a horrible time with this next section, so I messed around with my home network to hardwire the Raspberry Pi and still have Internet access. I eventually worked around the issue through the help of OpenWRT documentation and doing some extensive Googling for the USB Wi-Fi adaptor I purchased.
I then had to edit /etc/config/wireless, adding the following lines under ‘radio1’ to enforce a connection mode for the wireless hardware and disable guard interval which, for this use case, won’t make any discernible difference to performance.
option hwmode ’11a’
option short_gi_40 ‘0’
You’ll also need to change the existing line as follows to enable the interface and make sure its high throughput is 20MHz for the 802.11n USB stick I purchased
option htmode ‘HT20’
option disabled ‘0’
Once you’ve done this, save the changes, reboot your Raspberry Pi and plug in your USB Wi-Fi adaptor.
Then you’ll need to ensure the two wireless interfaces are configured correctly. One is for your devices (laptop, phone, tablet etc) to connect to your Raspberry Pi, and the other is for your Raspberry Pi to connect to the Wi-Fi wherever you happen to be.
For me (with sensitive information removed), the interfaces look like this in the /etc/config/wireless file; aside from SSID and passwords, this was automatically populated for me.
For the connection to the RaspberryPi:
config wifi-iface ‘default_radio1’
option device ‘radio1’
option network ‘lan’
option mode ‘ap’
option ssid ‘Your_Network_Name_here’
option encryption ‘psk2’
option key ‘Your_Password_goes_here’
For the RaspberryPi to connect to other networks:
config wifi-iface ‘wifinet1’
option device ‘radio0’
option mode ‘sta’
option network ‘wwan’
option ssid ‘Connected-WiFi-SSID’
option encryption ‘psk2’
option key ‘Password_for_WiFi’
Now your interfaces are configured in OpenWRT, your hardware is connected and wireless networks are sorted out.
You should be able to save your network changes by entering uci commit wireless followed by wifi into the command line; these commands save the interface and start the Wi-Fi with your new settings. At this point, you can connect to the Wi-Fi you’ve created and — assuming you’ve connected it to your home Wi-Fi — use your Raspberry Pi that you’ve just configured as a router – Well done!

This is where a little forethought comes into play. I’ve saved the web interface for OpenWRT in my browser so I can easily connect anytime I fire up the device. This will allow me to quickly change the connected Wi-Fi to hotels, cafes or other networks I may be near at the time.
The next step, though, takes it from a functional device to a safe and functional option for a travel router: Adding a permanent, automatically connecting VPN connection.
VPN Configuration
I’ve used a few providers over time, but for a while now have been using NordVPN — **not sponsored** — and if you’re yet to get a VPN and are keen, feel free to use my referral link. Becasue NordVPN is my current provider, that’s how this setup will progress. Other providers may have some setting differences that you’ll need to consult their documentation on.
This is where I confess my mistake…
I had already completed a chunk of the NordVPN installation prior to locating it, but I ended up using the documentation here as a guide to overcome a couple of minor issues with connectivity. The guide above is quick and simple, if I had my time over; I’d use that as a starting point instead of overcomplicating things for myself.
Again, if you’re more comfortable in the web interface, head there and complete the instruction set that Nord has provided.
NordVPN has a server selector that allows you to choose an individual server based on your needs. Once you’ve located one that you’re happy with, grab the UDP config file to your machine and copy it — use SCP, it’s quick and easy — to your Raspberry Pi and, for the sake of easy setup of the final steps, change the name to something meaningful like VPN.conf or client.conf which you’ll be able to customise later.
There’s a bit of a “gotcha” here that — the above-listed documentation identified — will undoubtedly catch a few people out, myself included when connecting to Nord VPN services.
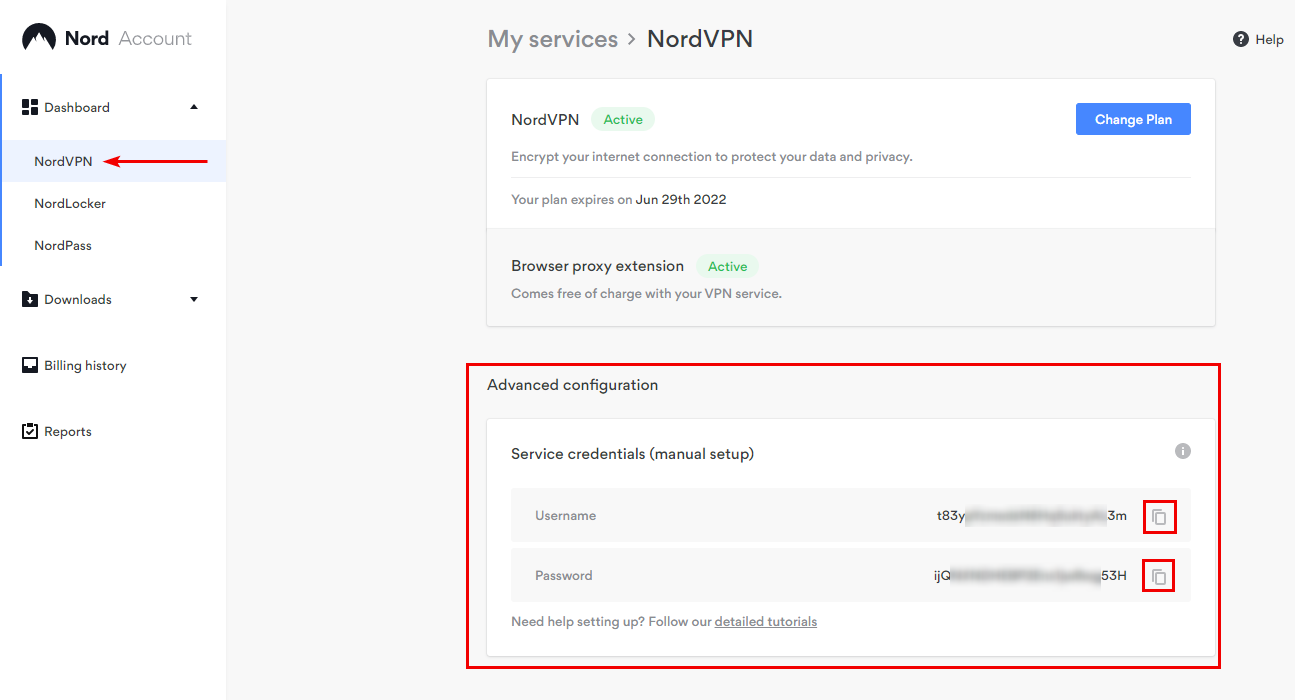
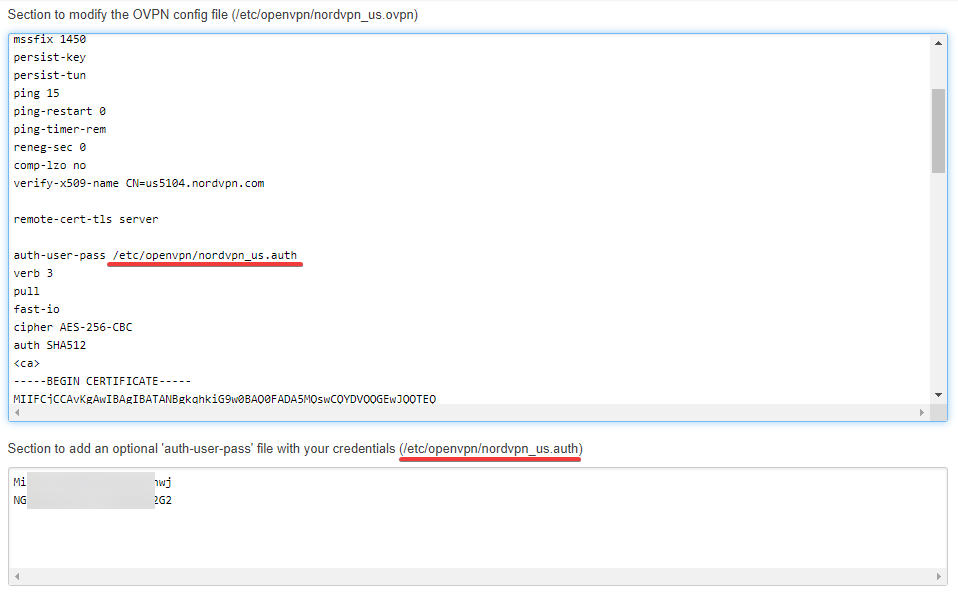
If you’re using Google Sign-in services with 2FA (as you should be!) for your VPN service, then your username and password won’t work on this setup. You’ll need to log in to the account webpage and get the “Manual Setup” username and password. These details will need to be entered in a new file on your device, which I’ve called client.auth (stored in /etc/openvpn alongside client.conf) and referenced as auth-user-pass client.auth within the client.conf file with the username on one line and the password on the second.
Once you’ve completed the VPN instructions, your set is complete, and your router is ready.
This has been an exciting and enjoyable project to put together. As part of that learning, I’ve made mistakes and learned a lot along the way; I wanted to thank everyone (there are too many to list) who has helped by sharing their knowledge.
This article is not sponsored by any of the companies mentioned within it; these are simply the hardware and service choices I made along the way. Given the continued shortage of Raspberry Pi hardware, I may invest in other options with good availability and do some further testing with them.
What fun projects like this would you like to see us tackle next?


