
D-Link produces some really solid and great value hardware consistently. Everything from simple Wi-Fi access points, to high end business hardware. This time around, the D-Link Aquila Pro AI Mesh system delivers a novel look and hits the great value marker, too.
Design and Setup
What I really like about this is that as part of the design, D-Link has stepped away from the norm: A nondescript box that could be just about anything and looks like nothing in particular. This looks like a miniature white tie fighter from Star Wars, but that’s a deliberate design choice not just for the aesthetics. While the presentation certainly becomes a talking point, it also helps the functionality.

The design also presents a bit of an issue with placement in your home or office. It can’t be easily hidden away, put on its side, or other positioning. It’s also not something you’d want to stack other things on top of (not a great idea on any electronics because of heat) as enough weight may well break it.
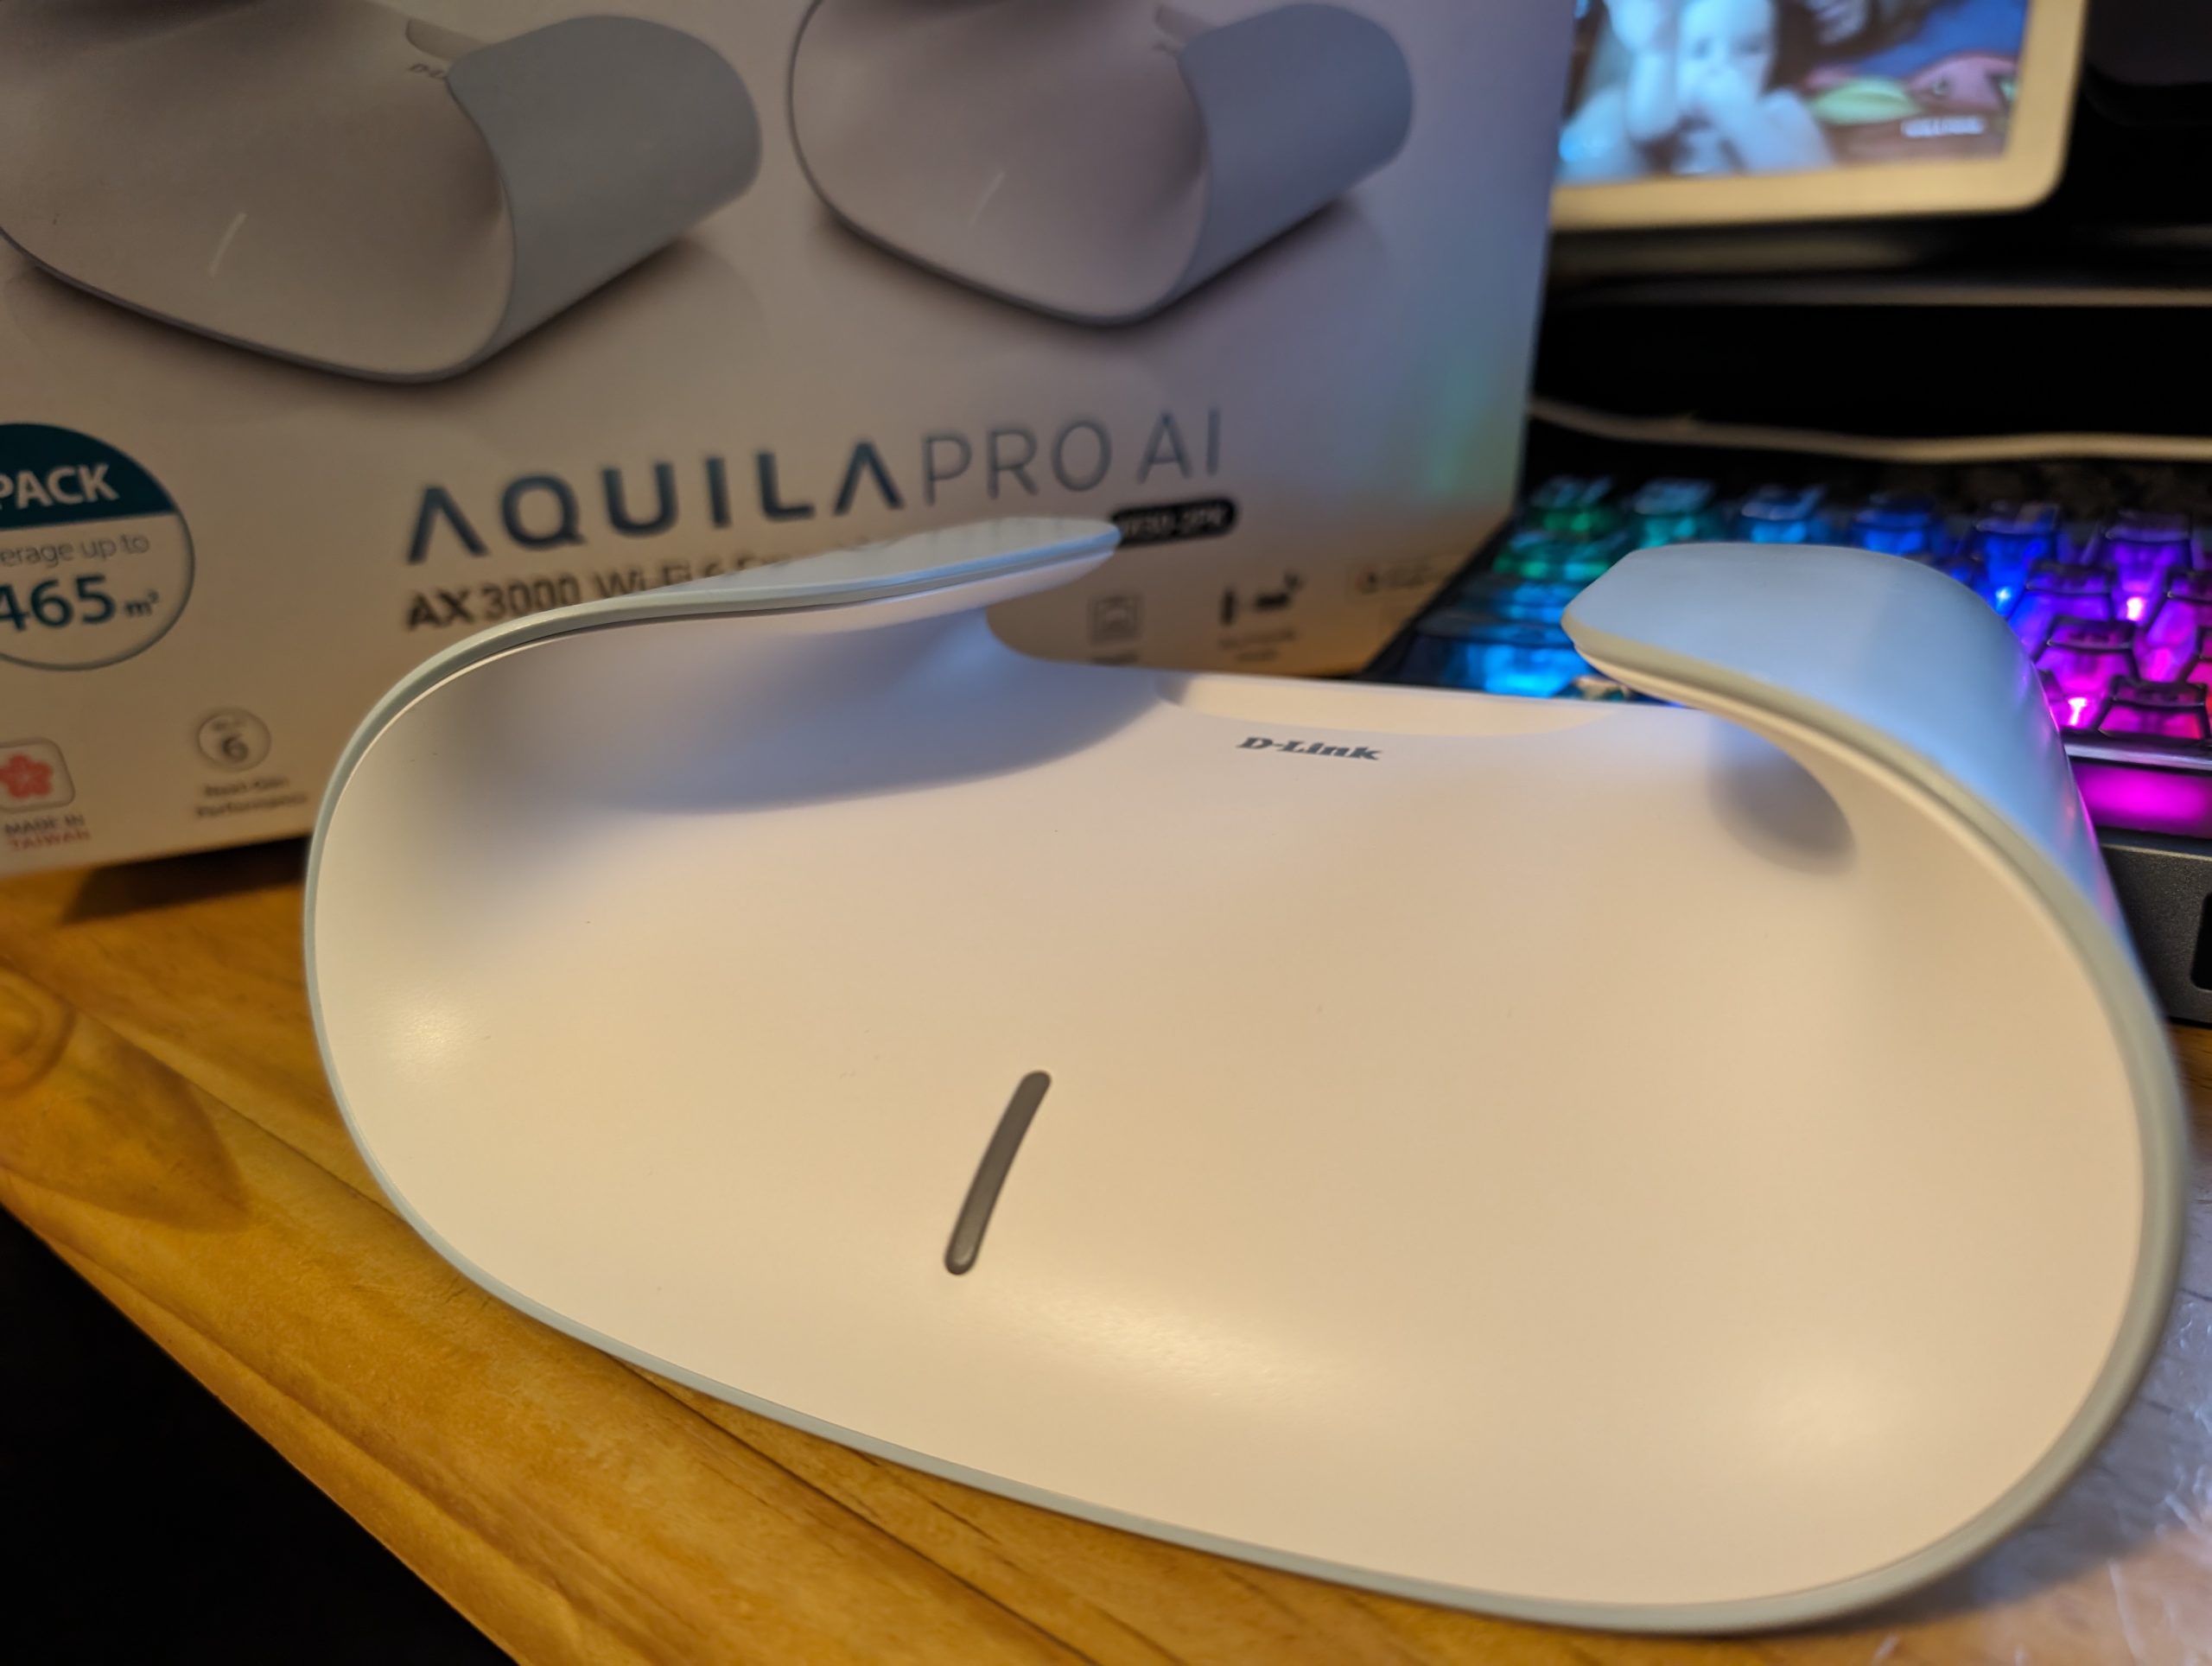
When you plug in your chosen — there isn’t a defined one — primary node, you’ll immediately see the LED stripe that provides an easy visual status for your connection between the nodes:
- Solid White – Solid connection
- Flashing White – A connection that isn’t particularly strong or stable
- Flashing Orange – No connection to the other node/s
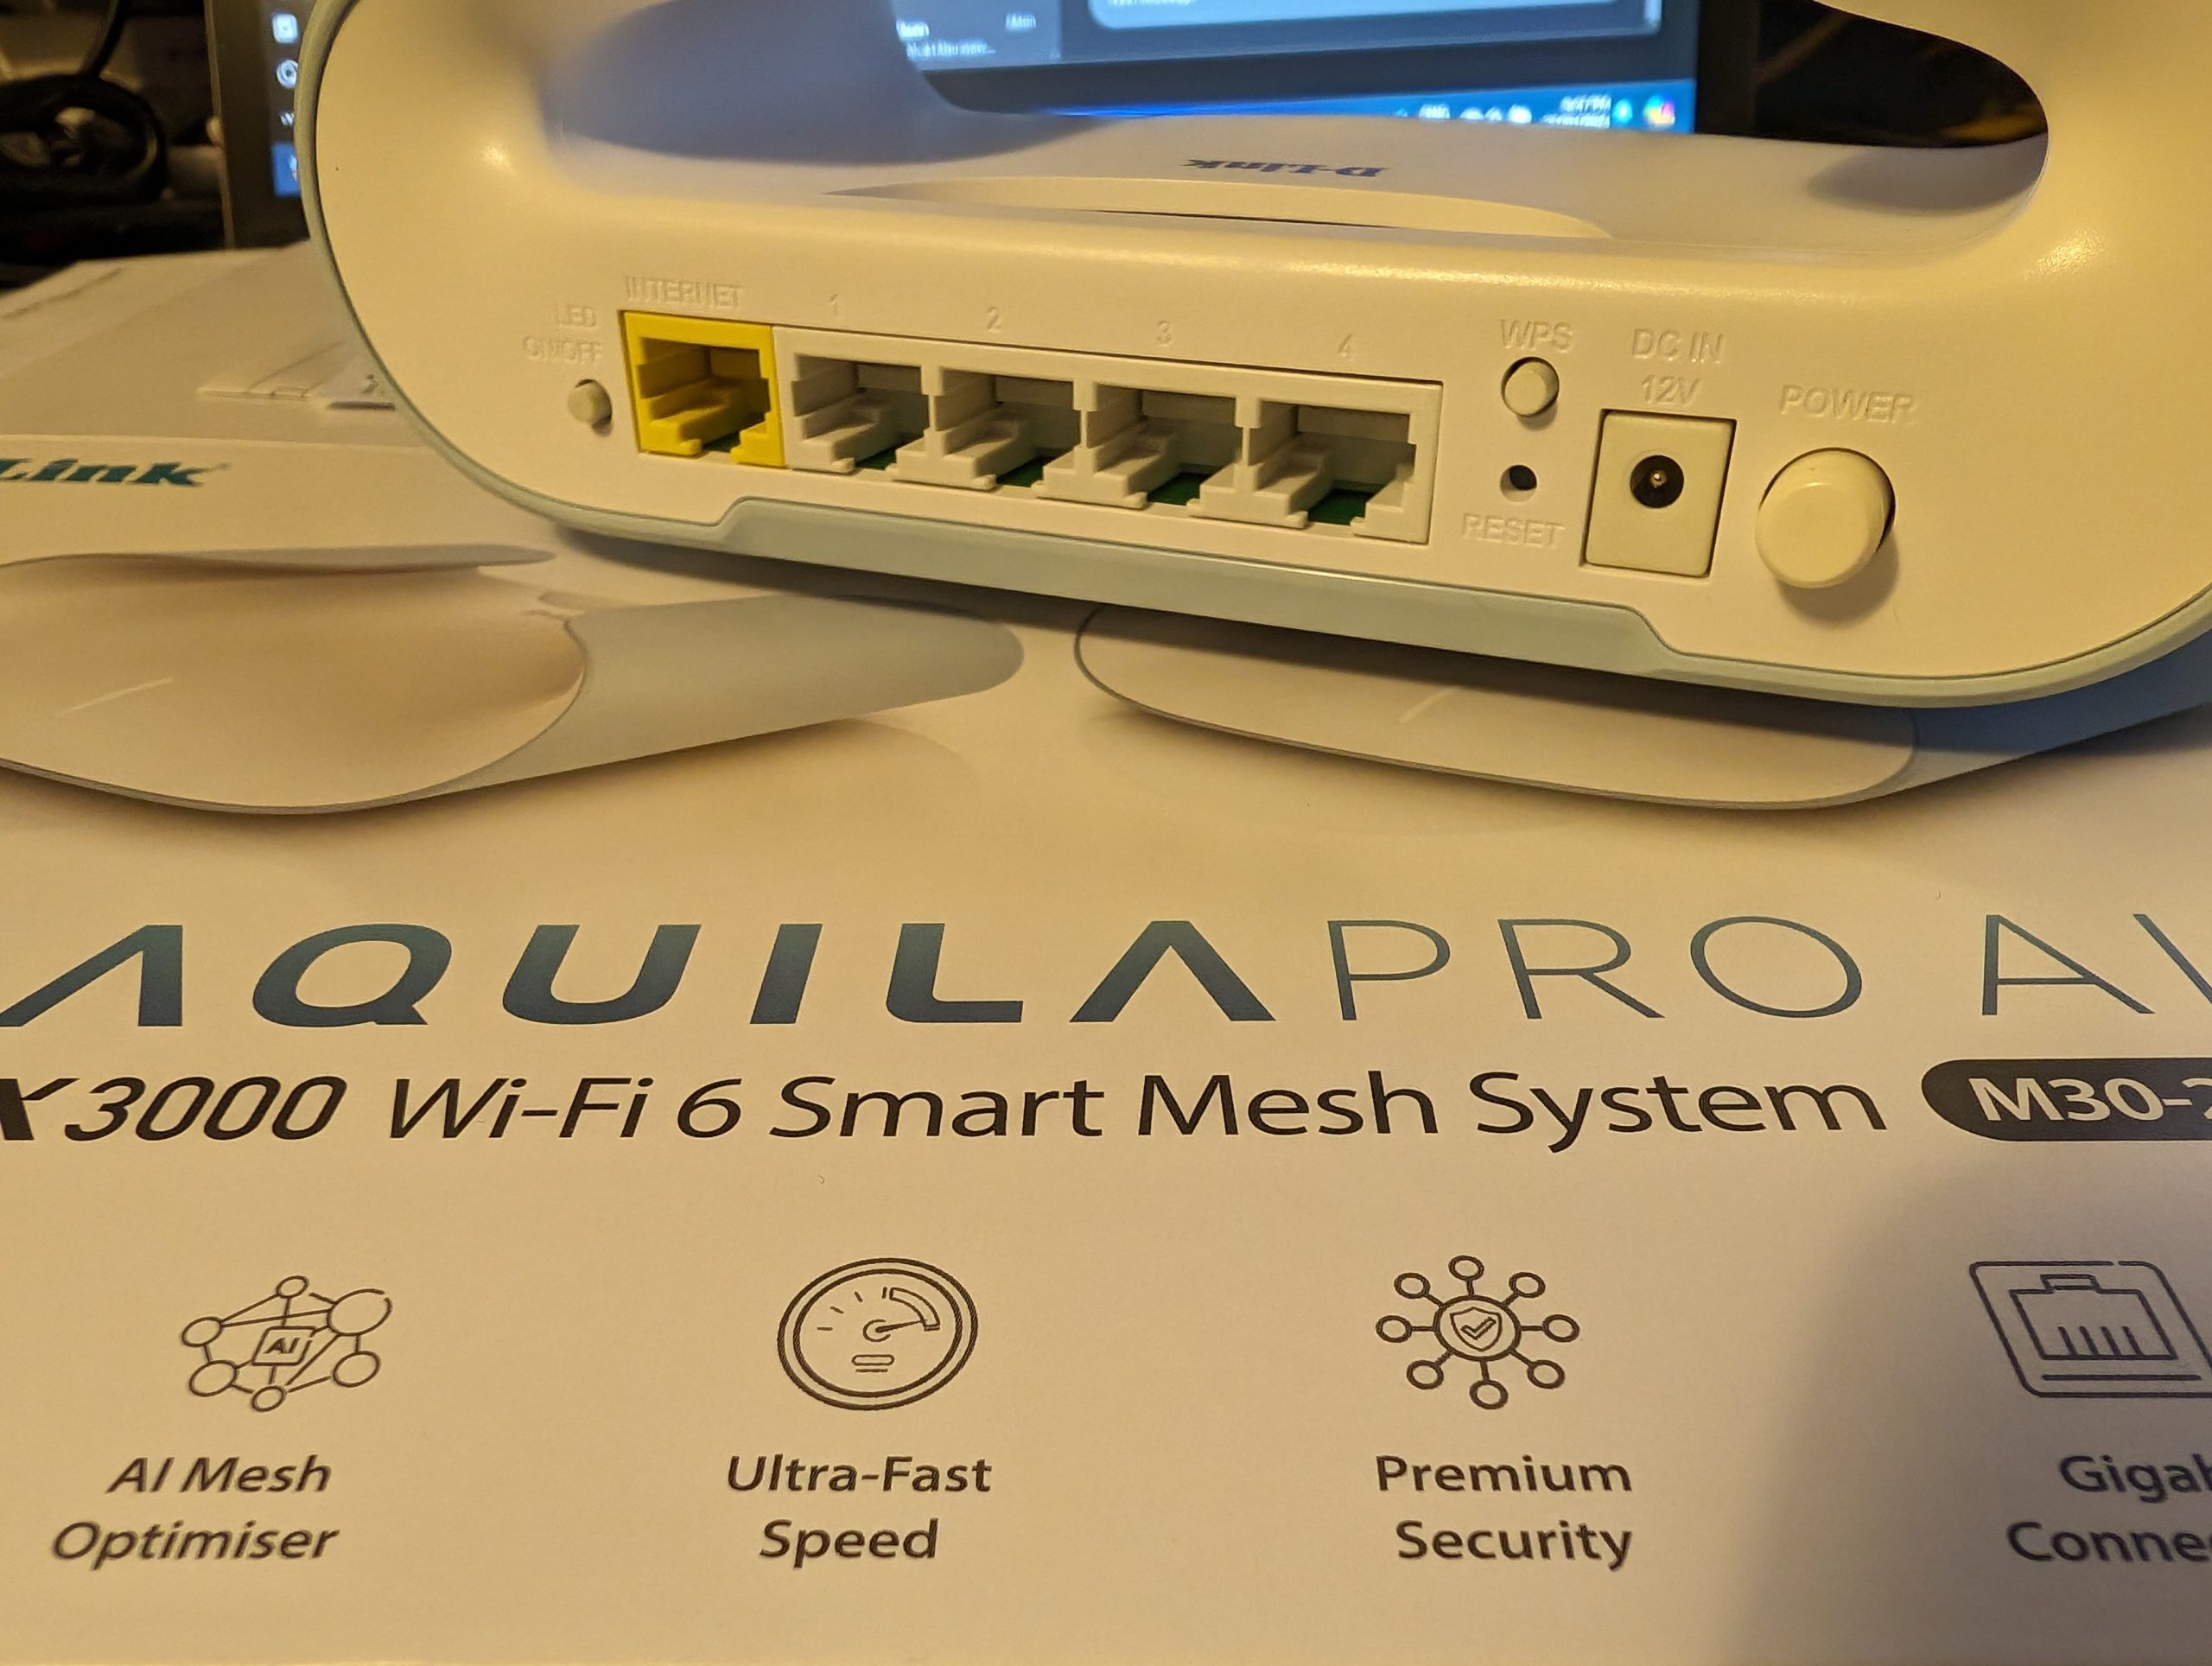
As an advantage over some other (like the Nest Wi-Fi Pro) mesh capable devices, there are multiple (Four Gigabit LAN plus a Gigabit WAN) Ethernet ports. Unless you’re using a private fibre connection that exceeds this speed, you’re not going to max out the connection; so for home users this should be more than sufficient.
Setting up the Aquila Pro AI is pretty simple through the new and specific app to the hardware. While I get that it’s important to have an interface that suits your new hardware, it would also be nice to just evolve the app, instead of having to filter through all the D-Link apps on the Play Store to find the one I needed.
The process is — as is the case for many systems like this — as simple as scanning the QR code, connecting to the device and following the bouncing ball. This will take you through setting up your ISP connection, your Wi-Fi SSID and password, as well as connecting the second (and third if you have it) node.
In my network: I could easily segment this Aquila Pro to its own VLAN and it worked really well. There was no noticeable lag, and speed tests were consistently over 900Mbps on my 1000/50 connection. I’m also quite fortunate that my home is more L-shaped than long, like some of my friends who live in townhouses in the Eastern states, and my NBN connection is nearly central to the living space, making it pretty easy for me to get good coverage throughout my home.
System performance and setup customisation
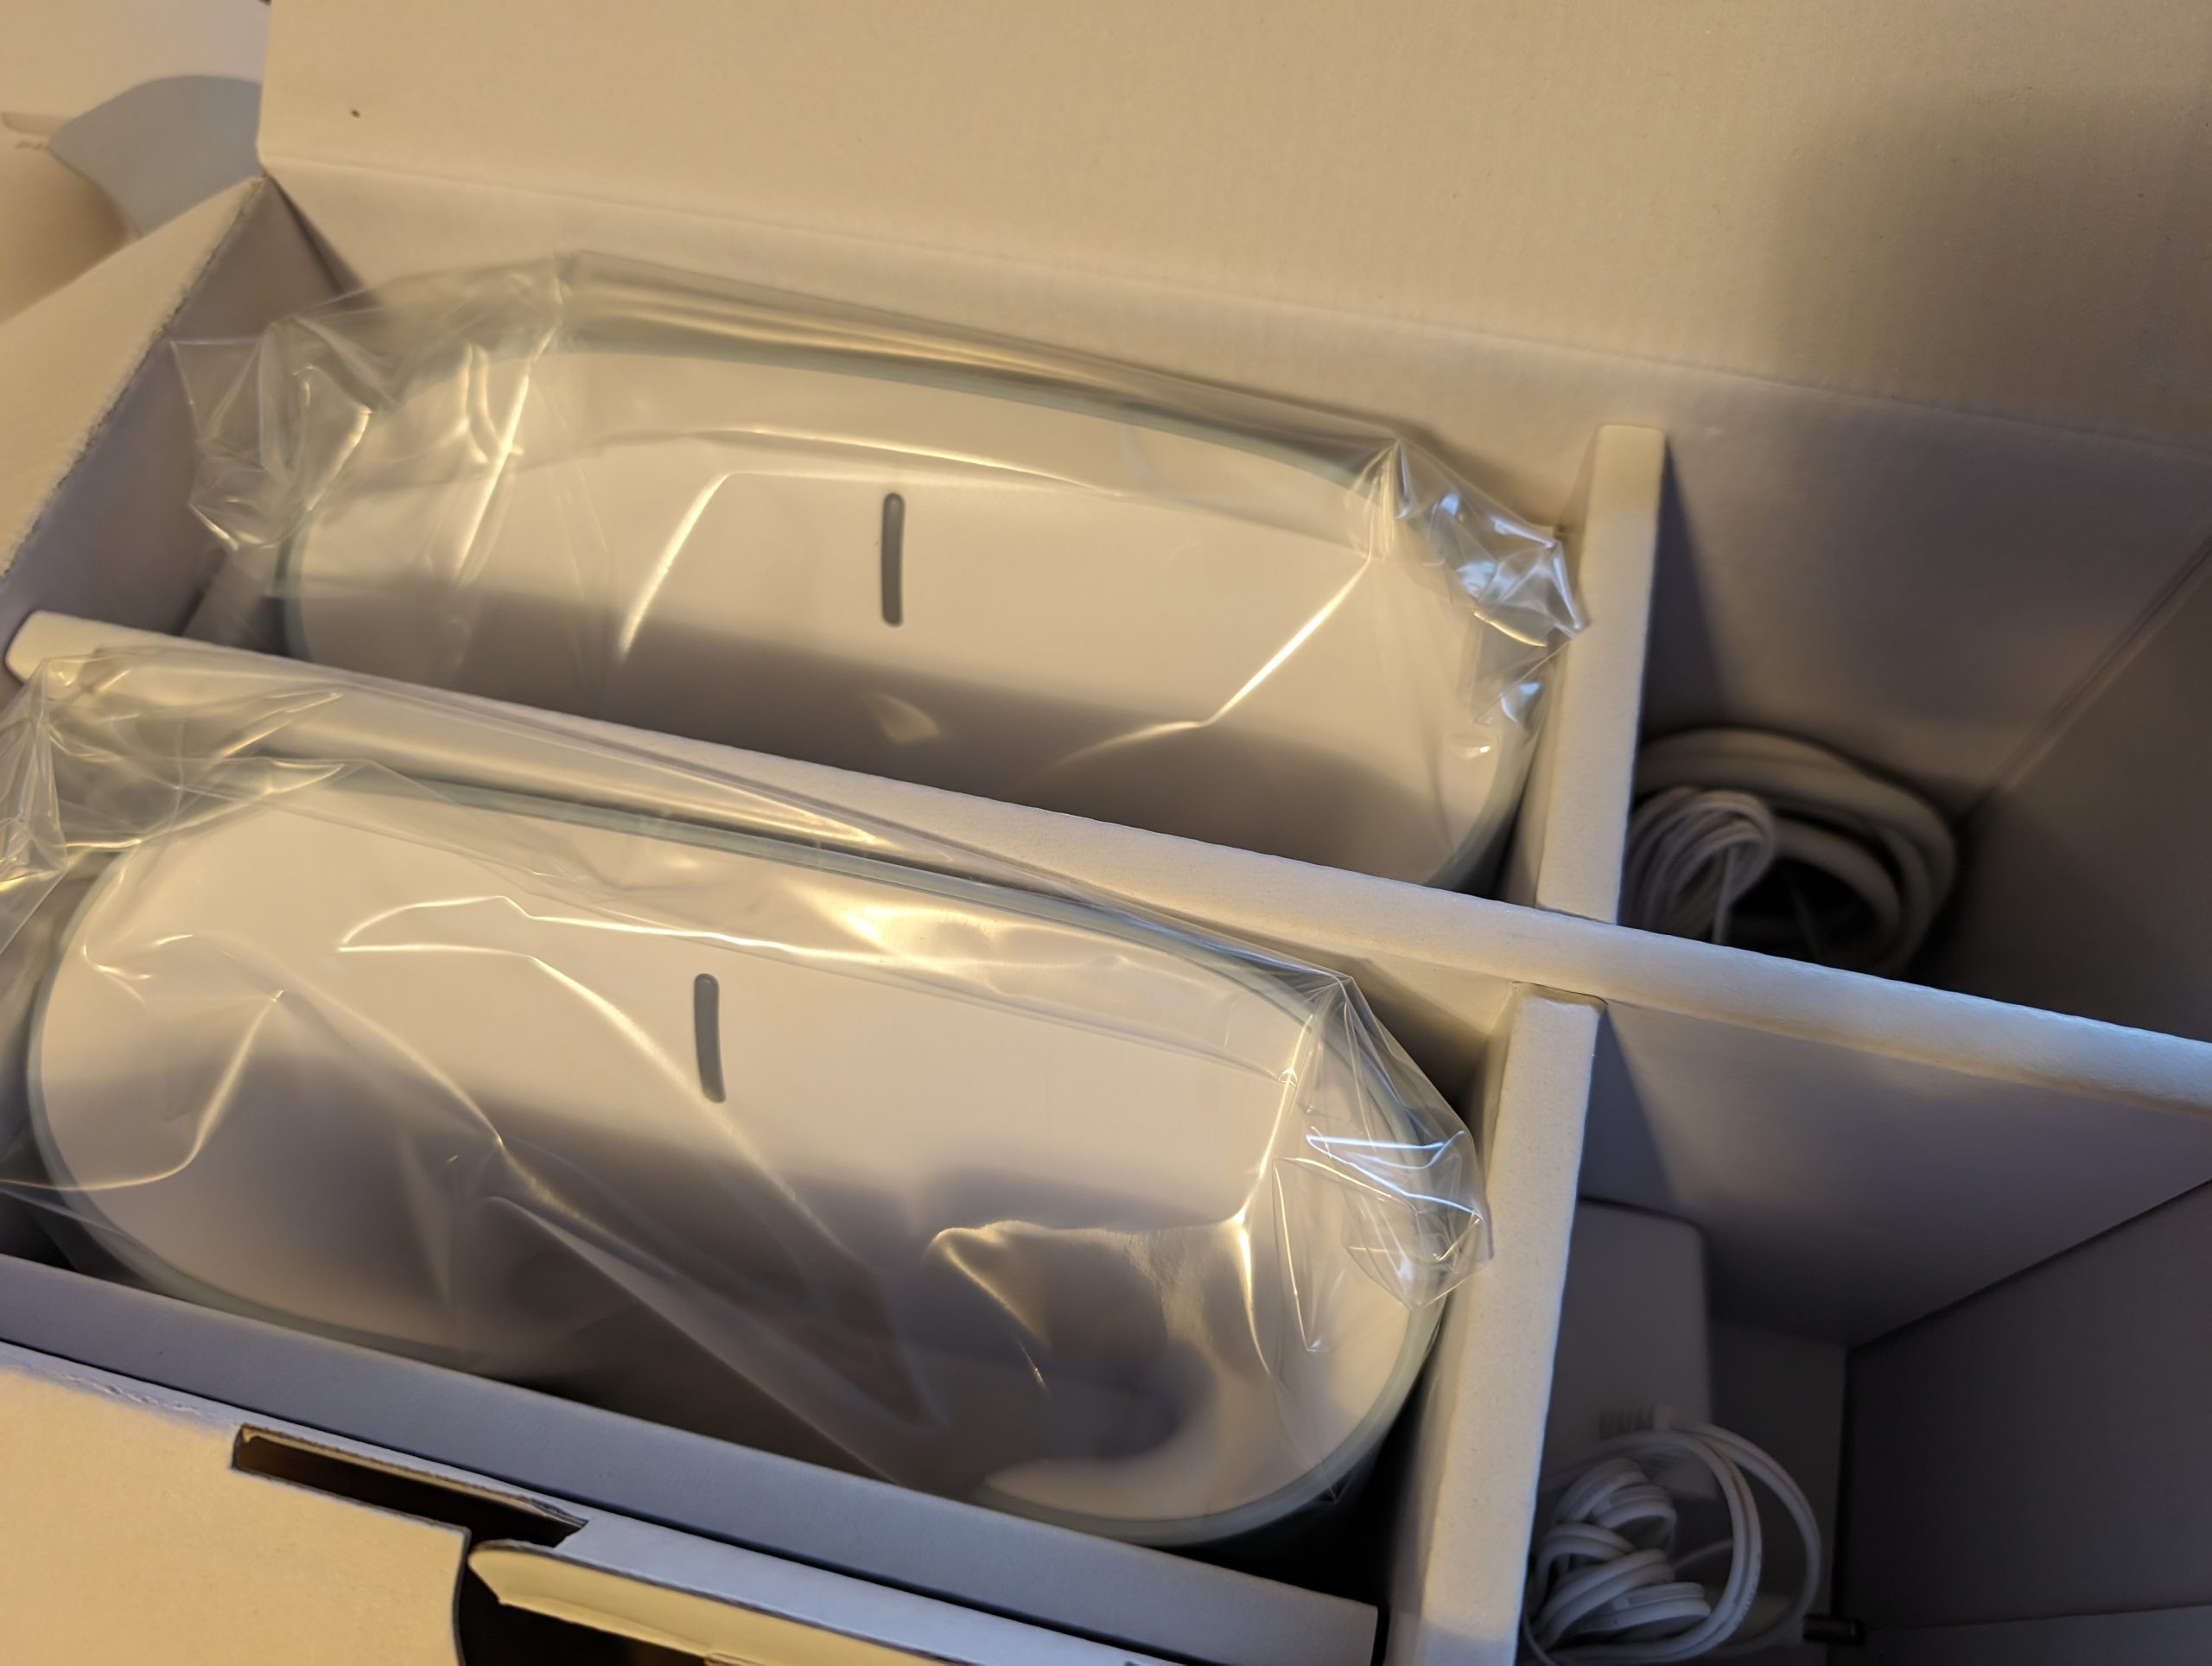
With the two-node system reviewed, said to provide coverage for up to 465 square meters, I had excellent coverage throughout my entire home at full speed my NBN could provide. Based on the specs, with the antennae capabilities, I believe the Aquila Pro AI is going to give better coverage and node connection if you’re in a multi-story dwelling, but I’d recommend the three-node setup to ensure you’re getting adequate coverage on all levels.
Like any Wi-Fi setup, it’d be important to think about a couple of things: Primarily, the placement of your nodes and, if you’ve got a particularly challenging layout (a very long building, solid brick walls, or some other items that can have an effect on the Wi-Fi capabilities) potentially looking into some Ethernet connectivity between the nodes.
One facet of the setup I wasn’t happy with — something I likely wouldn’t have found if I used default settings — in terms of setup was the non-default setup options. Changing DHCP settings, some Wi-Fi settings and other more advanced settings are far better approached through a web browser on a larger screen. It’s usable, for the most part, on a phone, but the app doesn’t handle it at all and redirects you to a web interface in your mobile browser.
Once everything is set up, the coverage is stable and reliable. In direct comparison to other mesh systems I’ve tested, the range is a bit shorter and doesn’t have the same penetrating power through brick walls, but there’s a significant value of the Aquila Pro vs those more expensive options.
If you’re after a lightning-quick option, this is quick but not the quickest around. You’ll find the 2.4Ghz caps out at — in theory — 574Mbps, but I found it was just over 500 in practicality; at least on my network. The 5Ghz band will peak at 2,403 Mbps, but only if you’re close to the base station. With the dynamic switch between 2.4Ghz and 5Ghz, you’ll find that it drops to 2.4Ghz quite quickly, all in the name of maximised coverage – at least when it comes to internal network transfers.
The downside to a system that is such good value is there’s always some sacrifice. In this case, it’s performance-based, with some seemingly low processing capabilities. I attempted to run speed tests across multiple devices simultaneously and immediately saw that there was a drop in throughput: Instead of 900Mbps or higher, there was higher latency and lower throughput than you would expect, simply dividing your connection across 2, 3, or 4 devices.
That’s a pretty extreme test case, though, even if you’ve got those devices streaming simultaneously; you’re not going to notice these slowdowns unless you’re actively looking for them.
Final thoughts: A great bang for your buck solution
Sometimes it’s hard to differentiate one device from another, but the Aquila Pro AI stands out for all the right reasons. No, it’s not got the best of the best specs, but it’s not intended to; this is a value for money option.


Not only do you get great range and solid, consistent throughput, but you also get interesting and well-presented nodes for your network that fit in among most home décor. If you’re that way inclined, you can also take pride in the fact that the units are made from post-consumer recycled plastics; so you’re even being environmentally conscious.
As mentioned earlier, if you’ve got solid walls or a particularly challenging layout, a 3-node system would be beneficial, but the two hit the needs of my home and family quite effectively. The two-node version will cost you $399.95, or the three-node option will set you back $549.95
")

