

It’s a Budget Mesh Wi-Fi System
Like all Wi-Fi mesh systems the COVR-C1203 promises that it will enable your Wi-Fi devices to seamlessly connect to the Internet and each other as you move around your home and your device shifts from connecting between (in this case 3) Wi-Fi mesh nodes.
The COVR-C1203 is also expandable so more nodes (D-link calls them COVR Points) can be purchased to extend Wi-Fi coverage to a larger area.
Smart Steering is D-Link’s way of saying that the COVR-C1203 conveniently allows all the Wi-Fi devices in your house to connect to the same access point name SSID by steering them in the background to the correct Wi-Fi band regardless of whether the device supports 2.4GHz, 5GHz or both.
Multi-user, multiple-input, multiple-output antenna technology (better known as MU-MIMO) is a COVR-C1203 feature whose effectiveness is hard to measure but it’s definitely better to have it then not. Even if your current gadgets don’t support MU-MIMO, the ones you buy soon probably will.
Which Other Mesh Wi-Fi Product is Similar to COVR-C1203?
The best direct comparison for the COVR-C1203 is the Google Wi-Fi 3-pack mesh system which has a similar retail price.
Google Wi-Fi and COVR-C1203 both have a 3 pack of white hockey puck shaped nodes, support AC1200 speed when their 2.4GHz and 5GHz bandwidths are added together and lack a dedicated 3rd Wi-Fi band used only for data transfer between the nodes.
Although I haven’t got access to Google Wi-Fi to do a direct comparison at the same location, considering their almost identical specs, lack of big antennas and from what people who do own one tell me, I suspect that Google Wi-Fi has similar speed and coverage as the COVR-C1203.
The COVR-C1203 has 2 advantages. While Google’s Wi-Fi 3 pack is similarly priced, the COVR-C1203 has 2 receive/3 send antennas per node whereas Google Wi-Fi has 2 receive/2 send. Another key difference for people who care about privacy is that Google makes you use a Google account during setup, but D-link doesn’t require you to create any account with them.
Unboxing
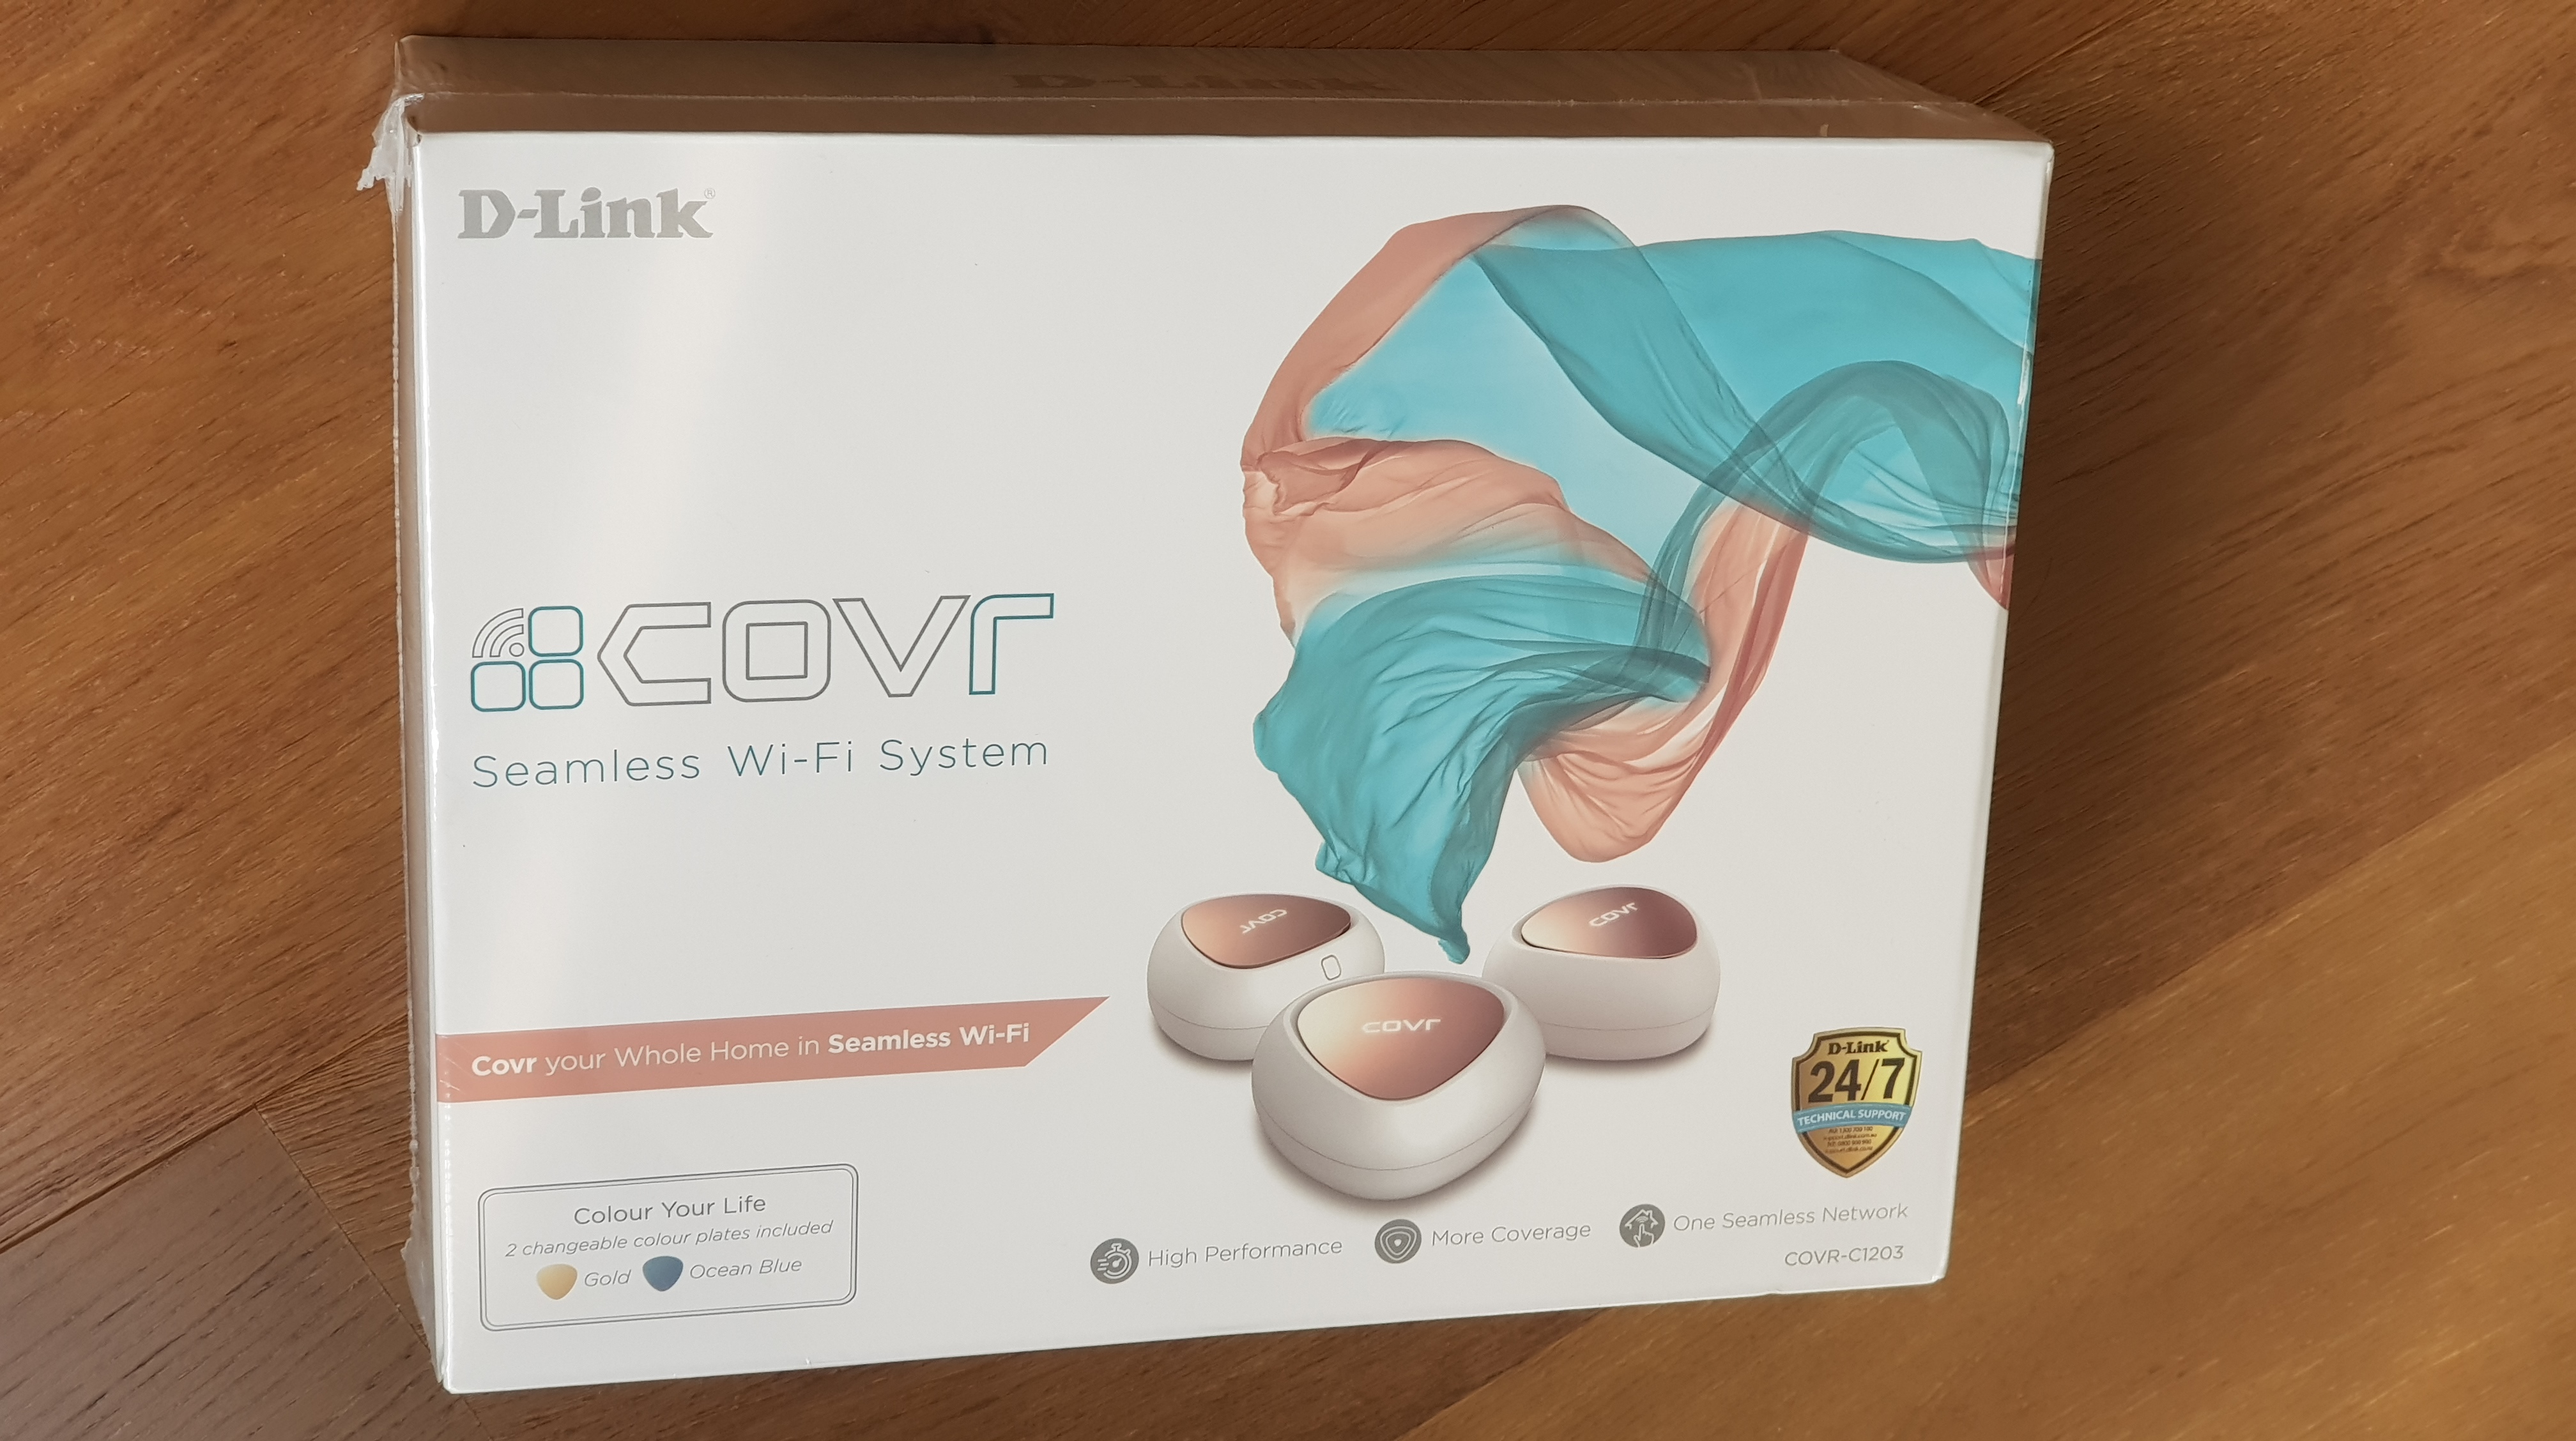
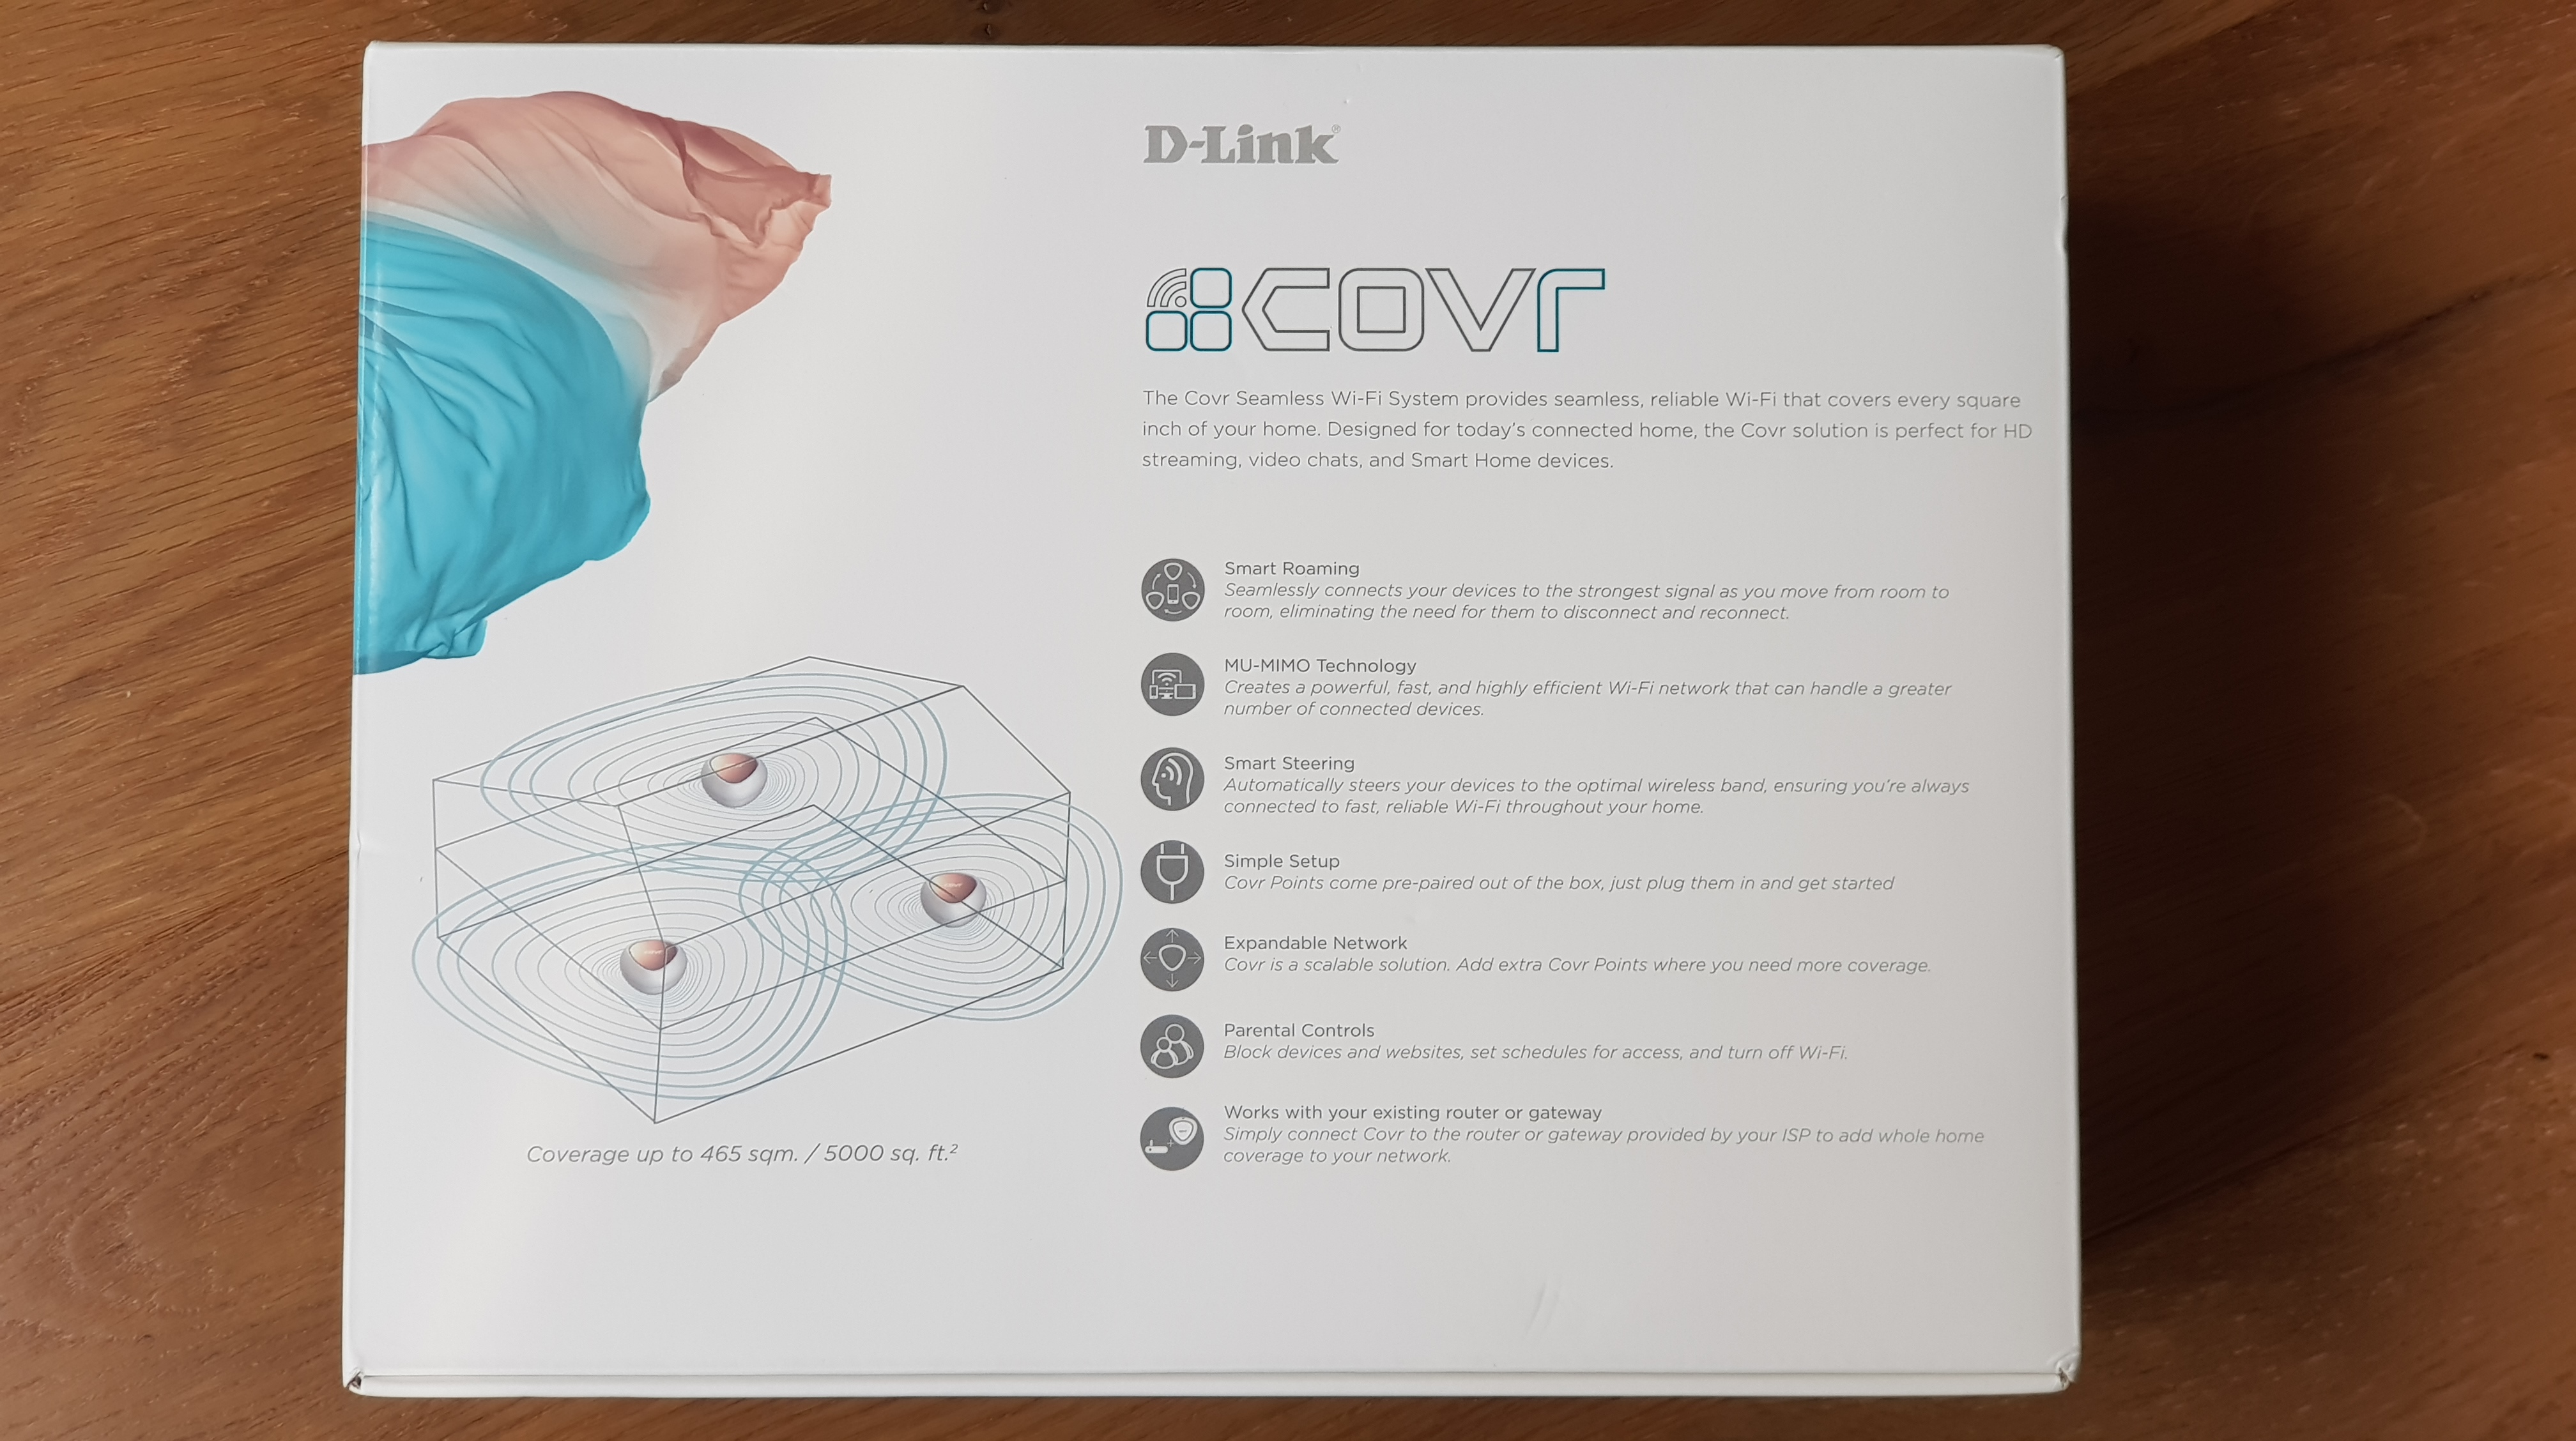
The packaging has a good amount of detail about what the COVR-C1203 is capable of.
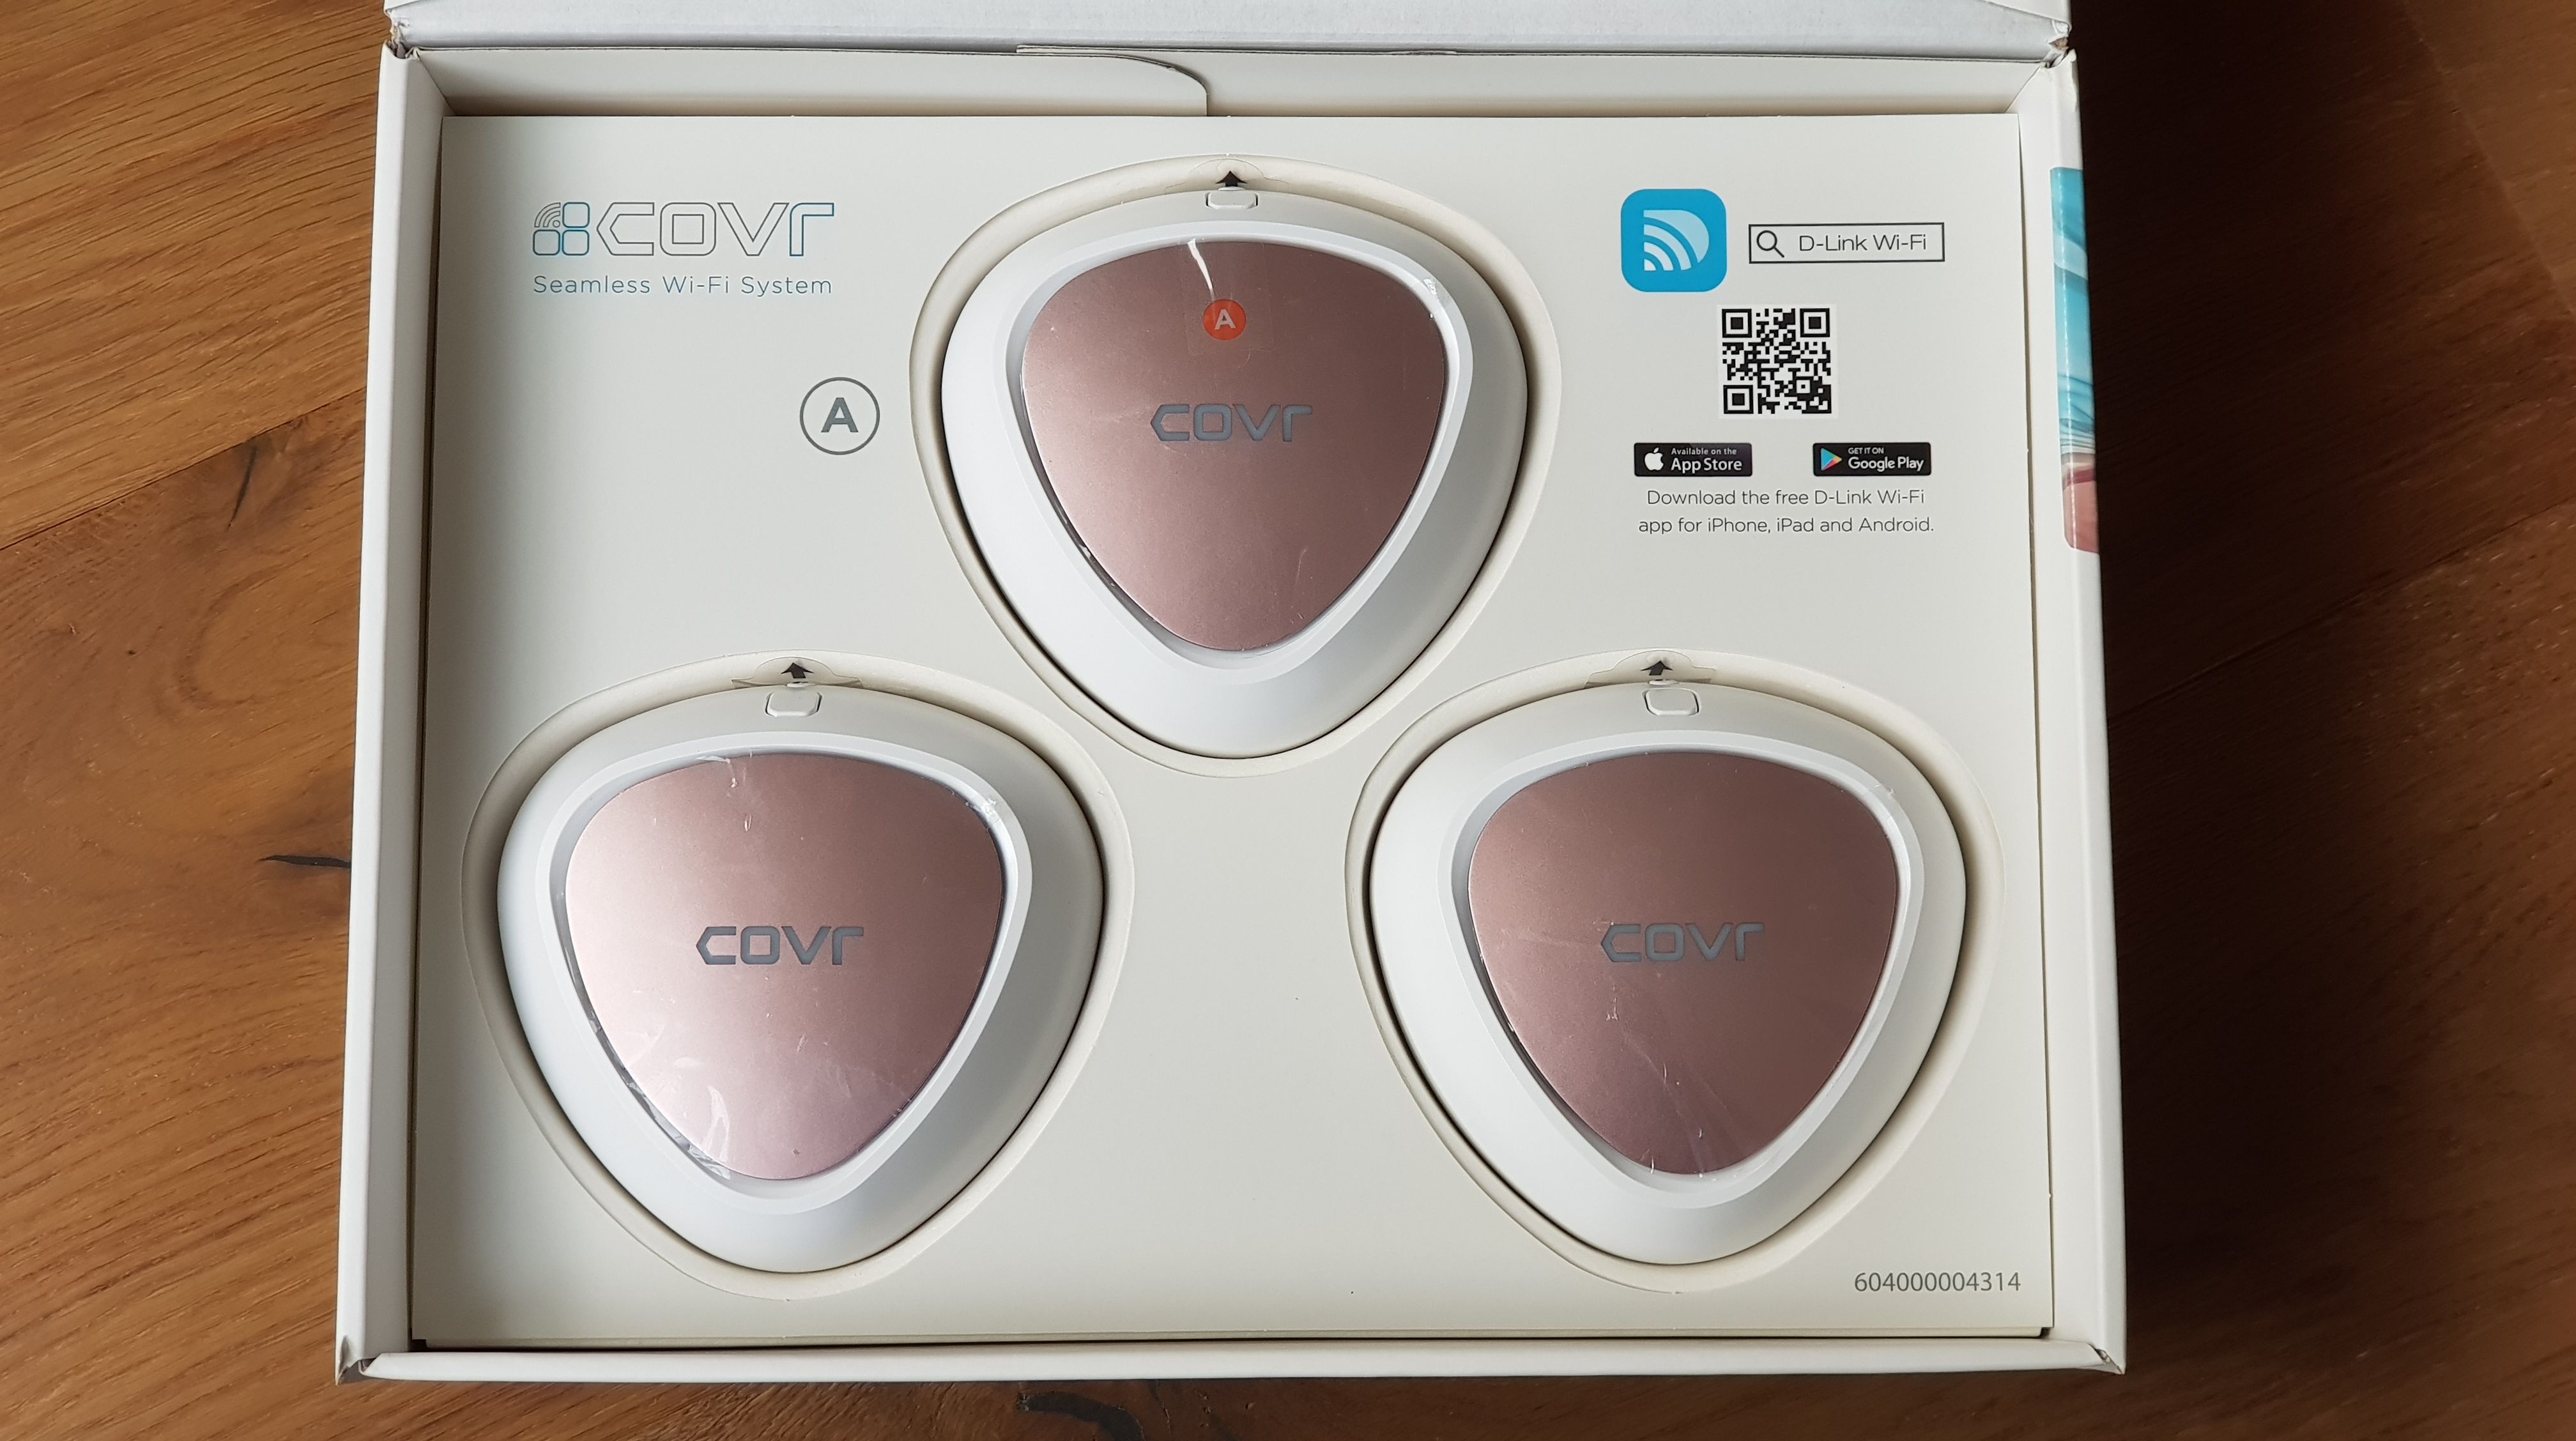
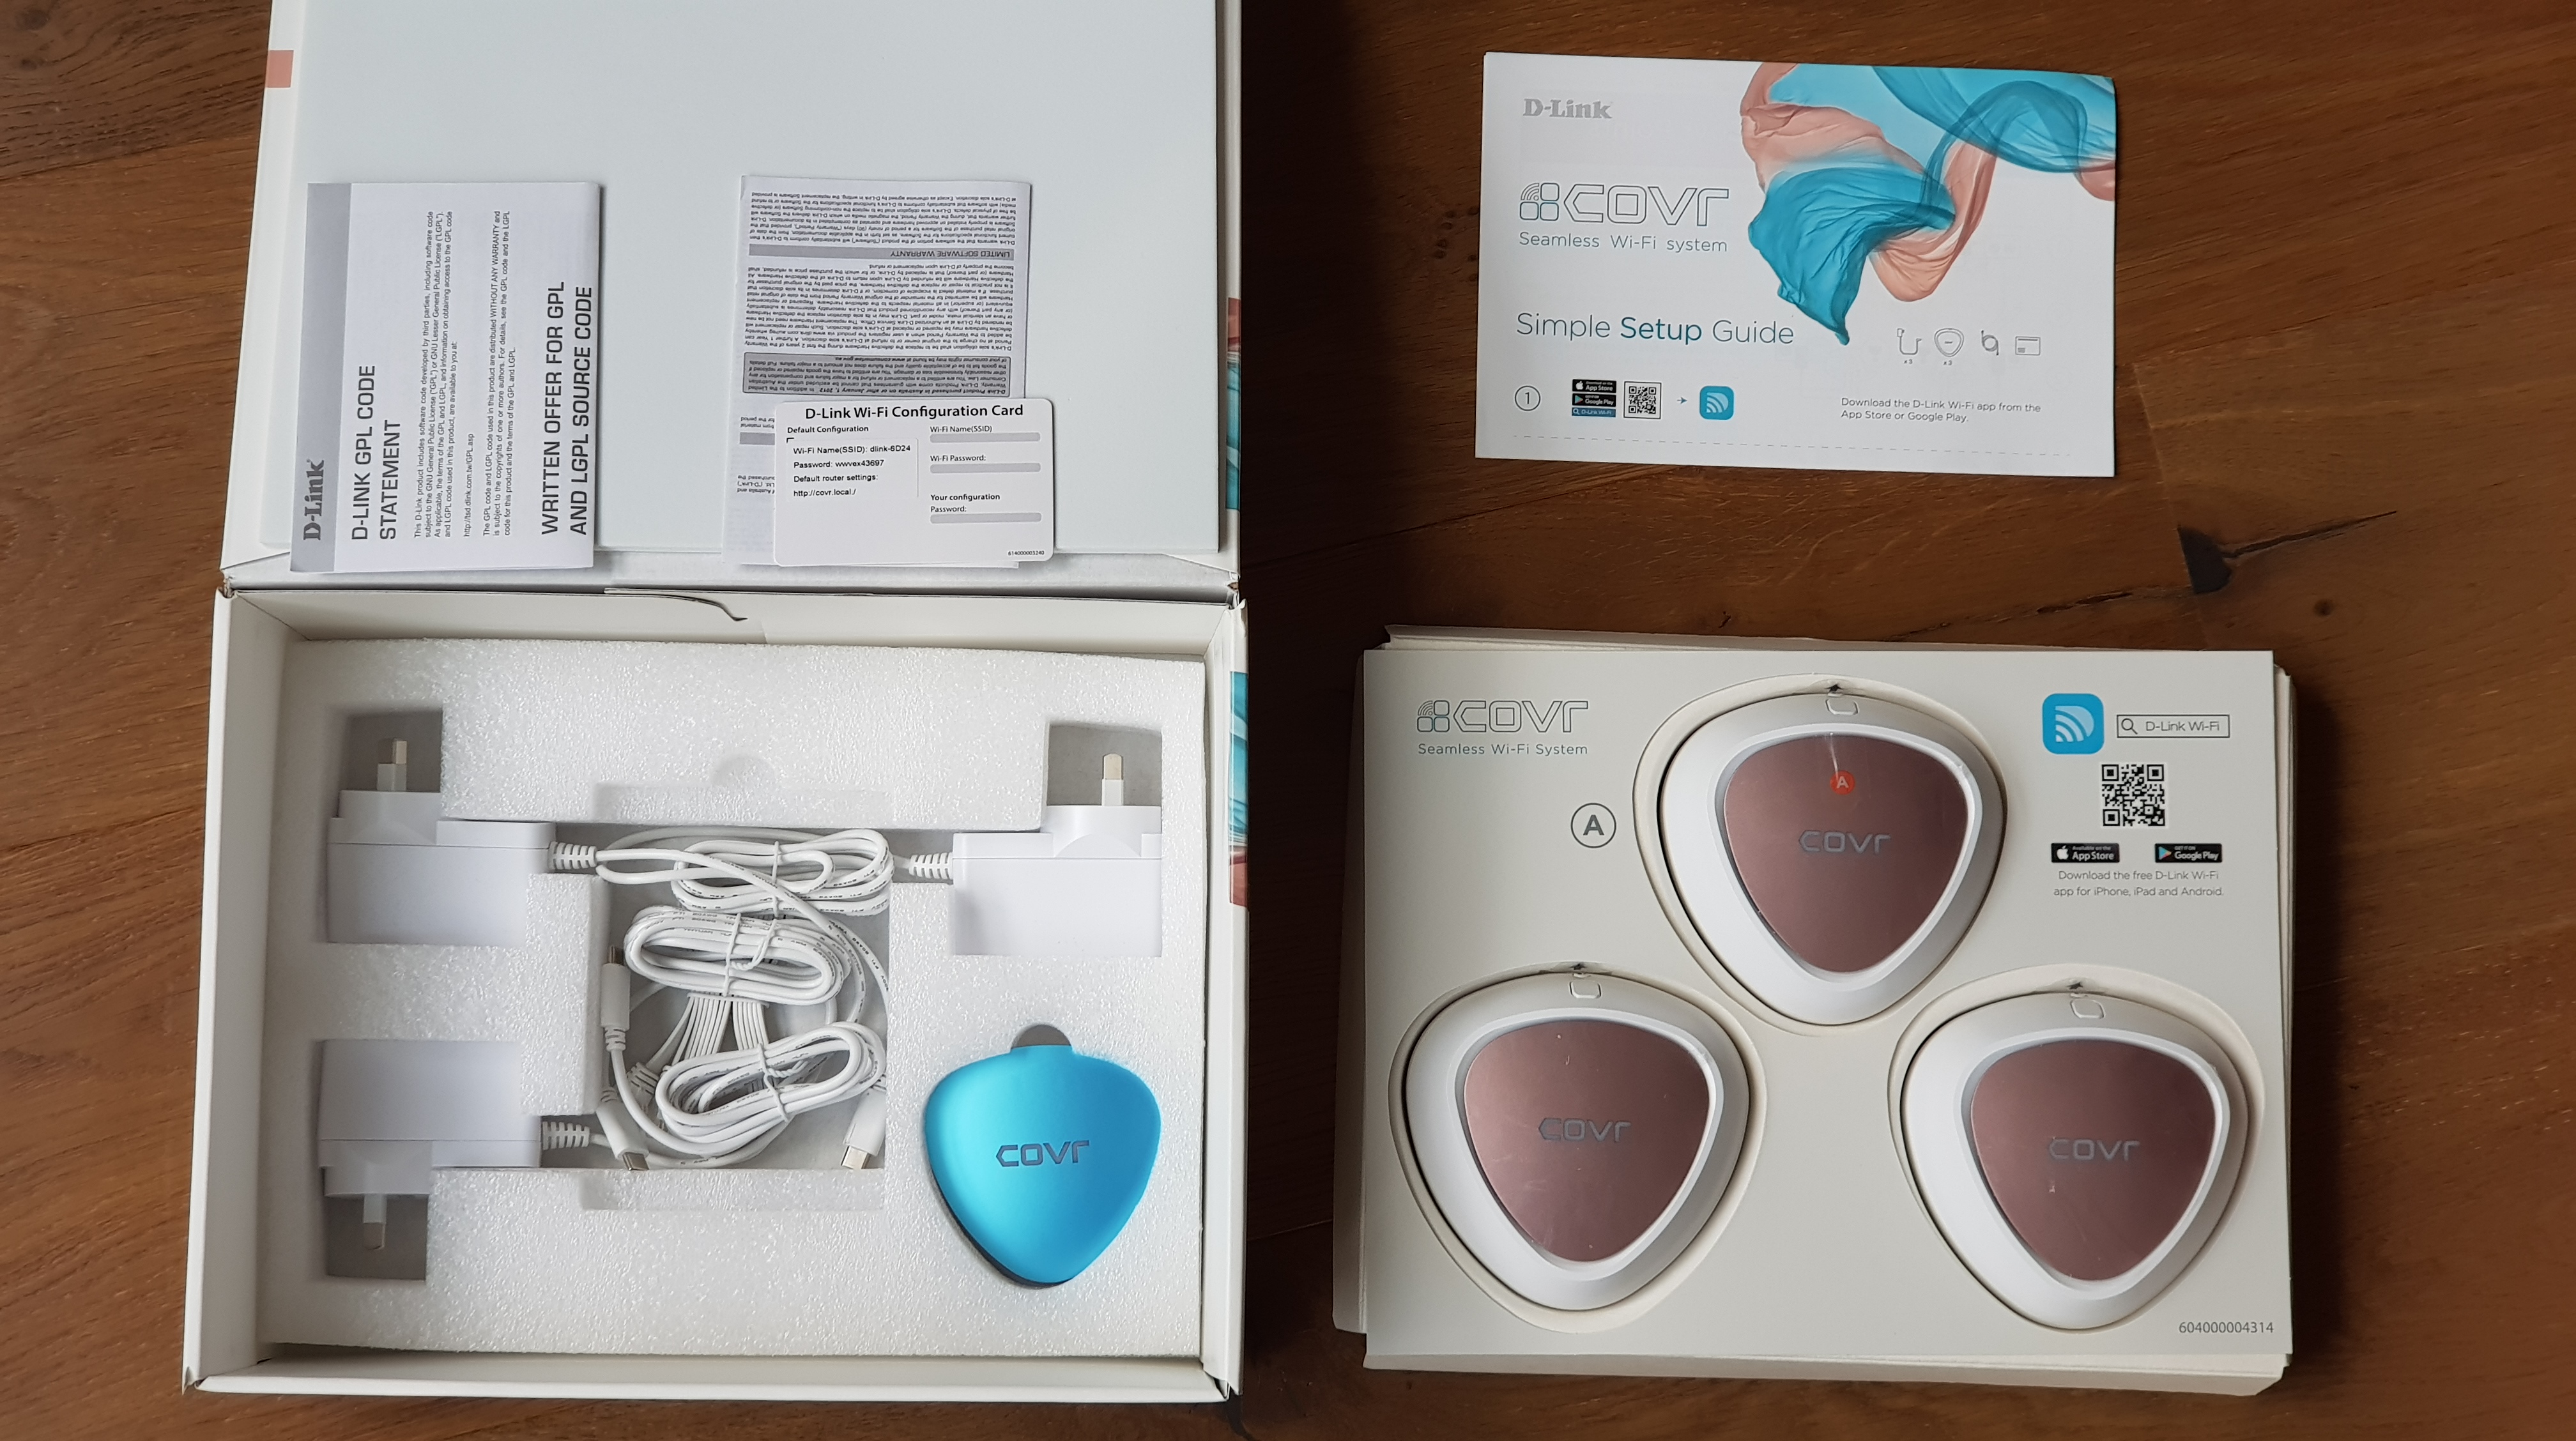
Inside the box you’ll find 3 COVR Points, one of them has an “A” sticker on it. Don’t peel this off ever because it identifies the main node.
Underneath that layer of the box you’ll find the usual paperwork including a setup guide, a 3A USB-C power adapter for each of the three COVR Points, a short Ethernet cable, and 2 alternate colour faceplates for the COVR Points.

Setup Process
“Simple Setup” is D-link’s claim. When I connected the COVR-C1203 Node “A” to an ADSL modem at my second test location this was true as set up was easy.
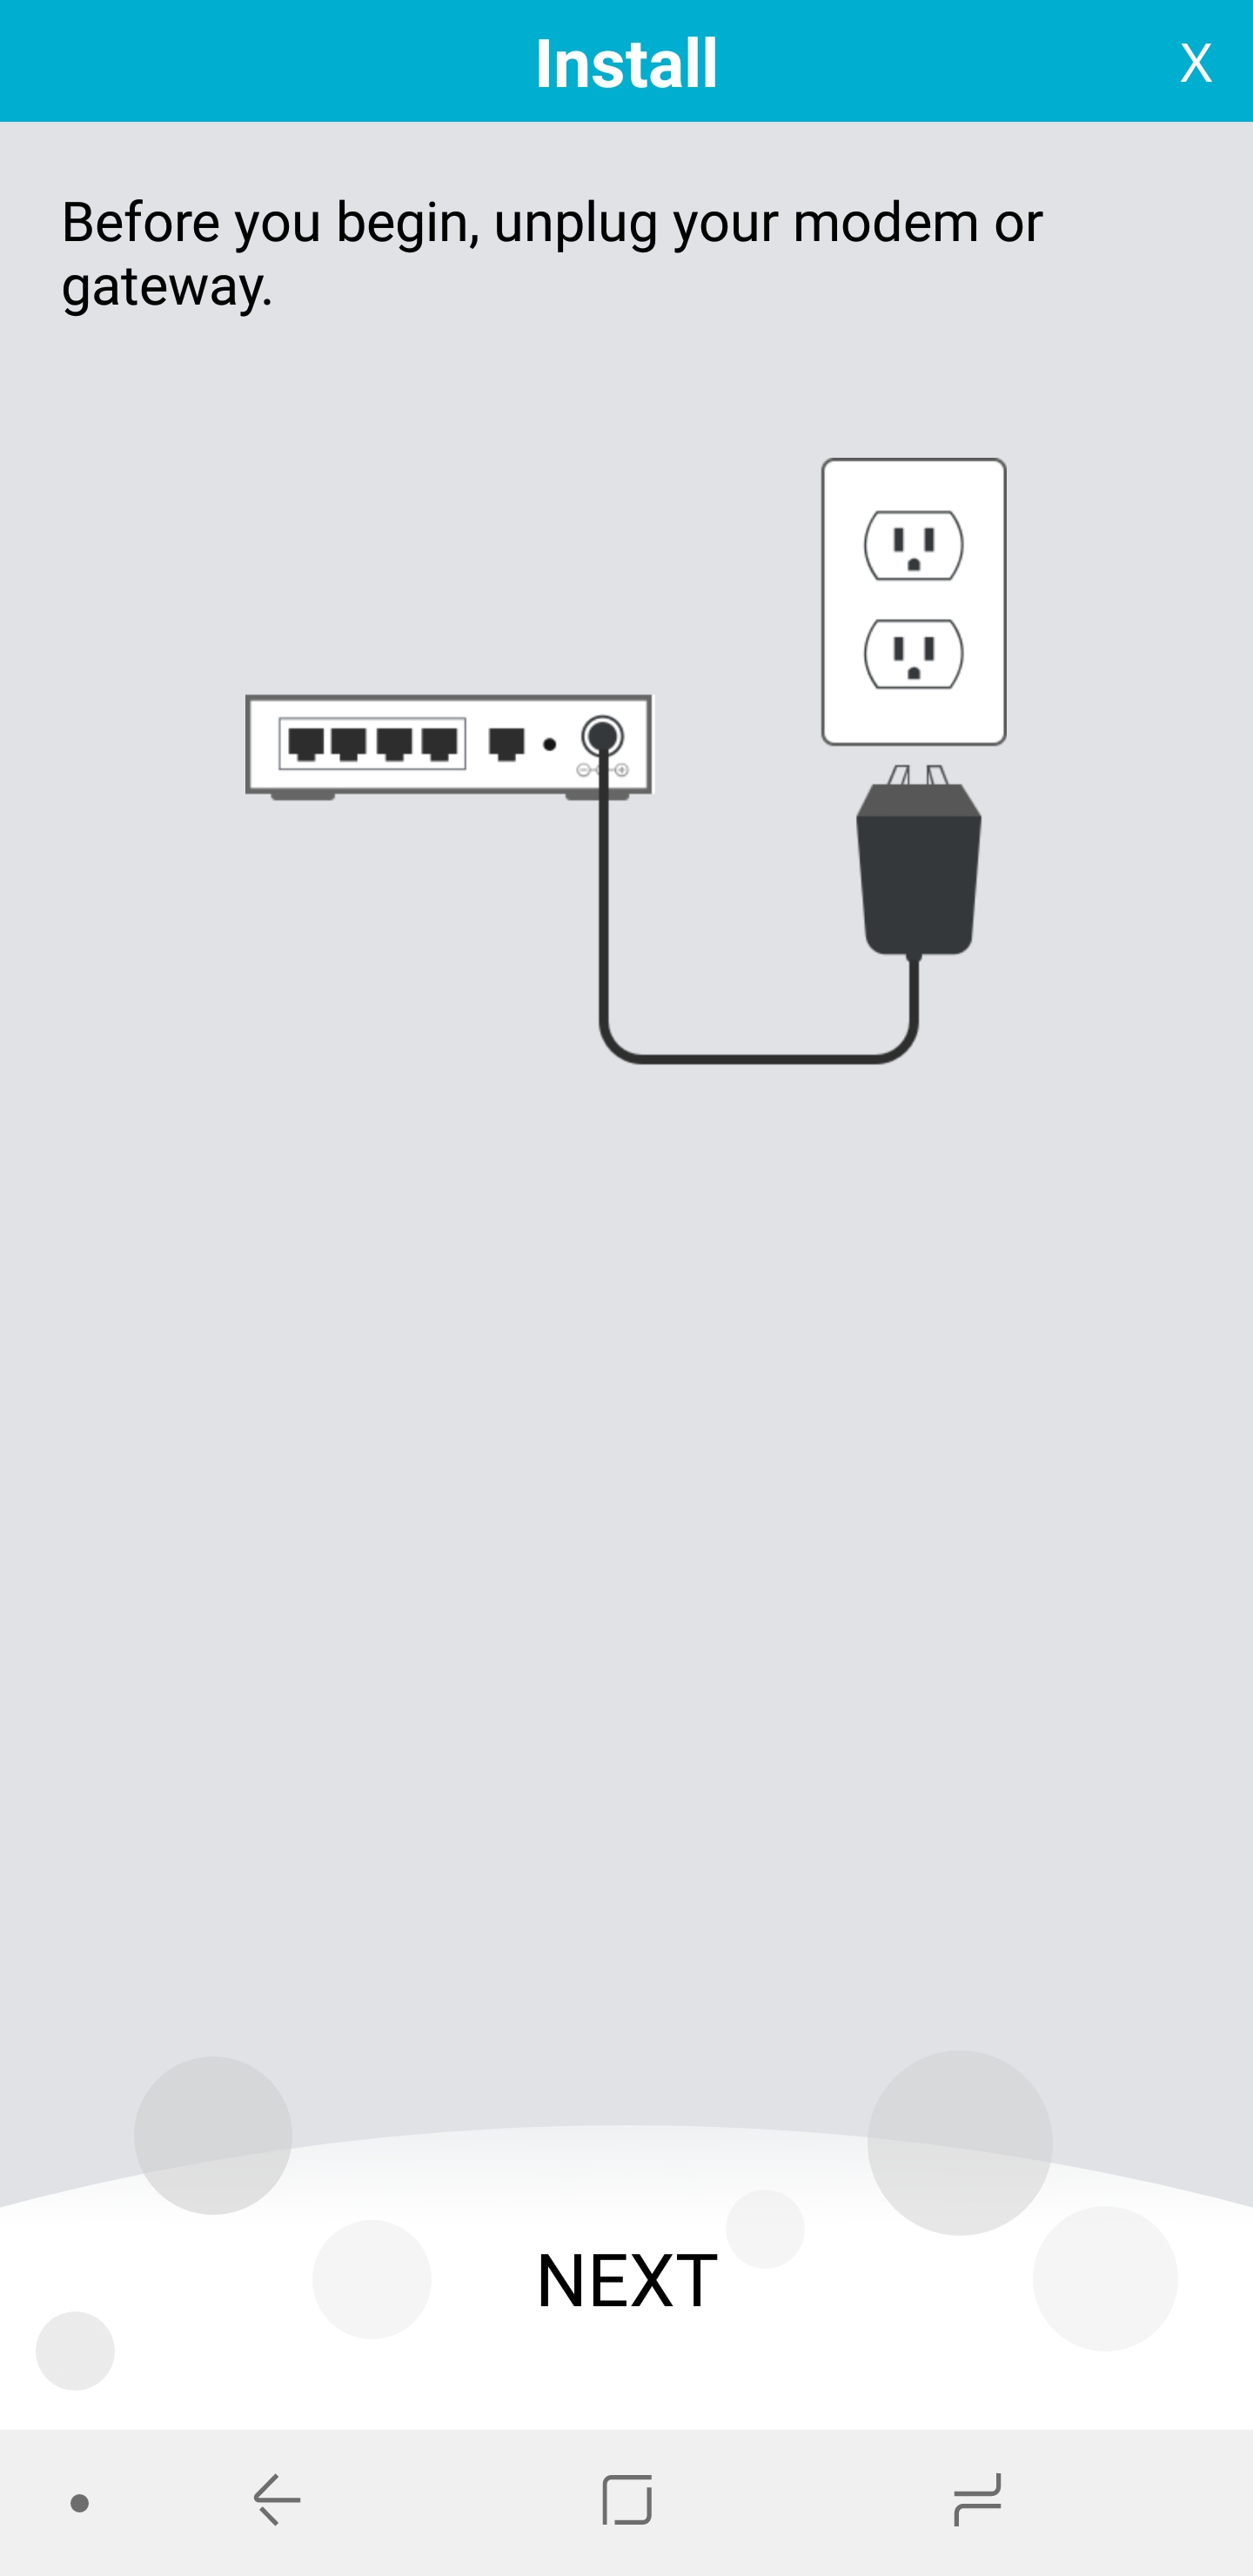
Unfortunately setup was not so simple when testing initially at my own apartment because I have NBN Fibre to the Premises (FTTP) which doesn’t need a separate modem, however the standard COVR-C1203 setup process assumes you do have a modem.
For the vast majority of people who might buy the COVR-C1203 this won’t be a problem because they are not tech savvy enough to know that the NBN FTTP NTD (NBN wall box) acts as a fibre modem so they will have attached a separate modem to it via Ethernet cable.
Anyway back to my experimentation. I chose to ignore D-link’s instructions to plug it into my ISP modem.


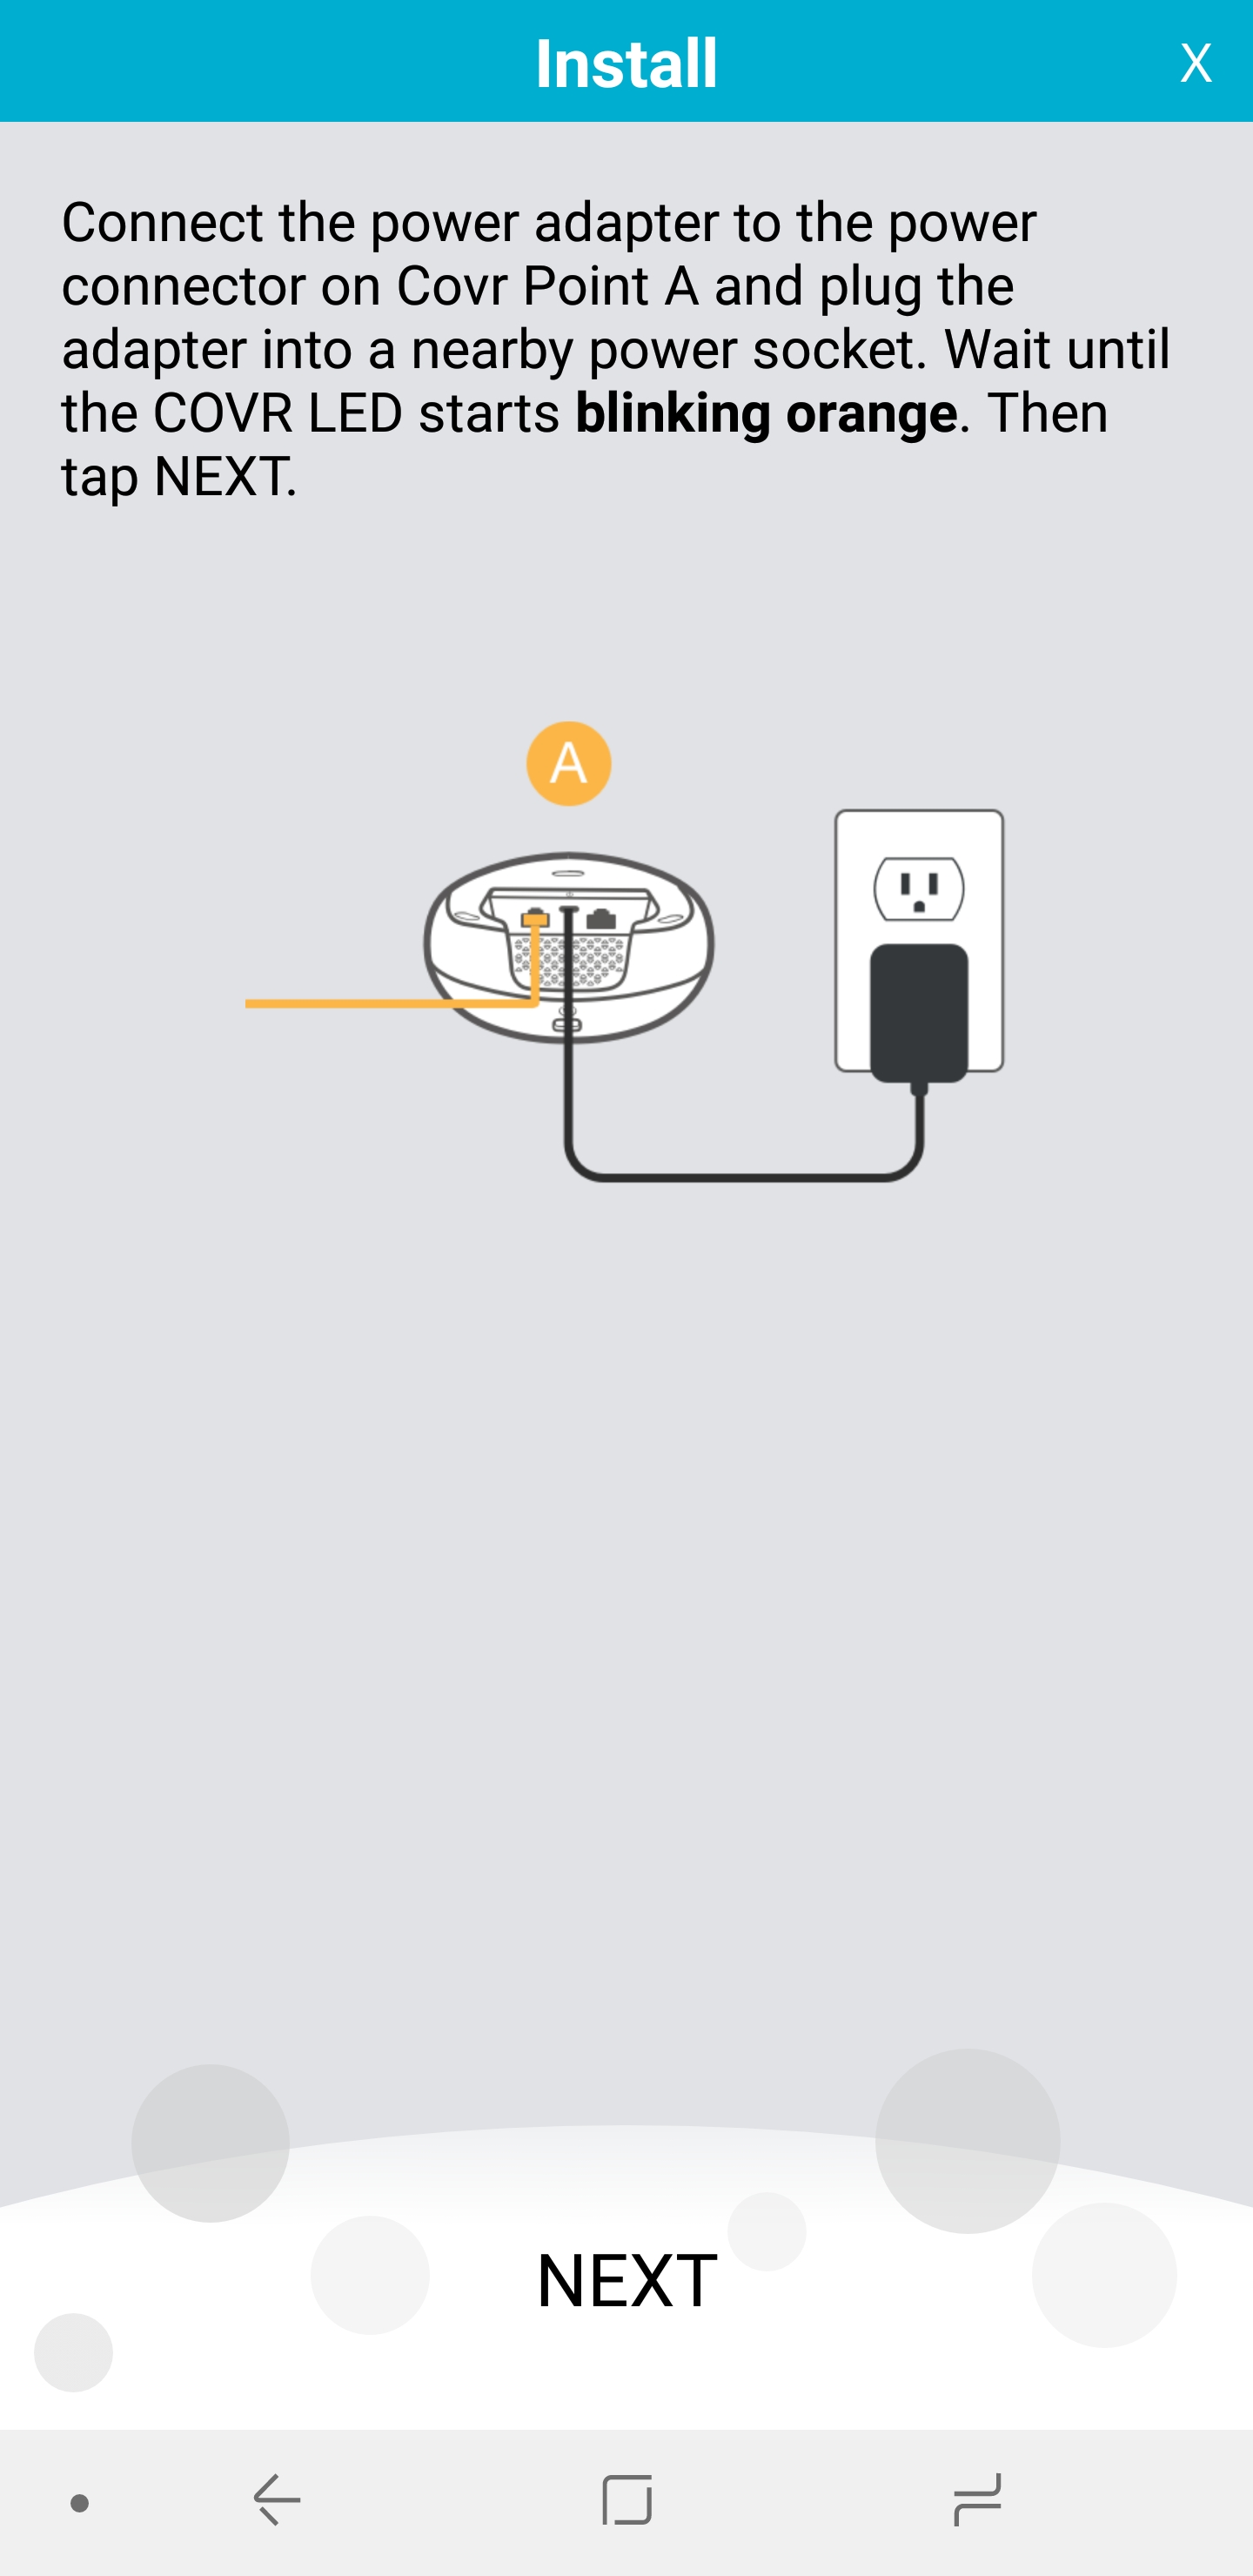


Instead, I plugged COVR Point “A” into my NBN NTD via Ethernet cable. It proceeded to glow orange which signifies setup in progress.
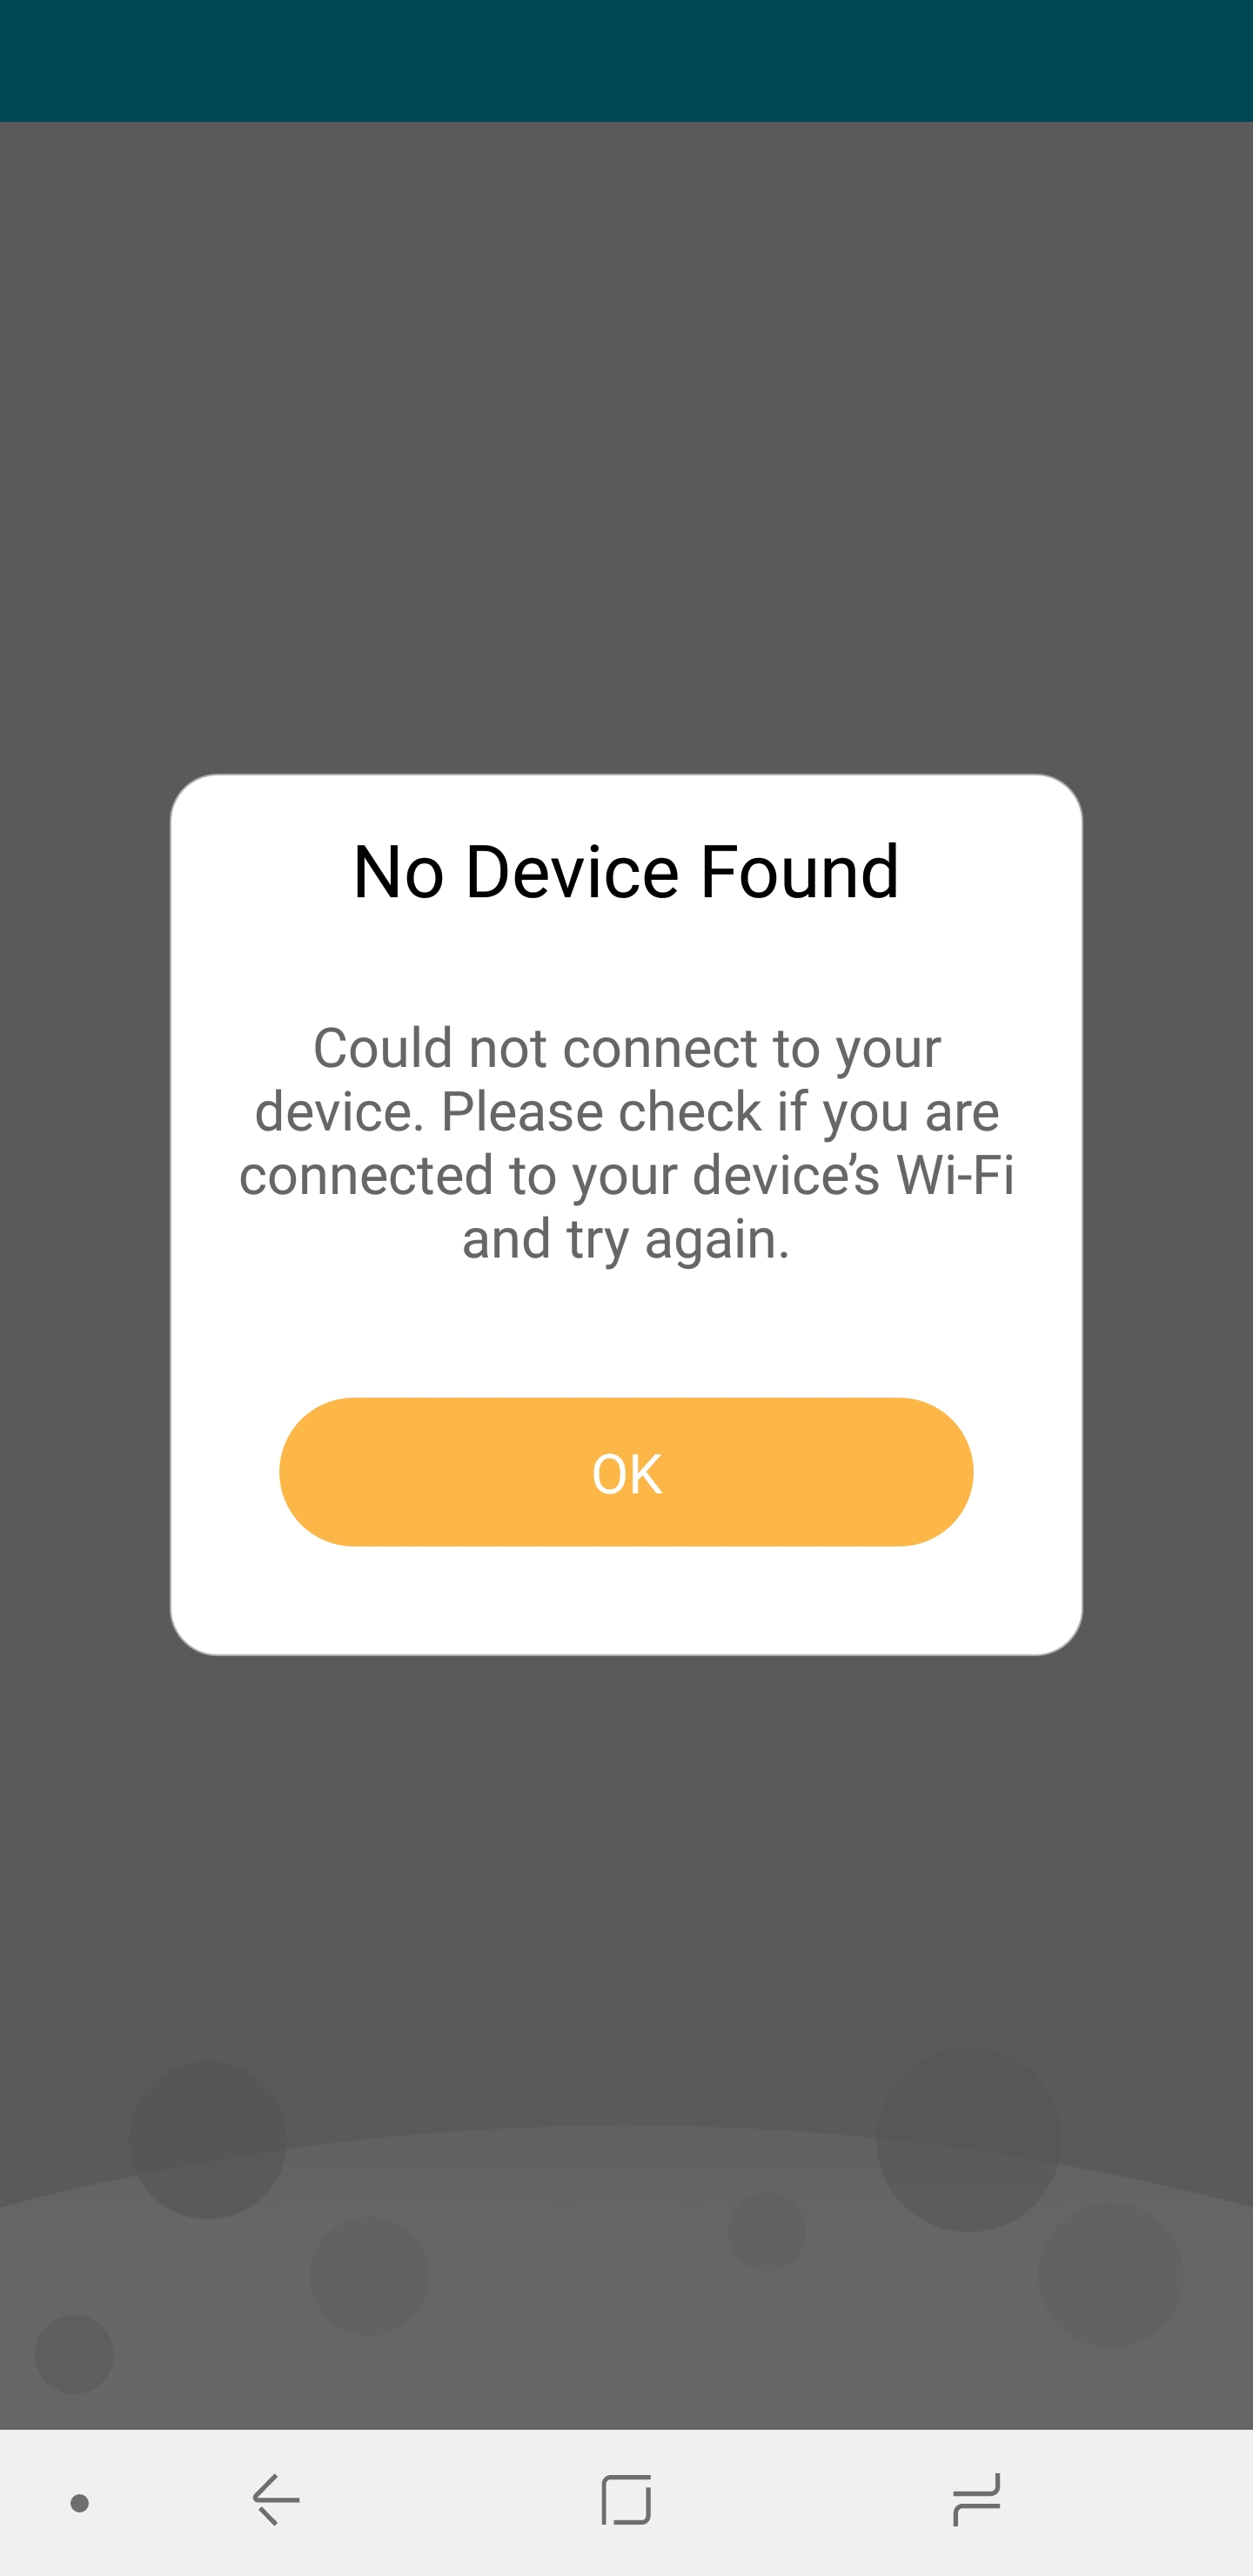
Initially I tried using the D-Link Wi-Fi app to setup the COVR Points but it didn’t work as you can see in the screenshots above.
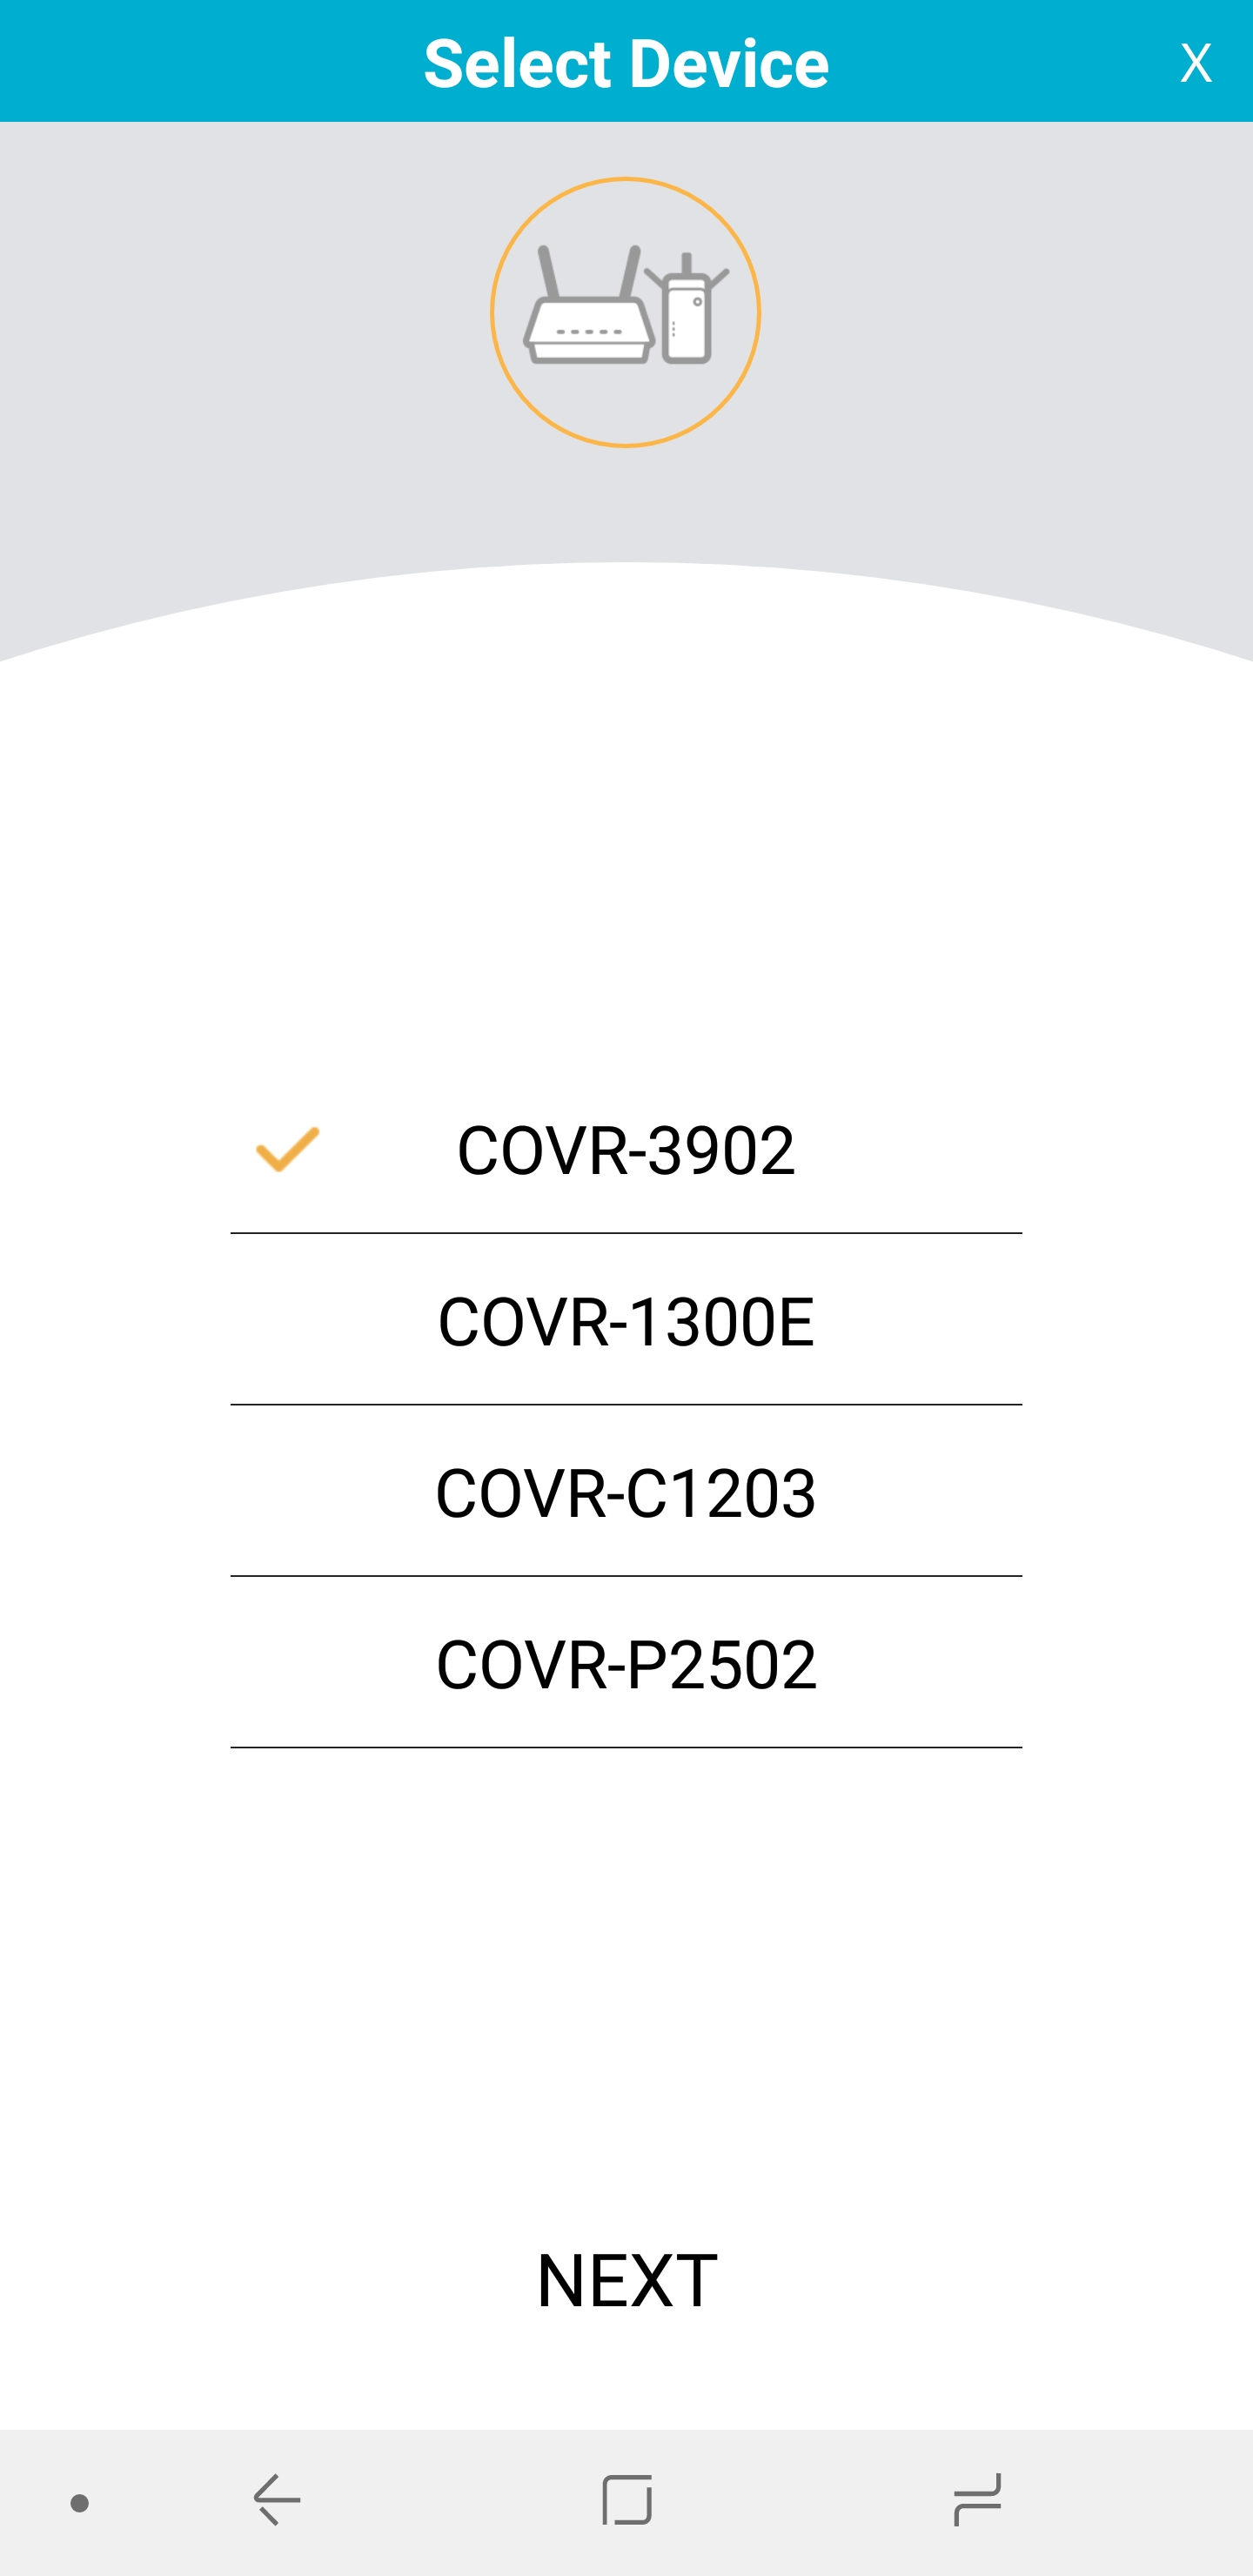
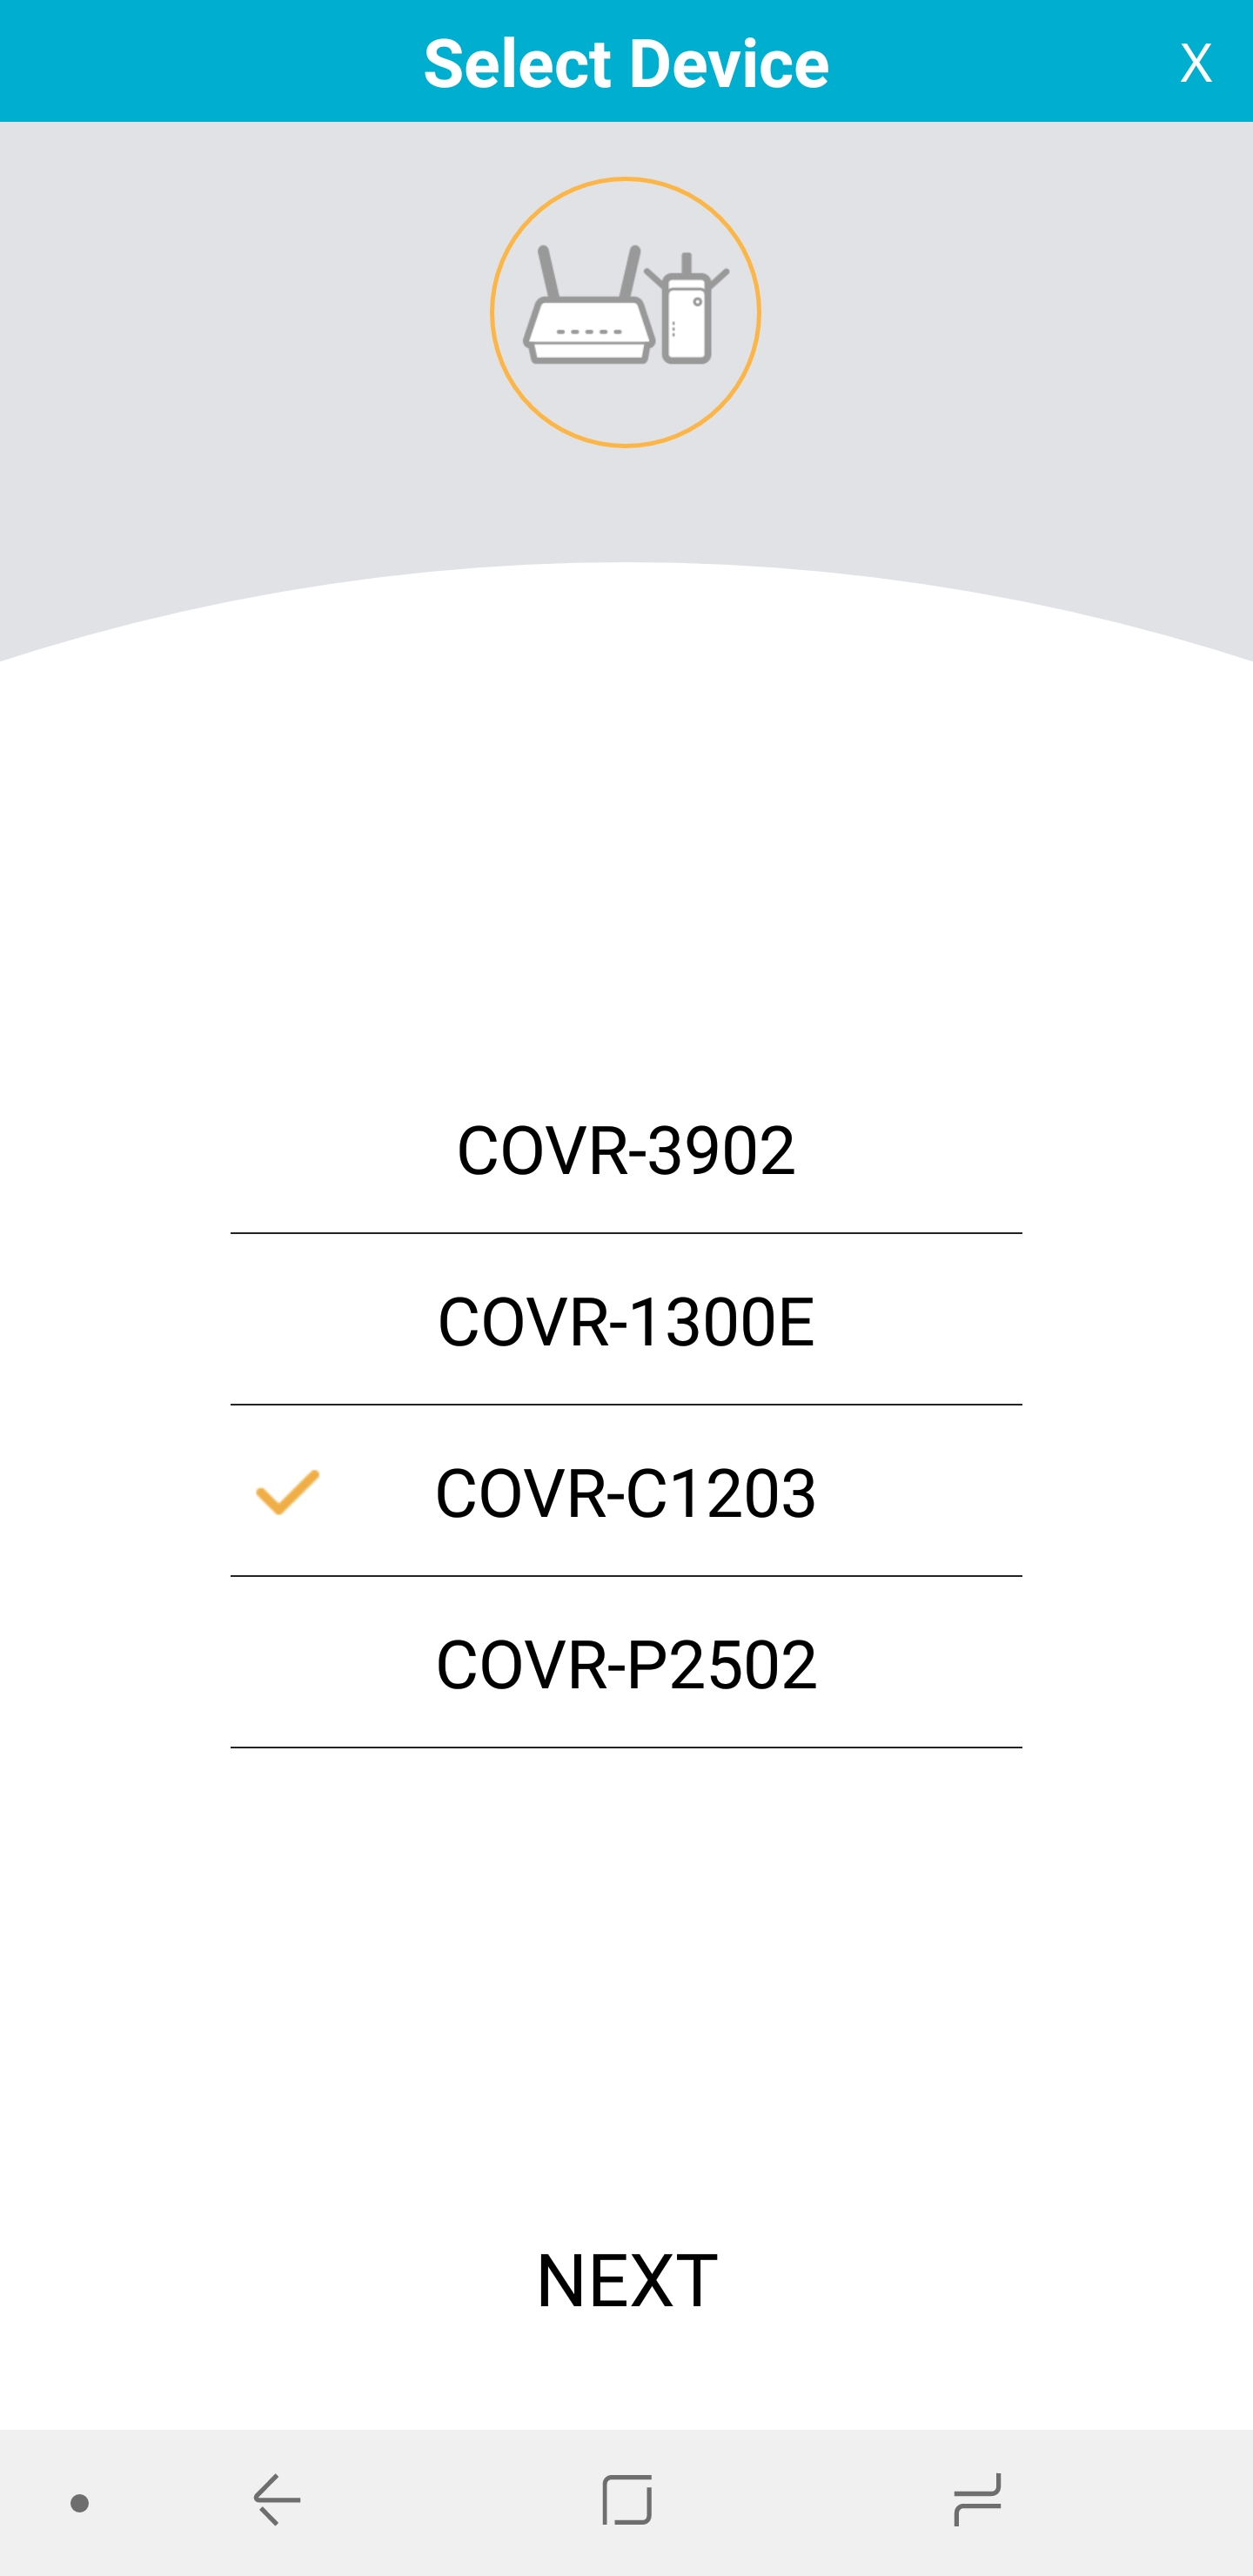
Select device makes you chose from a list of D-Link Wi-Fi products with pretty meaningless names for a non technical person. The first one in the list is auto ticked. I’m not sure the average buyer would know that they have bought a COVR-C1203 mesh Wi-Fi system because COVR-C1203 is not printed in big letters on the packaging
Choose “create a new COVR network” etc. I gave up on the D-link app when I got an error message over and over at the final stage.
I then reset COVR Point A, connected it to my laptop and the NBN NTD via 2 Ethernet cables and ran the alternate Simple Setup Guide process using my laptop browser.
That also failed, because the system demanded PPPoE settings — settings which my NBN ISP doesn’t use.
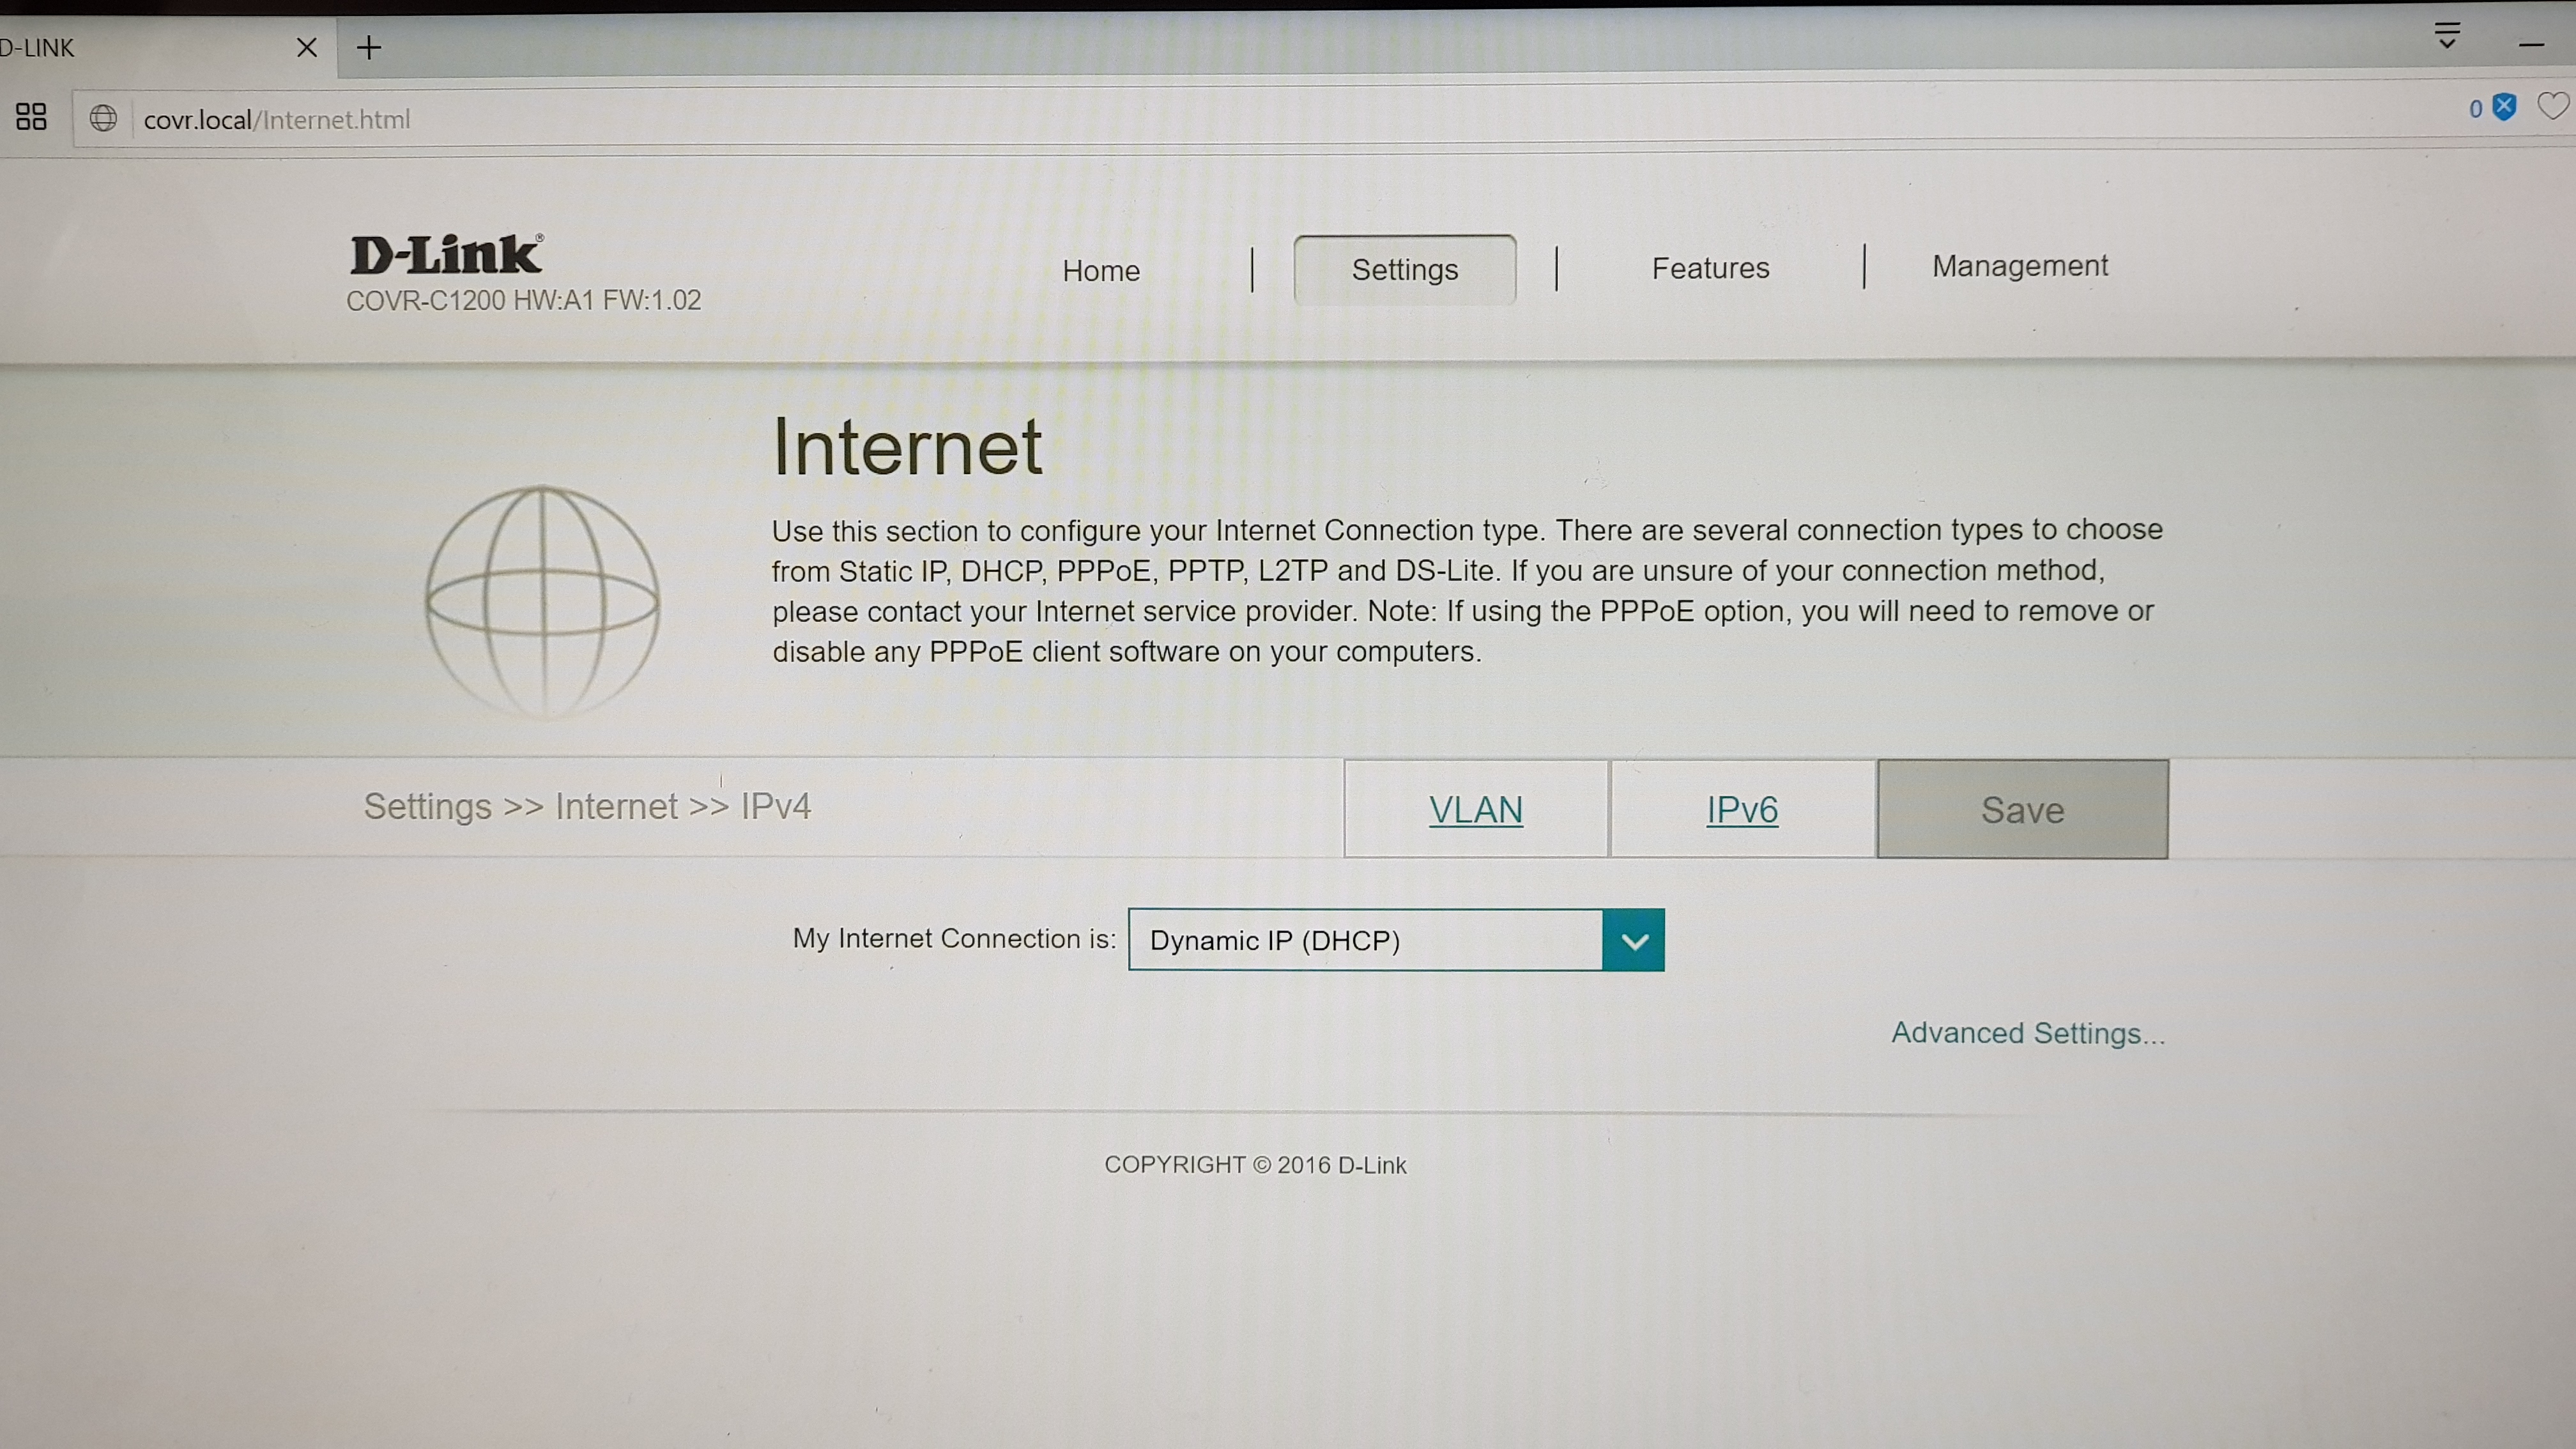
At least I could access the D-Link admin settings via my laptop, so I hunted around and eventually found “Settings” > “Internet”. There were several options but the one that worked for me was ‘My internet connection is “Dynamic IP (DCHP)’.
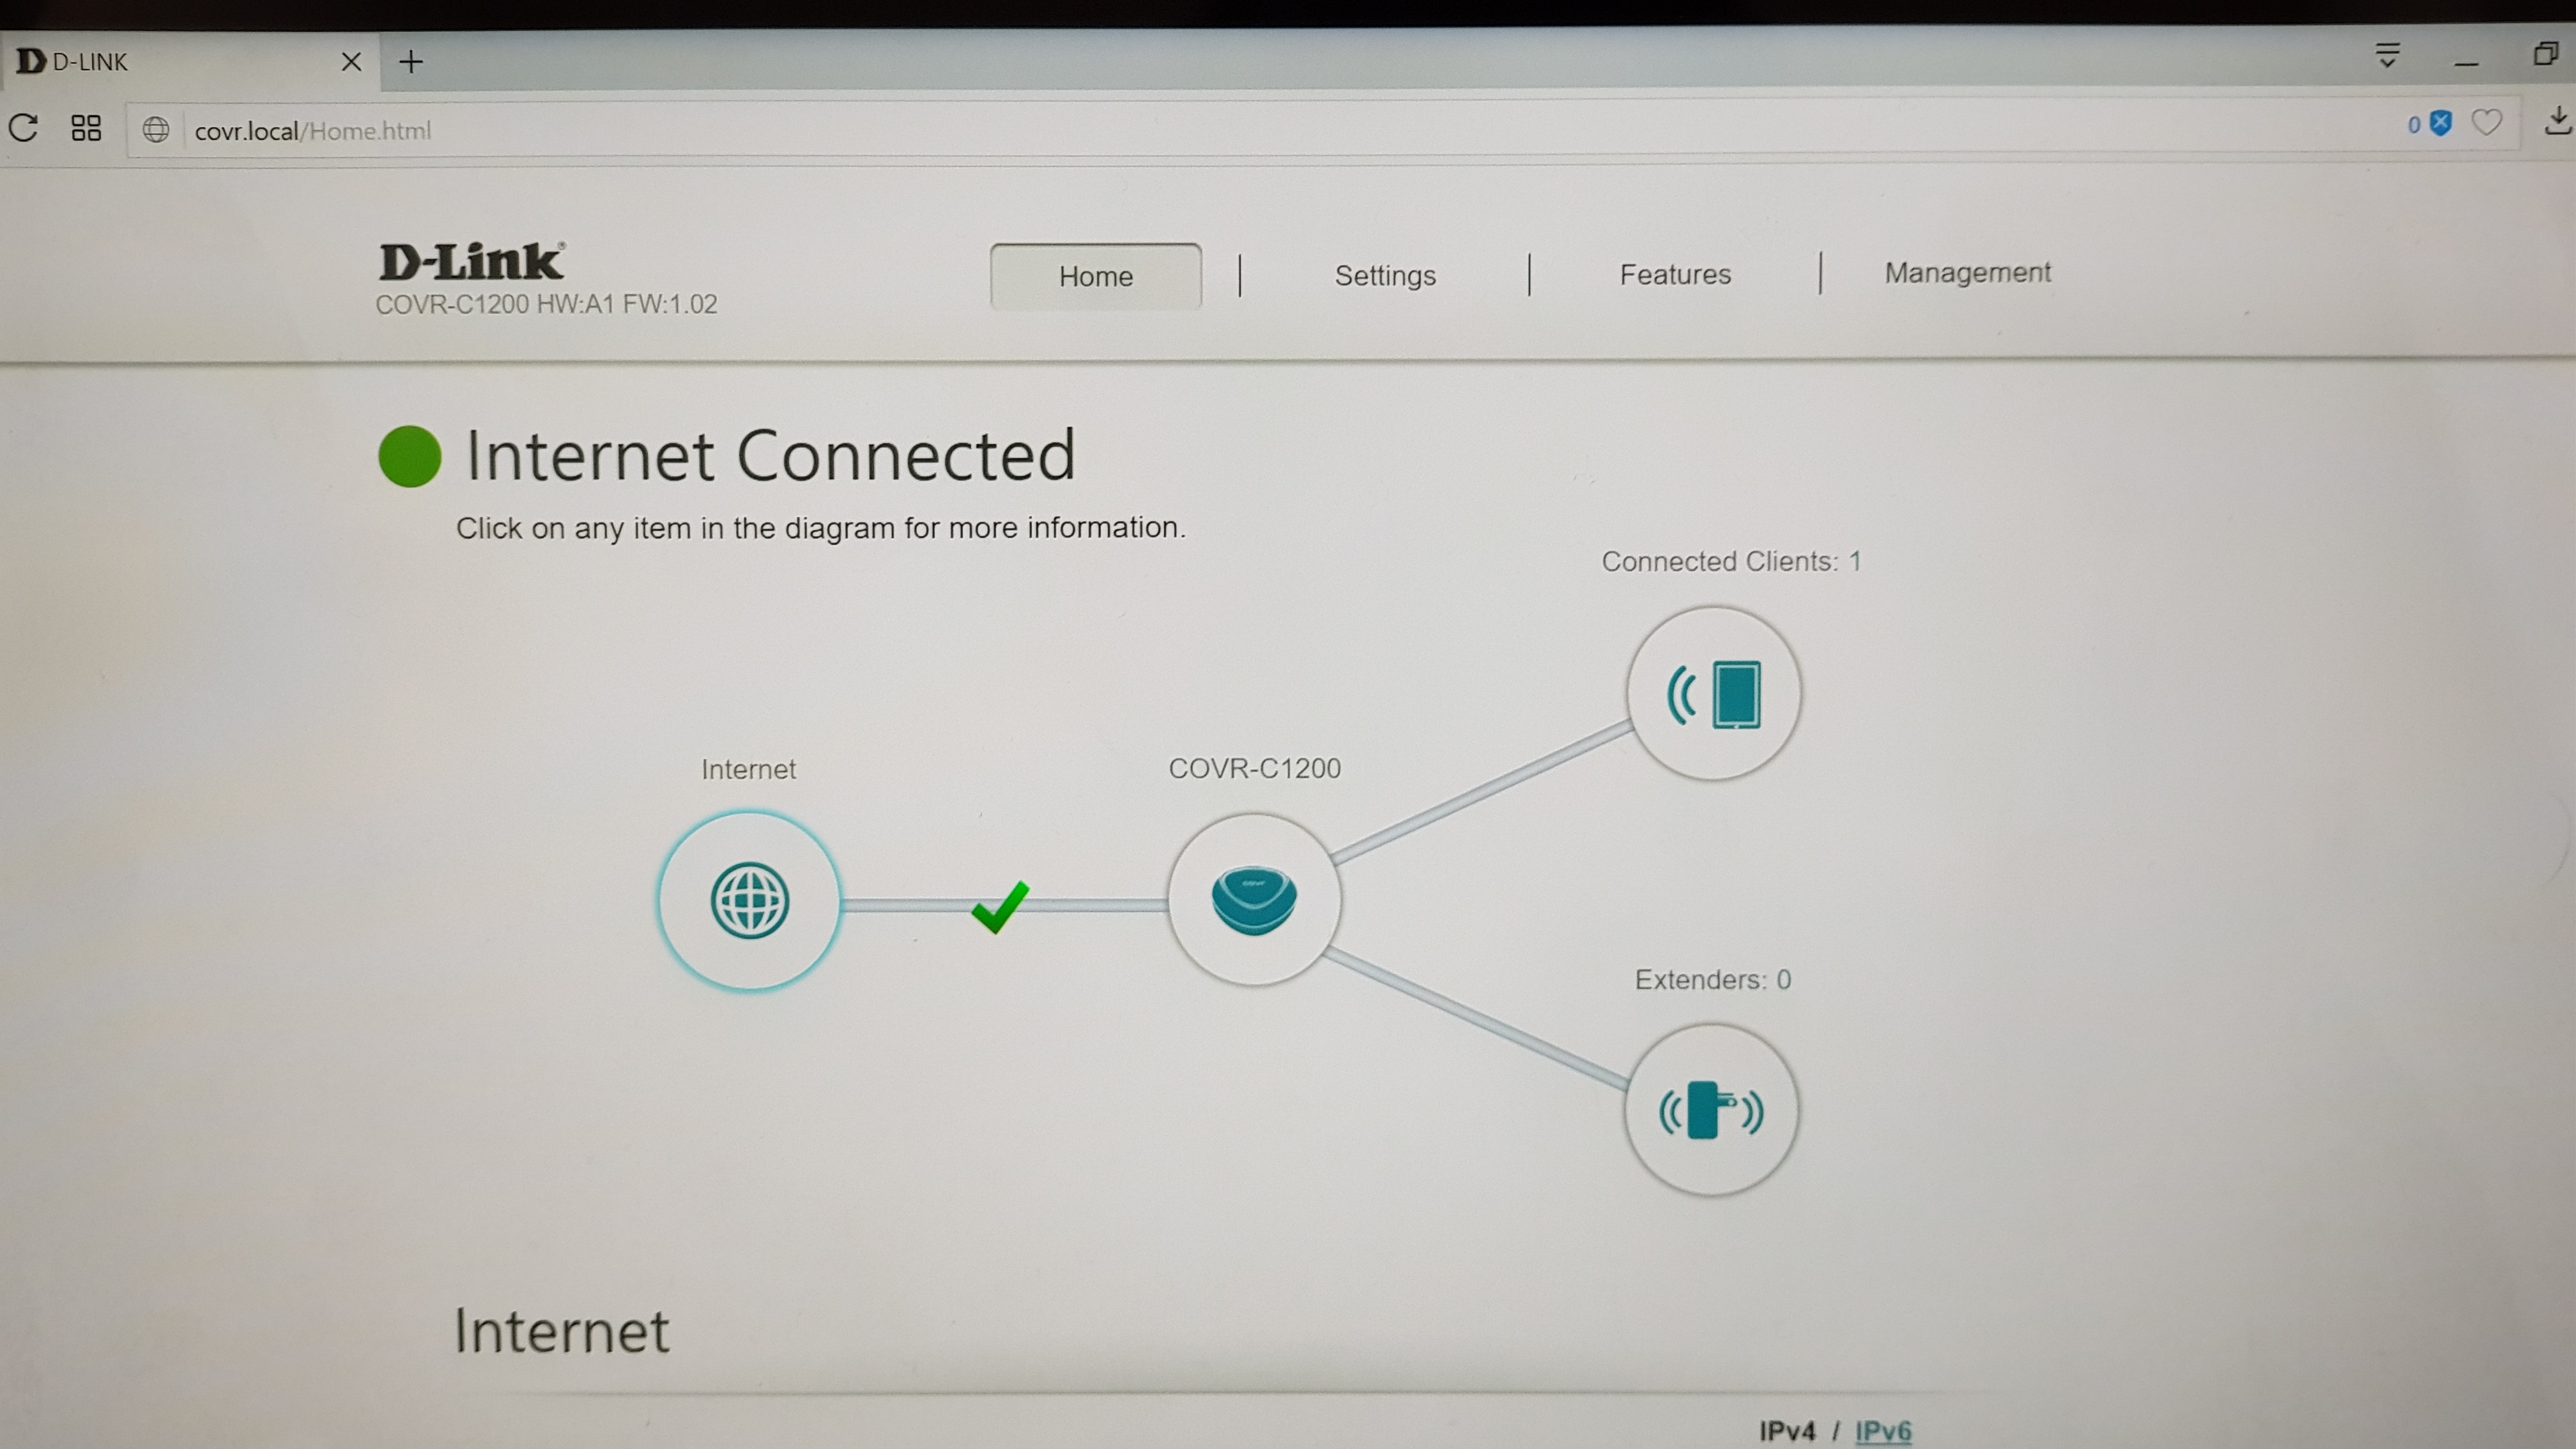
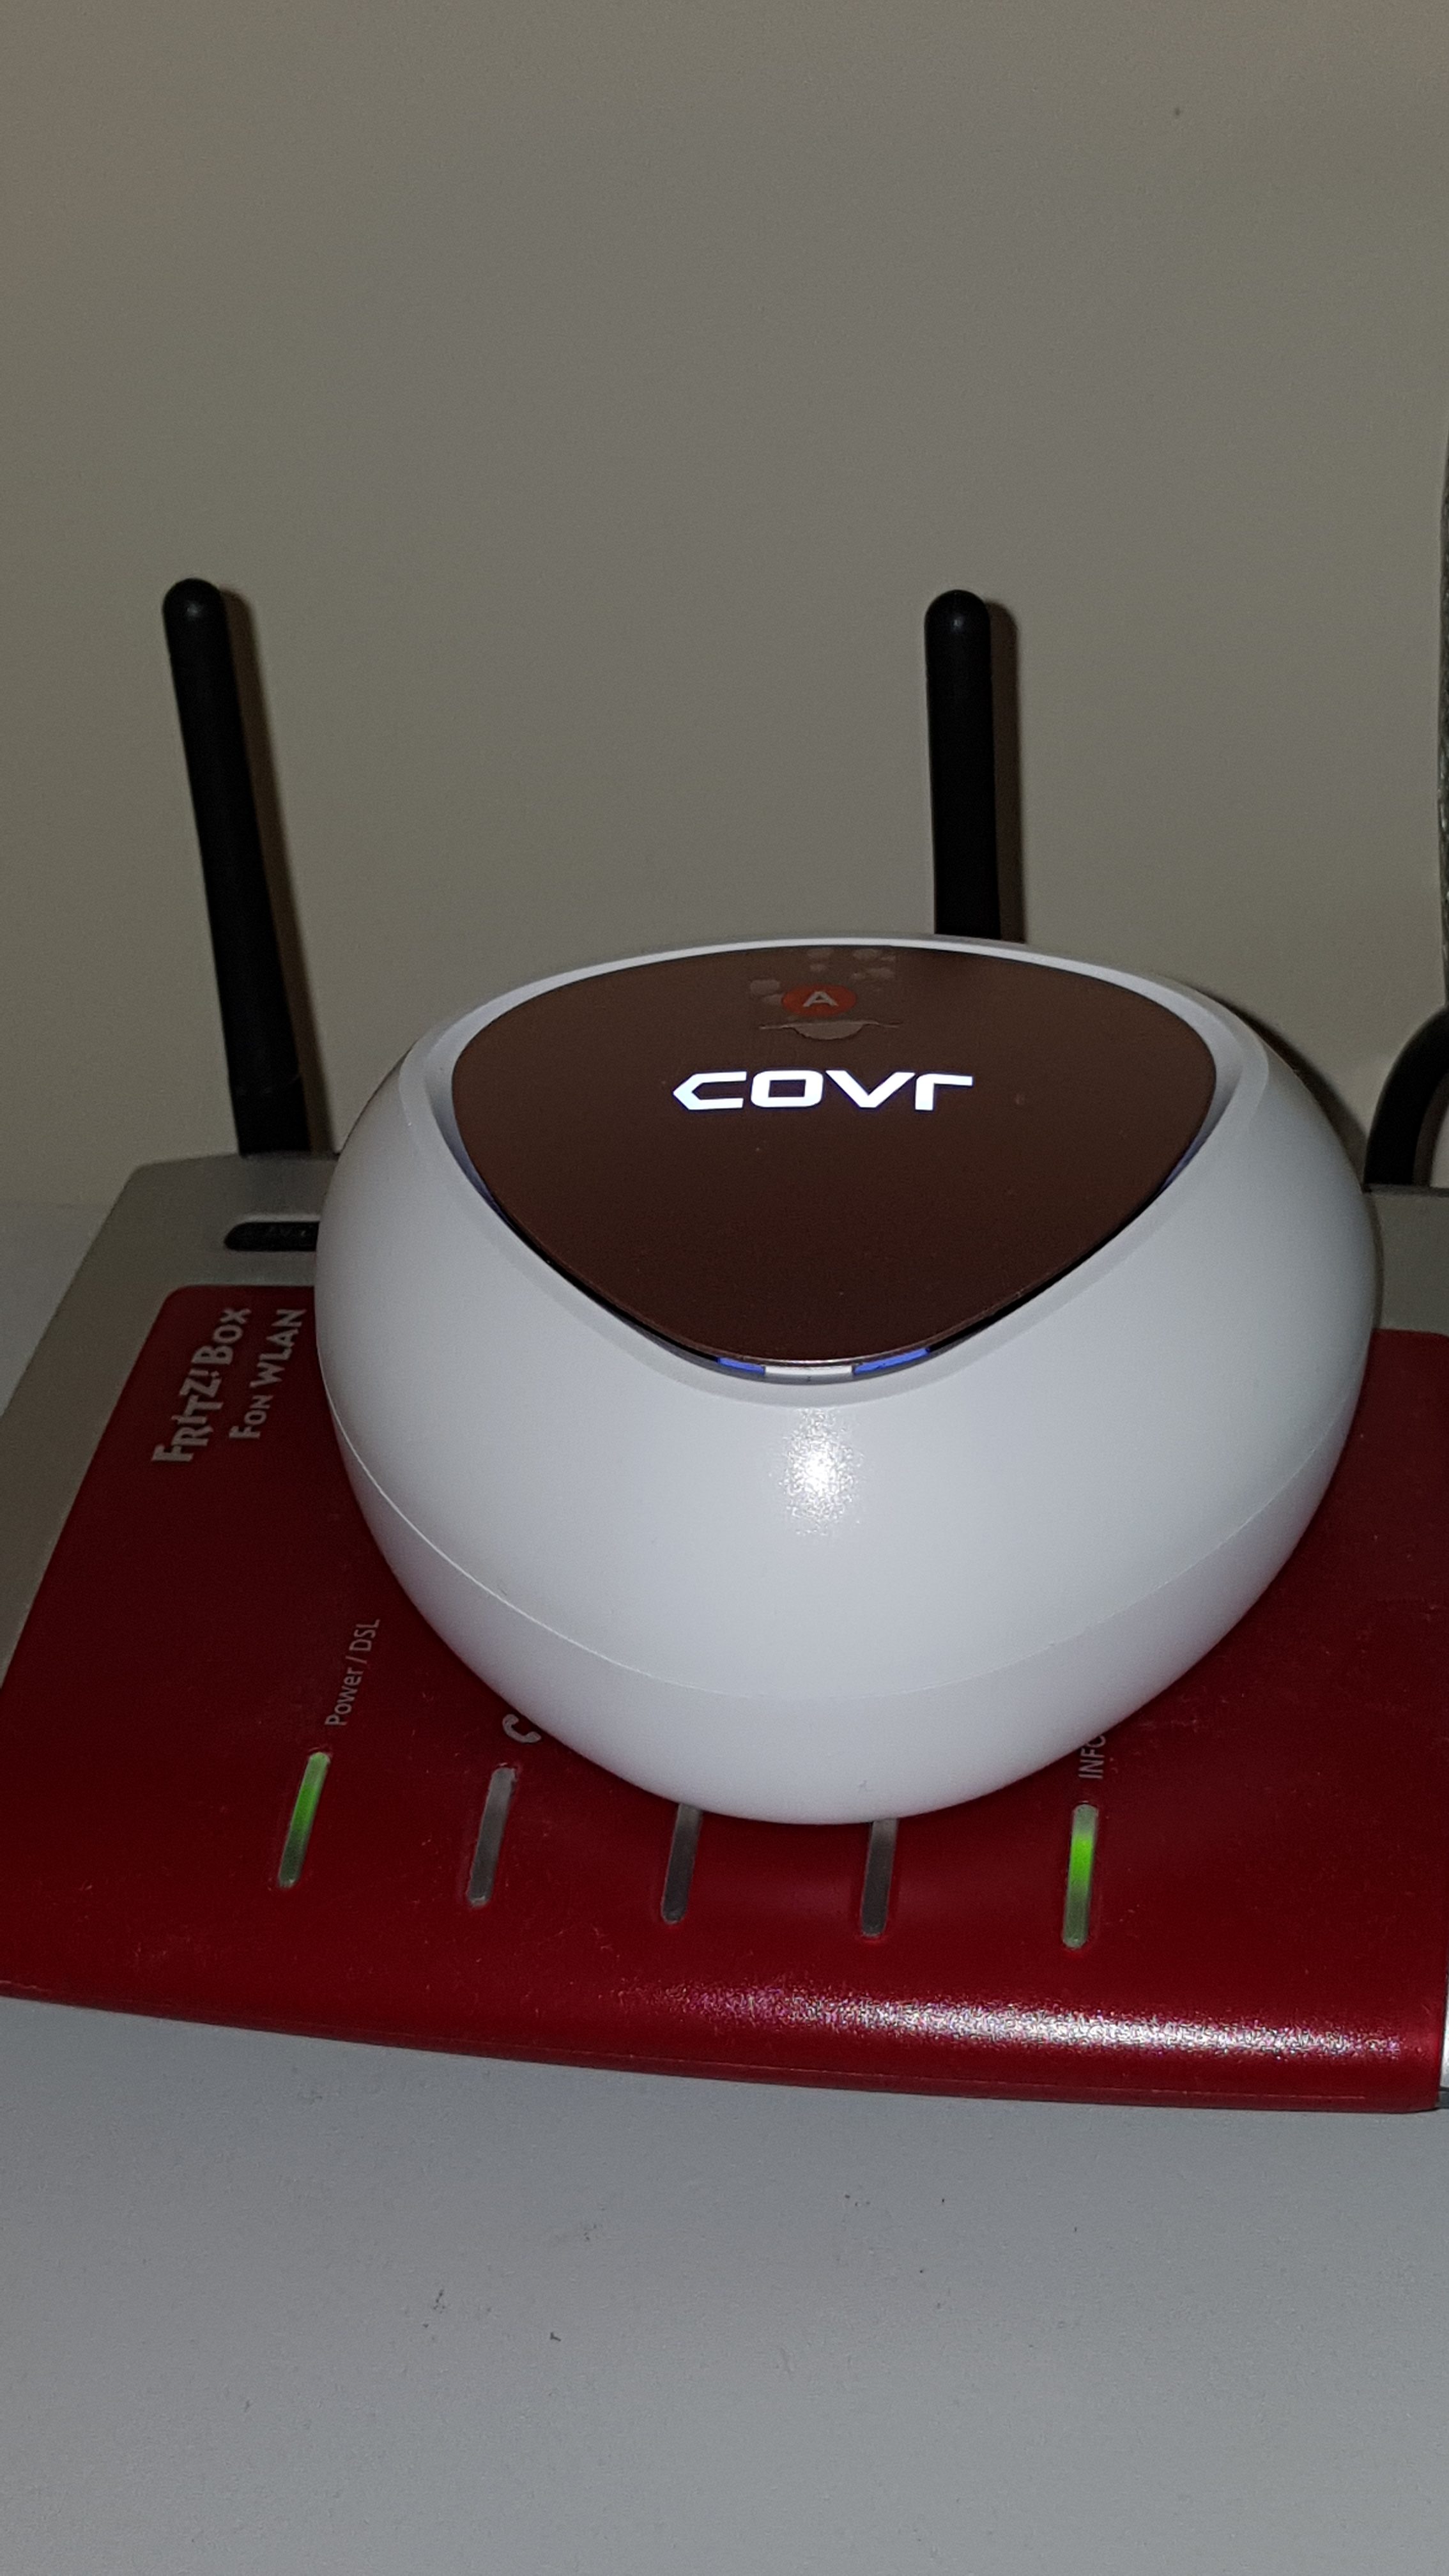
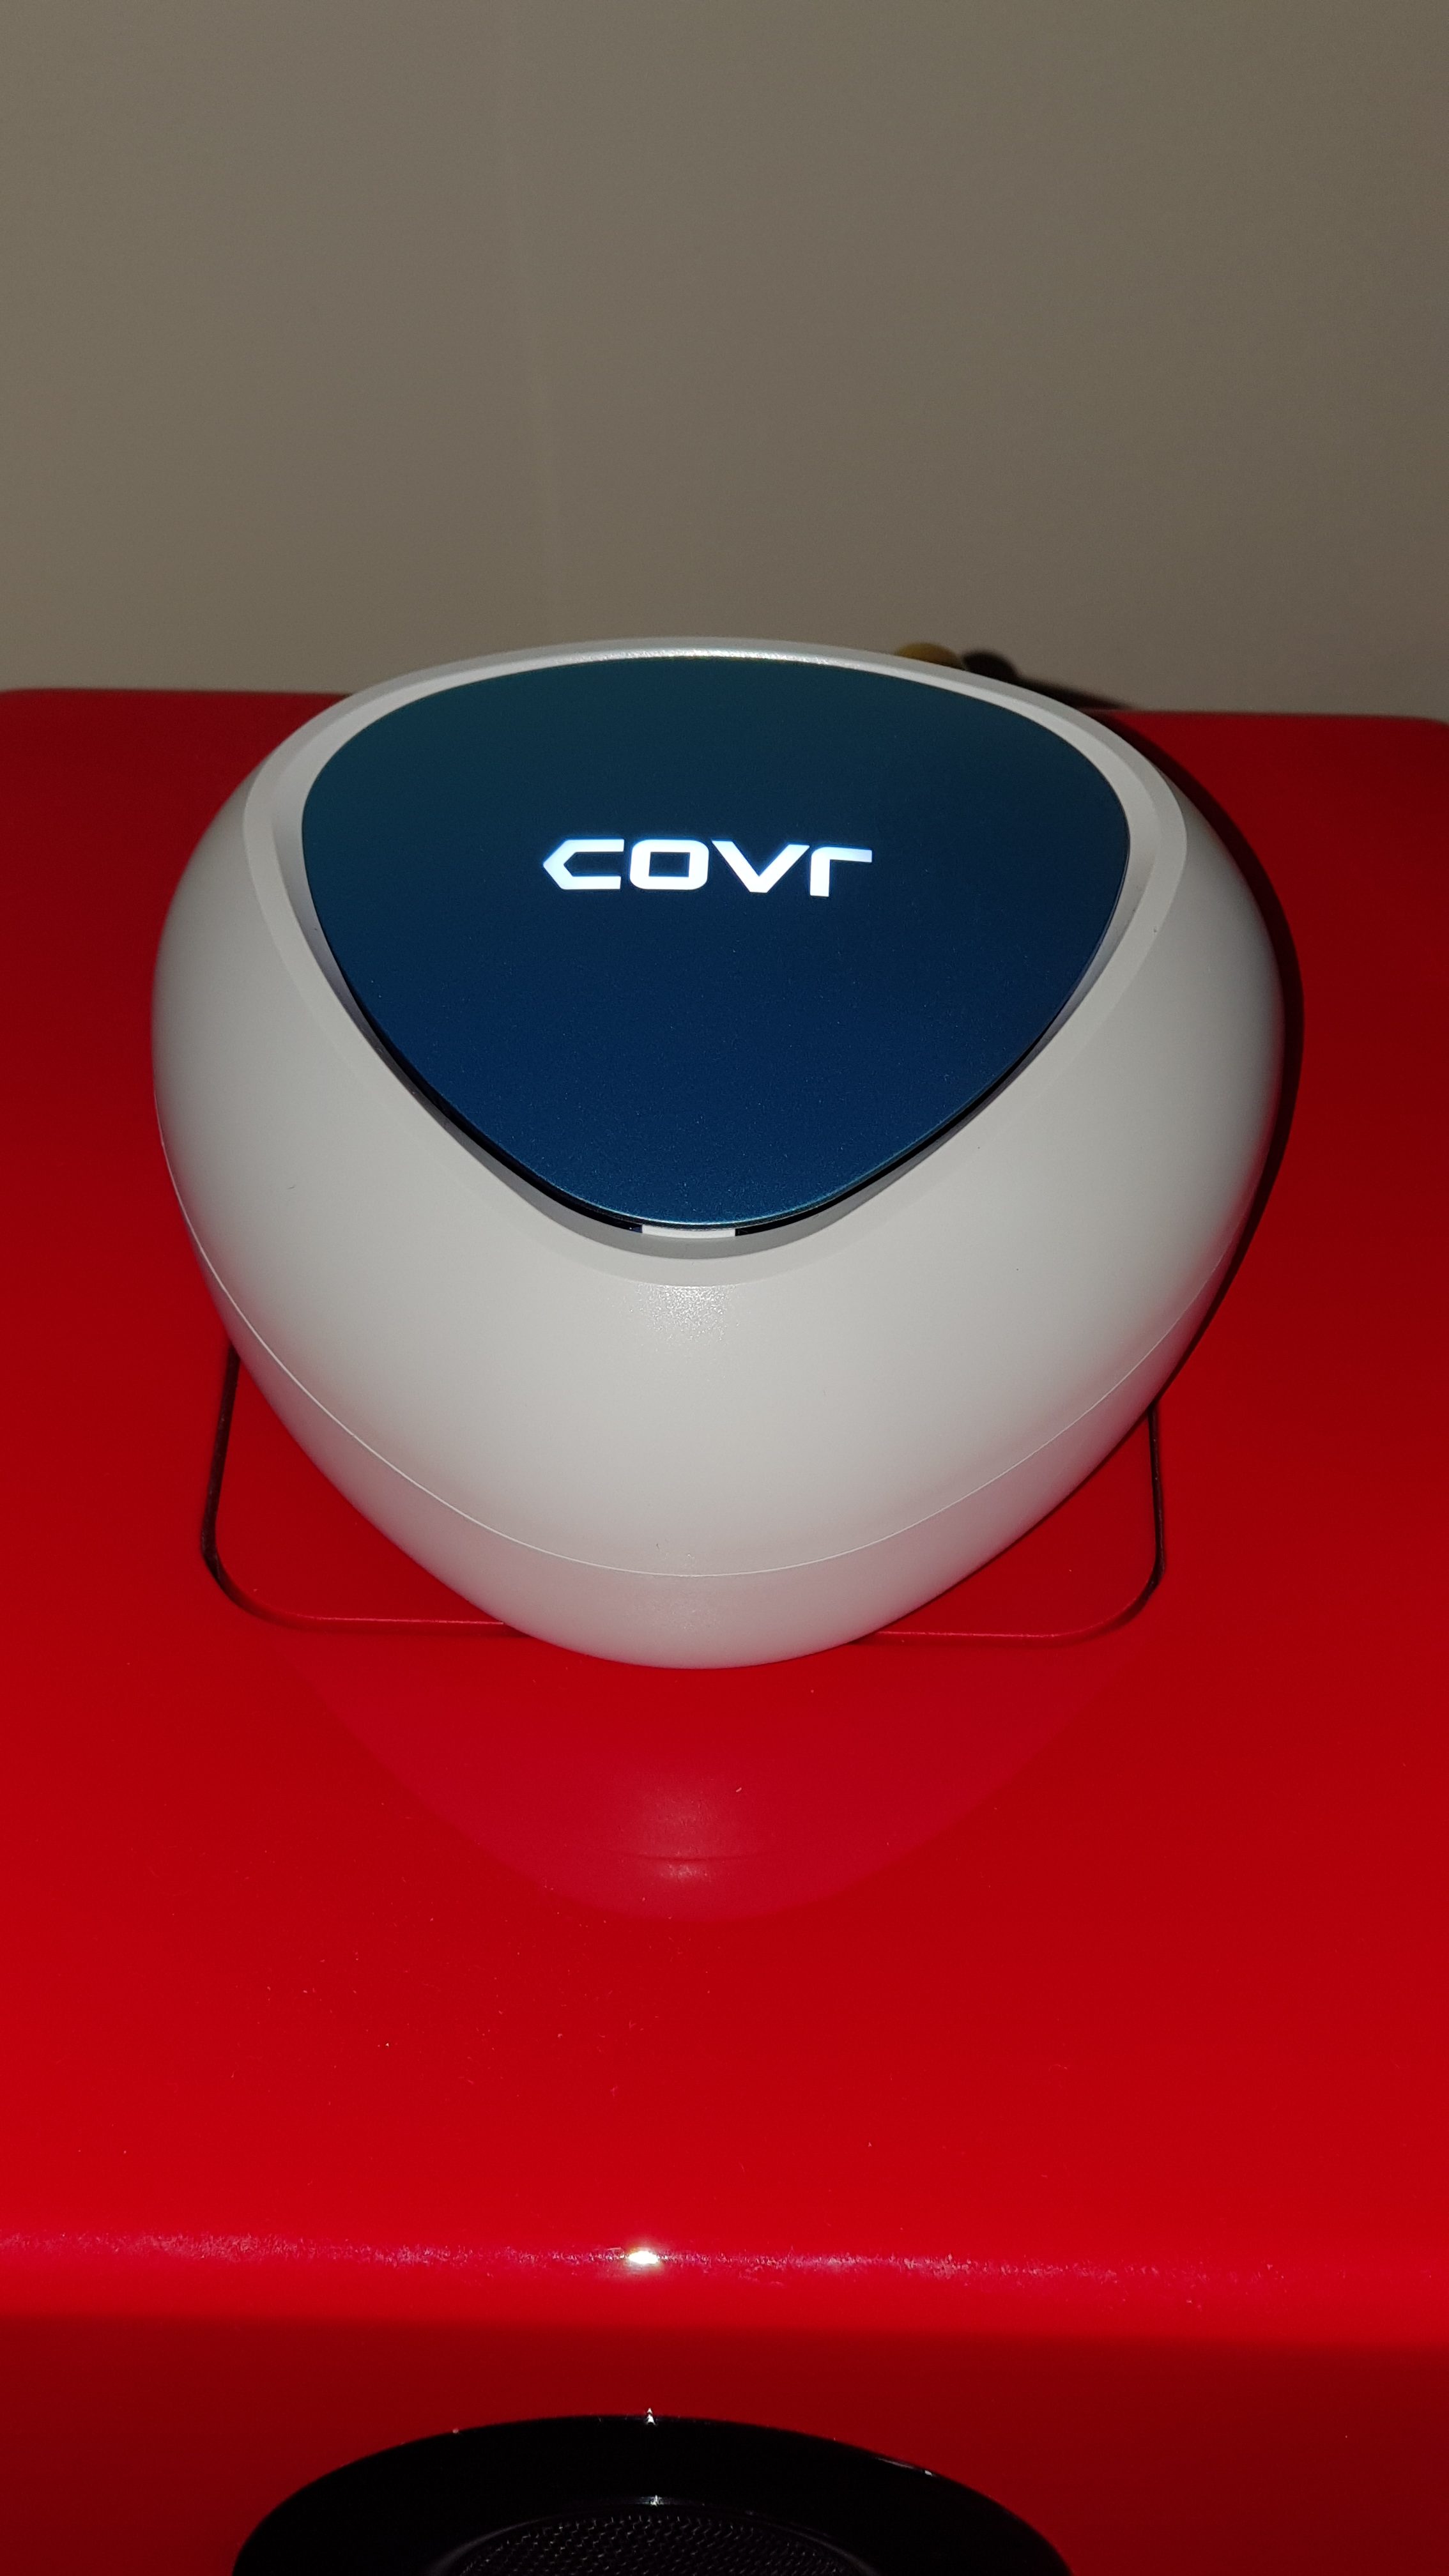
After blinking orange for a while COVR point A went solid white to indicate it was working.
To setup the other two COVR points you need to plug them into a PowerPoint near the COVR Point marked “A”. Link the second COVR point to the “A” port 2 using an Ethernet cable. The extra COVR point will first glow orange and then after a while it will glow white. Repeat for the 3rd COVR point.
Unplug the extra COVR points and place them within your home to blanket it with a mesh Wi-Fi signal. If any of your additional COVR points are not glowing solid white at their new location it means they have a weak signal. Move them closer to another COVR Point until they all glow solid white.
Testing the secondary COVR point in my apartment living room connected via Ethernet cable to Mi Box and Beoplay M5 , worked fine. Also both devices worked fine via Wi-Fi as they are within a few metres of the COVR point.
I tried the third COVR point in my study room with the Desktop PC plugged in via Ethernet cable, that also worked fine
Since my apartment is too small to properly test mesh network coverage claims I reset all the COVR points then took them to my second test location, a house and garden covering over 400 square metres.
My second test location is much more representative of 99% of potential COVR-C1203 buyer home environments so setup occurred without any problems.
All I had to do was turn off the ISP provided Fritzbox 7390 modem/router built-in Wi-Fi. I Setup COVR Point A by connecting to the Fritzbox and a desktop PC nearby. COVR Point 2 was located in the living room and plugged into the smart TV. COVR Point 3 was located in the Sun room at the back of the house to provide Wi-FI for the Chromecast and any laptops, tablets, phones that are used in that area.

Performance & Configurability
The main question after setup is whether there is a measurable improvement in Wi-Fi coverage in all the main usage areas.
That’s definitely the case. Now devices can connect to W-Fi across the house and garden at the back/side.
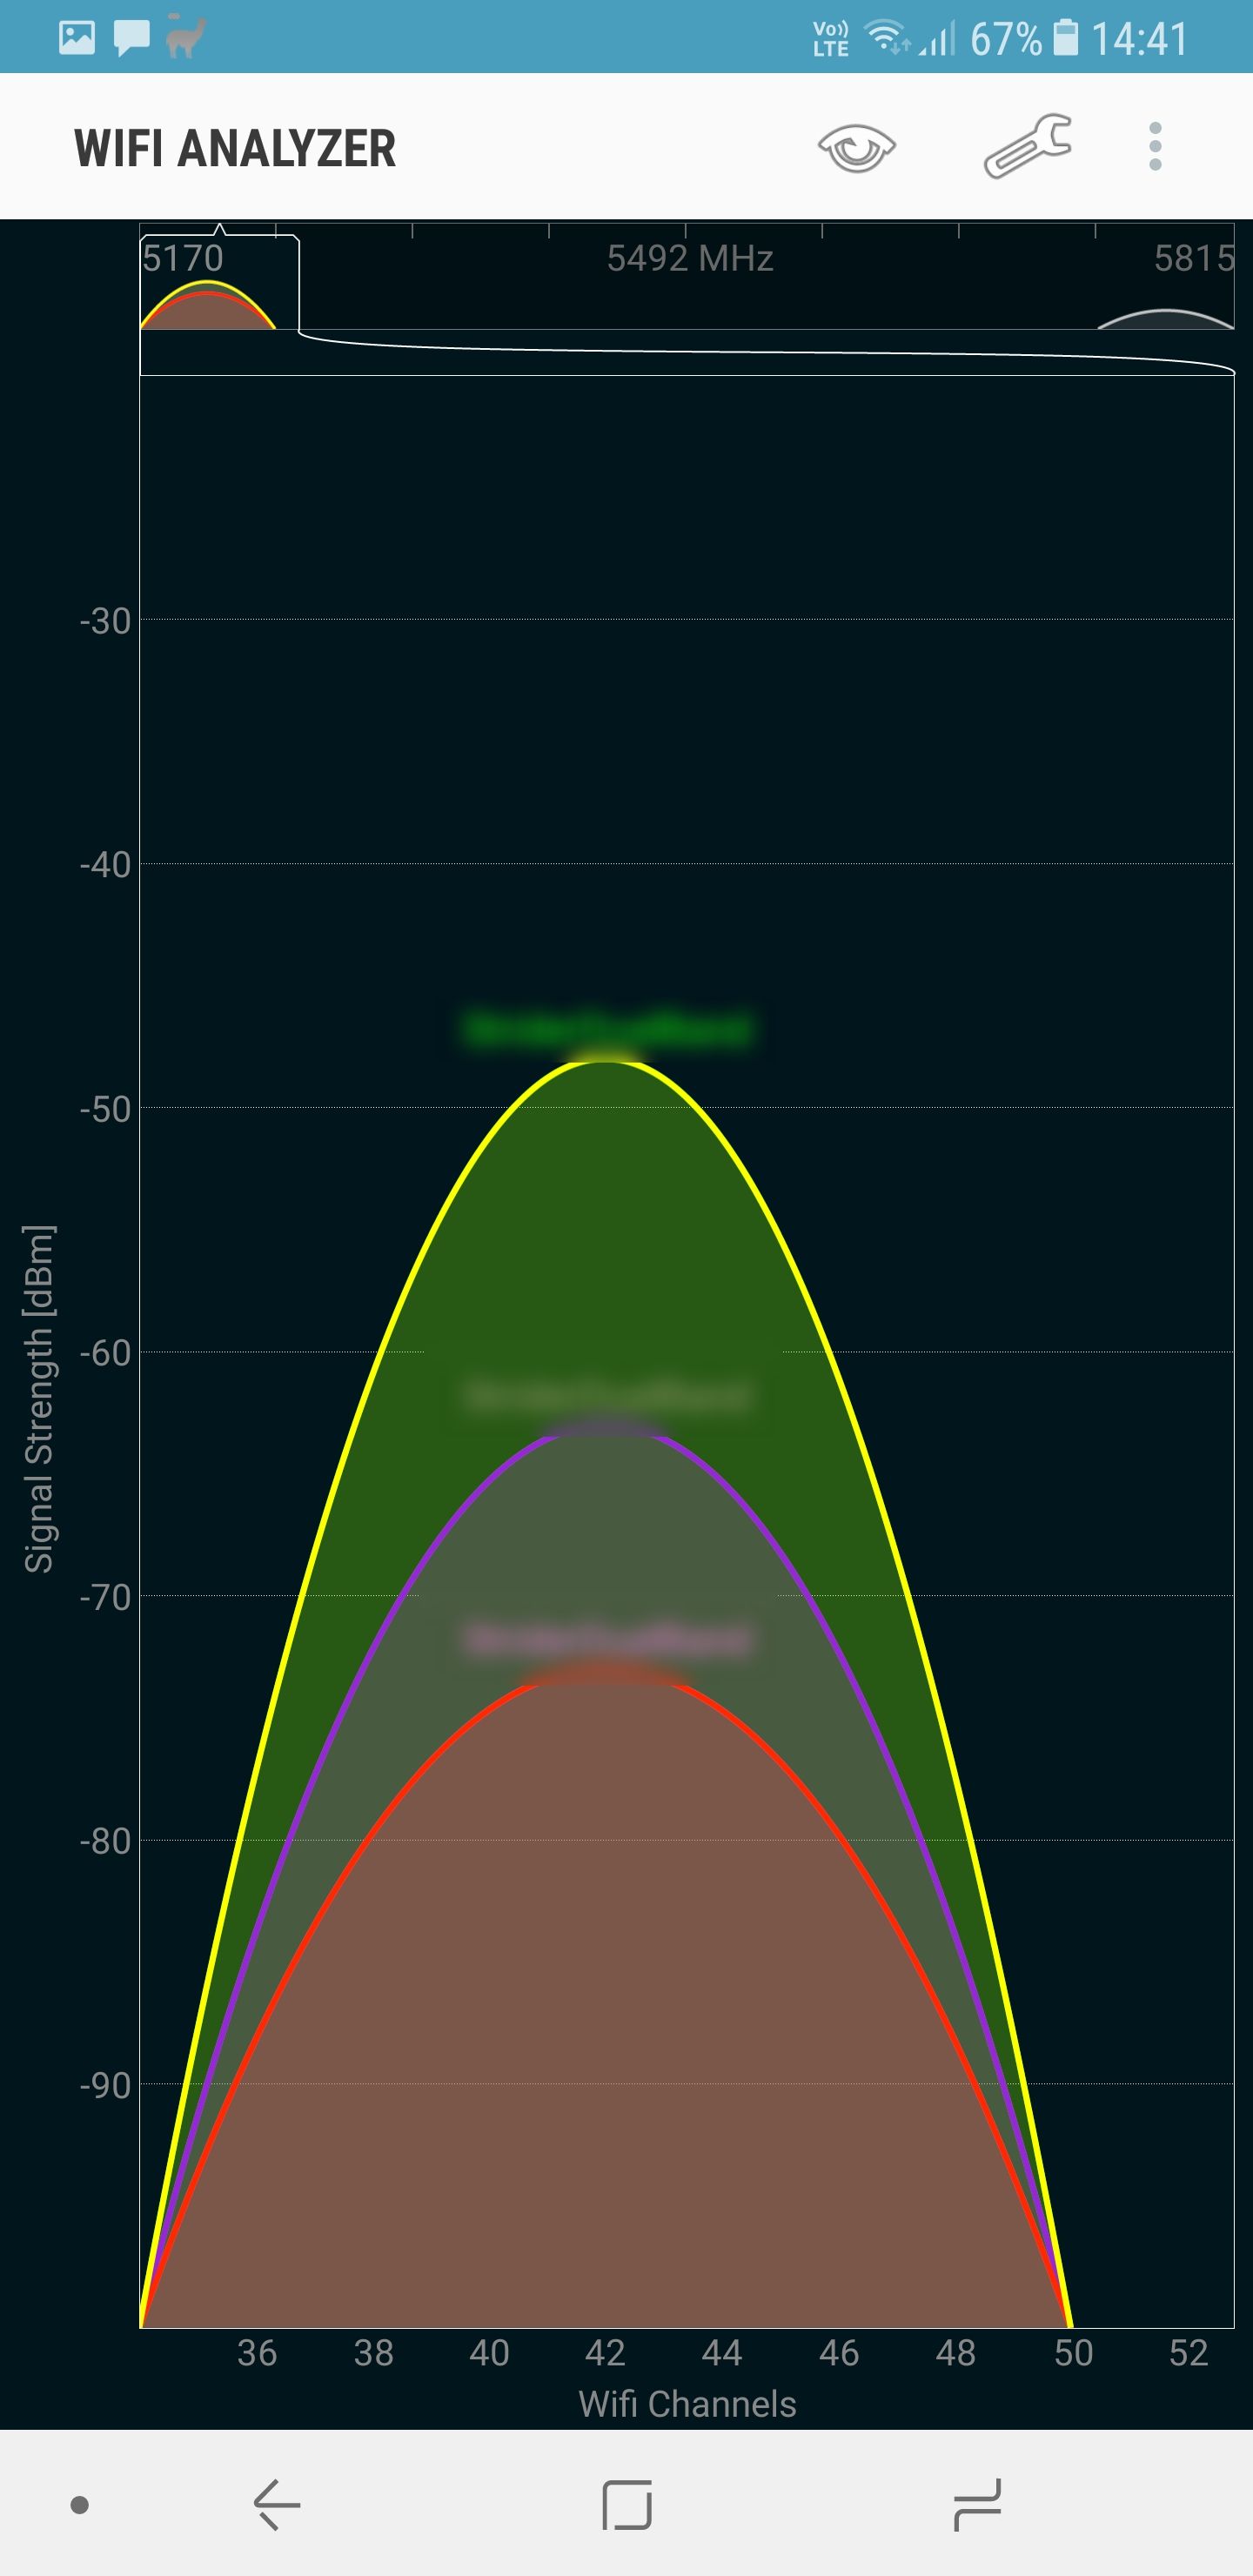
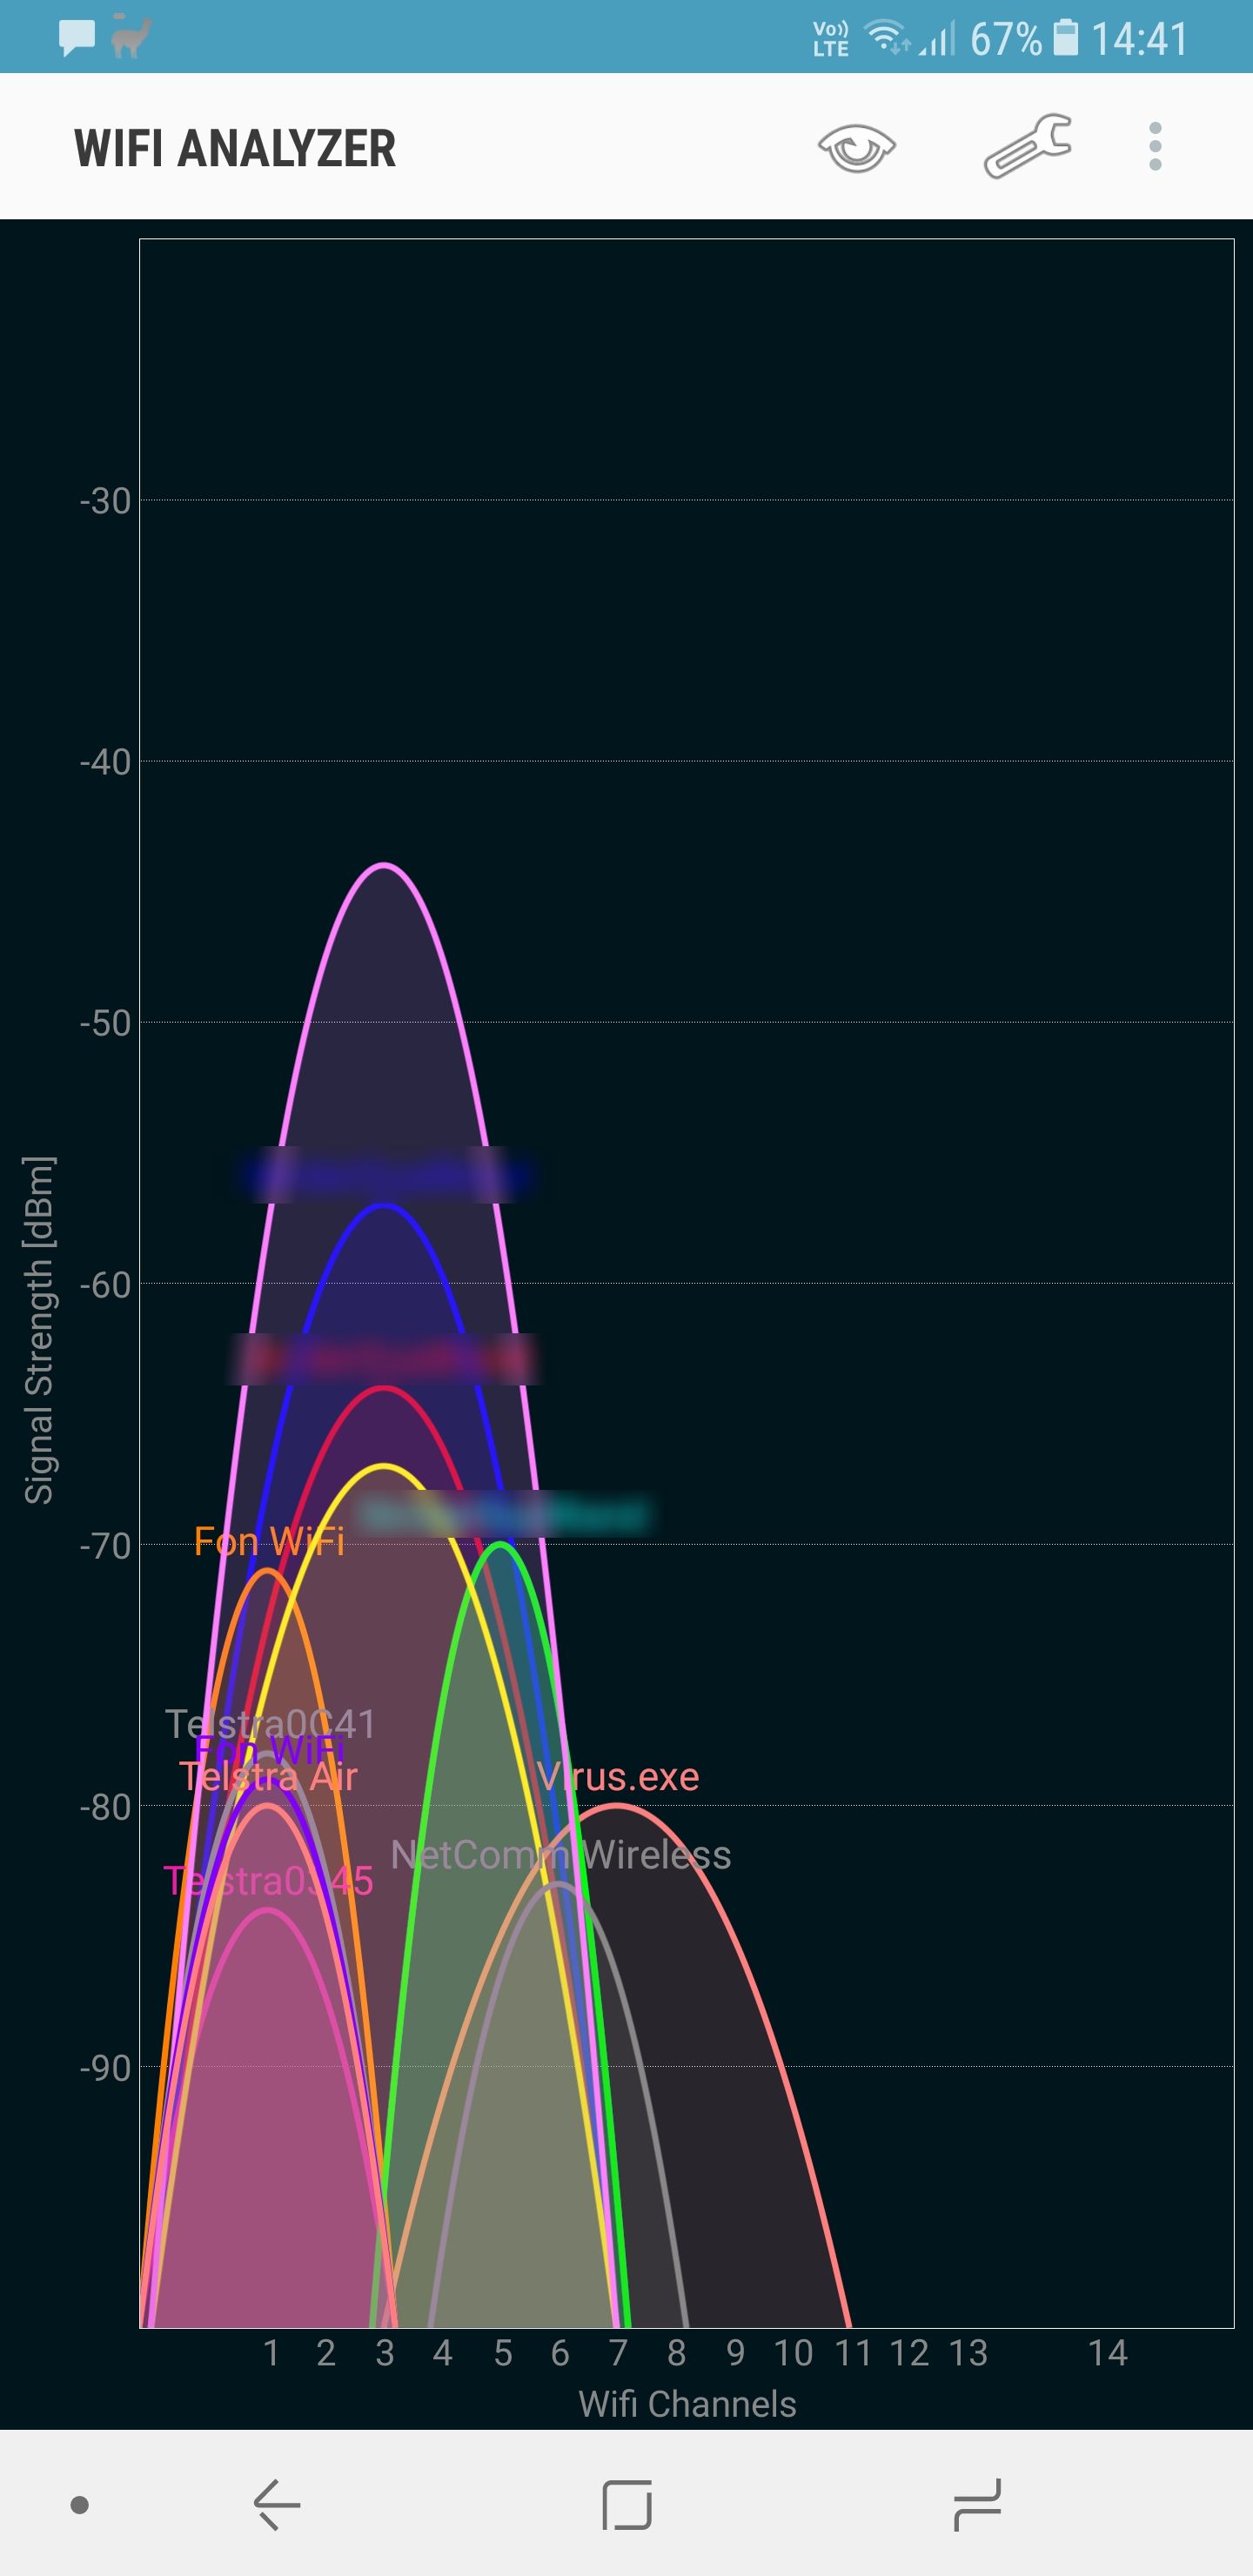
Devices new enough to access a chunk of fast 5GHz Wi-Fi bandwidth now don’t have to share their Wi-Fi frequency with any of the neighbouring houses who are almost all using Wi-Fi systems running at the old 2.4GHz standard.

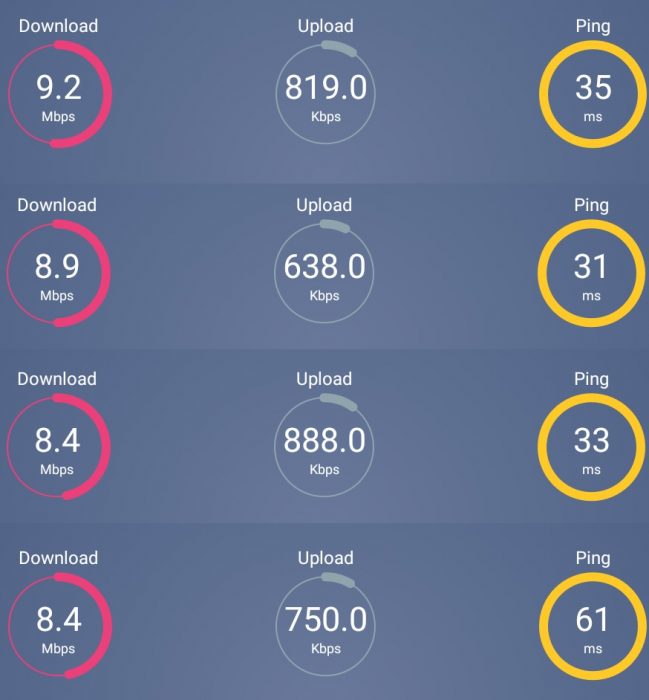
There is reliable web access throughout the house and even more demanding use like eg Chromecast HD YouTube video watching works fine in the back corner of the sunroom. Repeated Speed tests across a week using the Meteor app showed that the three COVR-C1203 COVR Points distributed the TPG ADSL 10 mbit down/1mbit up bandwidth across every room.
https://play.google.com/store/apps/details?id=meteor.test.and.grade.internet.connection.speed&hl=en_AU
Digging into the web based Admin settings there isn’t a whole lot you can change but that’s not surprising for a networking product aimed at non technical buyers.
I think D-link should have made the firmware updates automatic like Windows 1o. The vast majority of buyers would be better off if the device updated itself as soon as new firmware is available.
Some parental controls are possible such as scheduling when Wi-Fi turns on and off, blocking specific devices and particular websites. However any intelligent kid could find several workarounds for that eg use a software VPN to bypass filters or plug their laptop directly into a COVR Point Ethernet port when Wi-Fi is off.
Should You Buy The D-Link COVR-C1203?
In terms of pricing the COVR-C1203 has just been released so retail prices are the same as the RRP of $450. If you want to buy one you can do so from D-link Australia directly or retailers like Mwave, JB Hi Fi and Harvey Norman.
In comparison to the newly launched COVR-C1203, existing high end mesh systems in the market have dropped in price since their release a while ago, with the Netgear Orbi RBK50 commonly available for $548 and Linksys Velop 3 pack for $699.
If you have a freestanding home or terrace with lots of Wi-Fi devices, plan on maxing out a 50-100mbit NBN connection and want a highly configurable Wi-Fi mesh network then I suggest buying the Netgear Orbi RBK50. It’s bigger antennas and dedicated 3rd Wi-Fi band for data transfer between nodes will give you premium Wi-Fi performance.
Otherwise if you live in a small house and plan on only lightly using a 12/25/50mbit NBN connection when your ADSL gets shutdown, save a $100 and get the COVR-C1203 mesh Wi-Fi system instead.
Many inner city Australians like me live in a medium-sized open plan apartment these days. In that case a mesh system is not needed. Just disable the Wi-Fi functionality on the usually cheap and nasty modem your ISP has provided and plug-in a powerful standalone router to provide Wi-Fi. I use a Netgear R7000P to blanket an area of 100 square meters with a rock solid fast 5GHz Wi-Fi signal.


