
It’s been a while since we had the opportunity to review anything new from Reolink, with the release of the Reolink Duo 2 in Australia, that changed. We’ve had one running for a few weeks now, and there are several features we need to talk about. Some of these features bring it out of a crowded market into a far less occupied space in the DIY home security market. It’s also ticking all the right boxes for users to be happy with the camera as a decent investment for their home.
One of the claims that Reolink makes is that their cameras are easy to install. So we put that to the test, getting the camera over to a friend of mine, Alicia, who is tech-savvy but hasn’t installed DIY security cameras alone in the past. We’ll explore her experience.
Specs, features and packaging
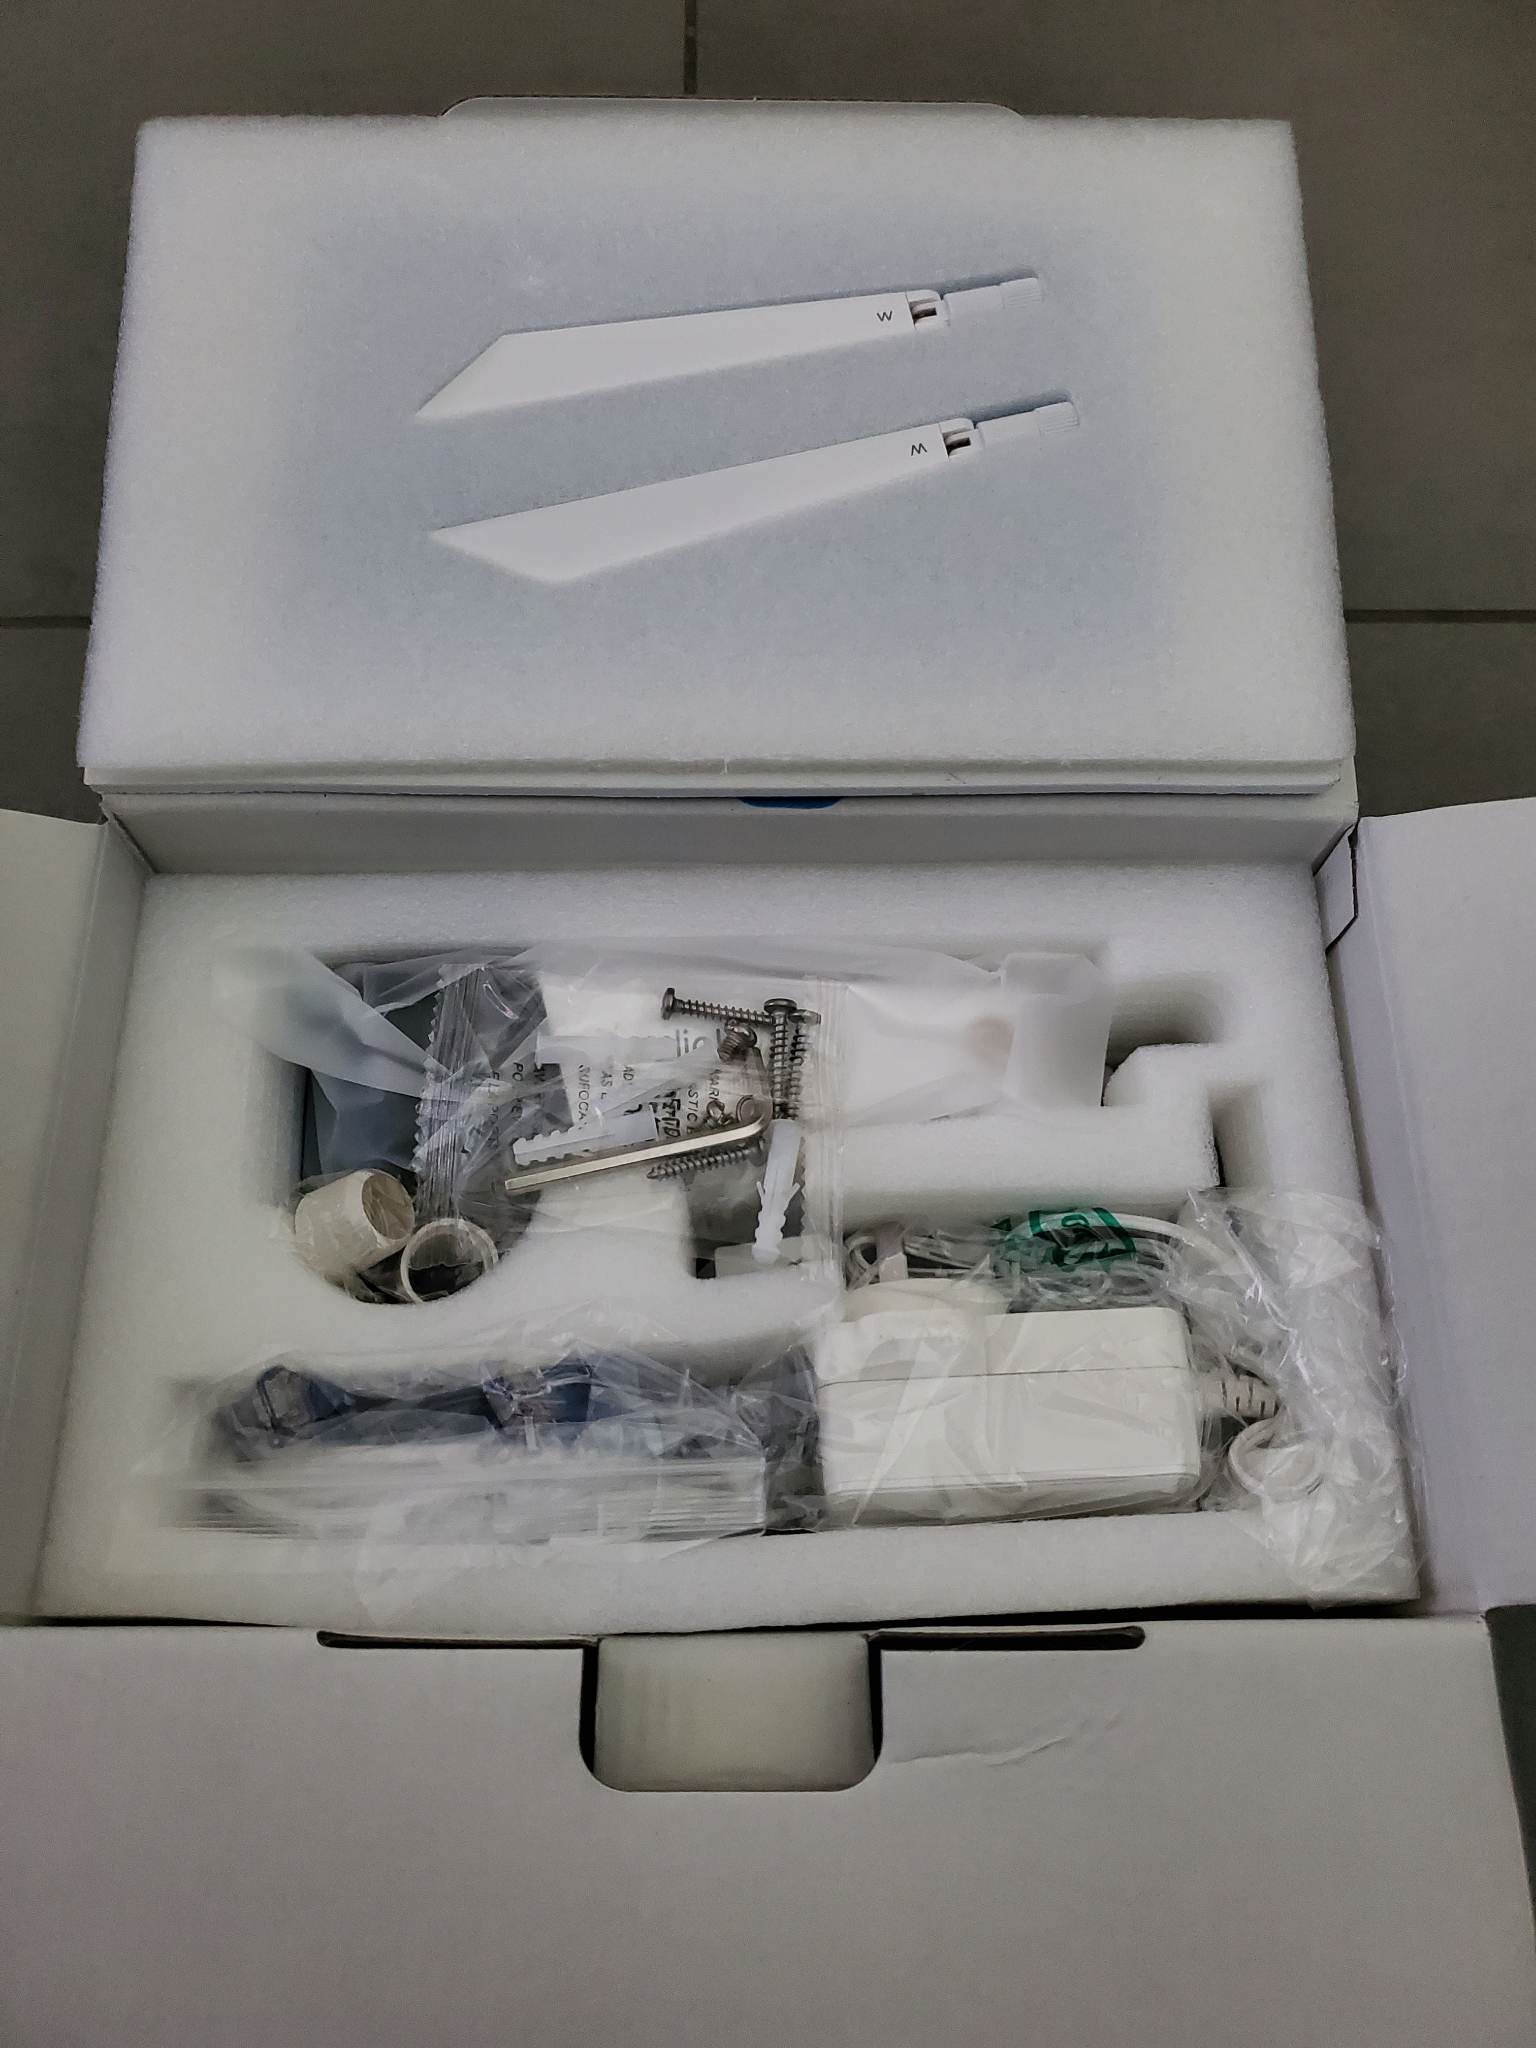
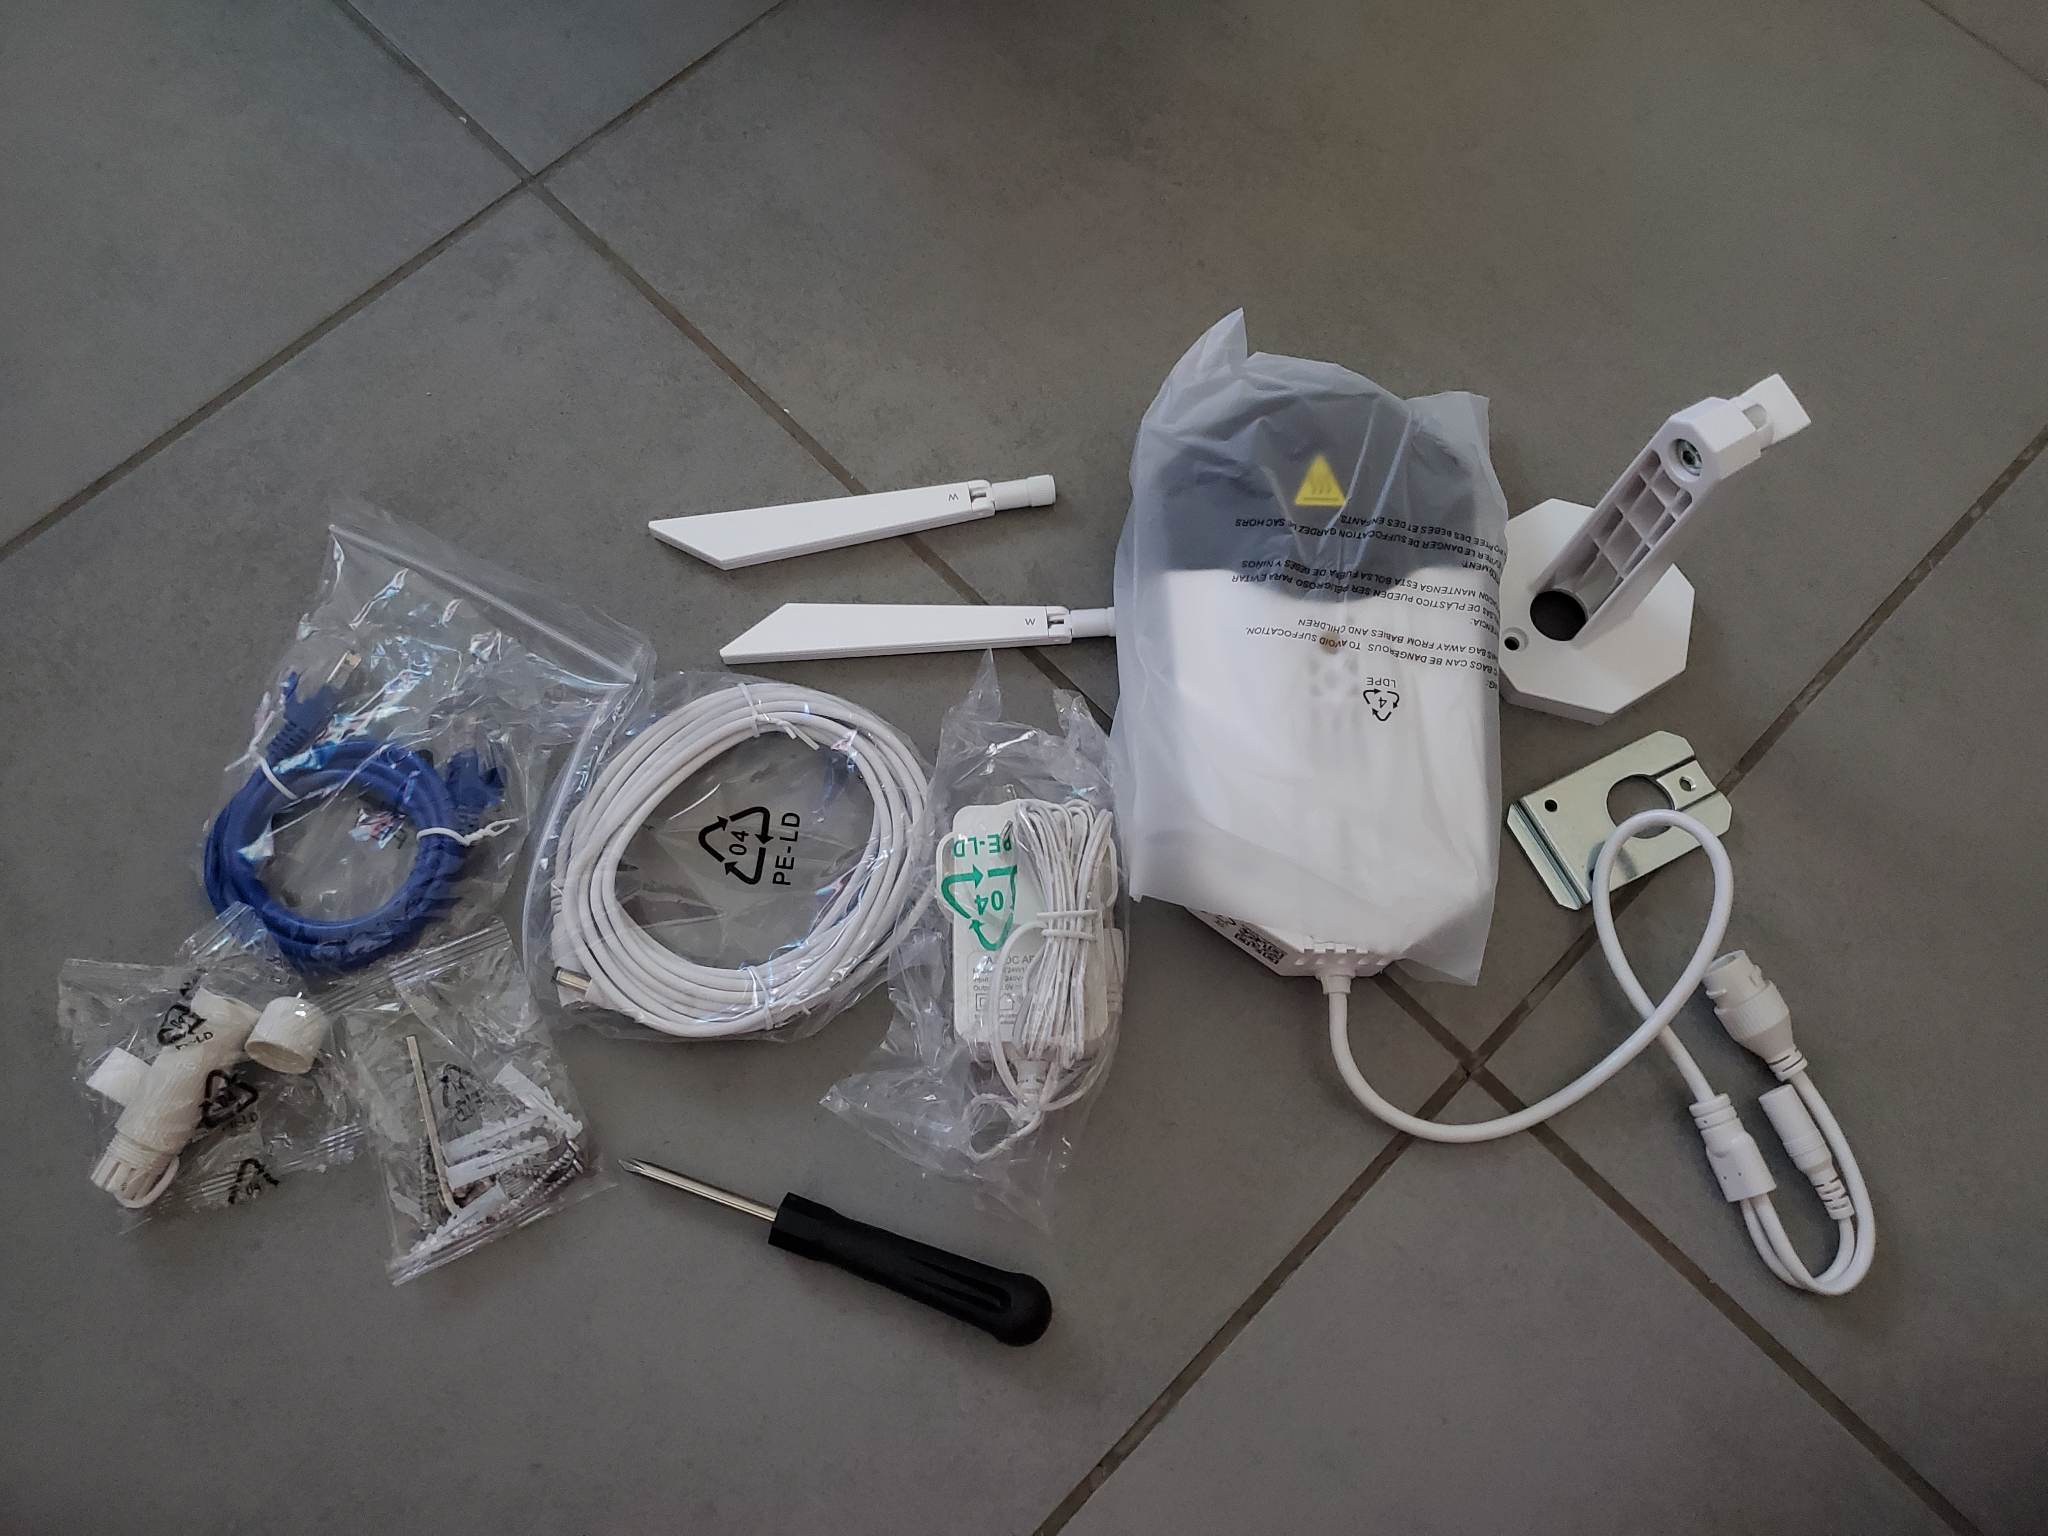
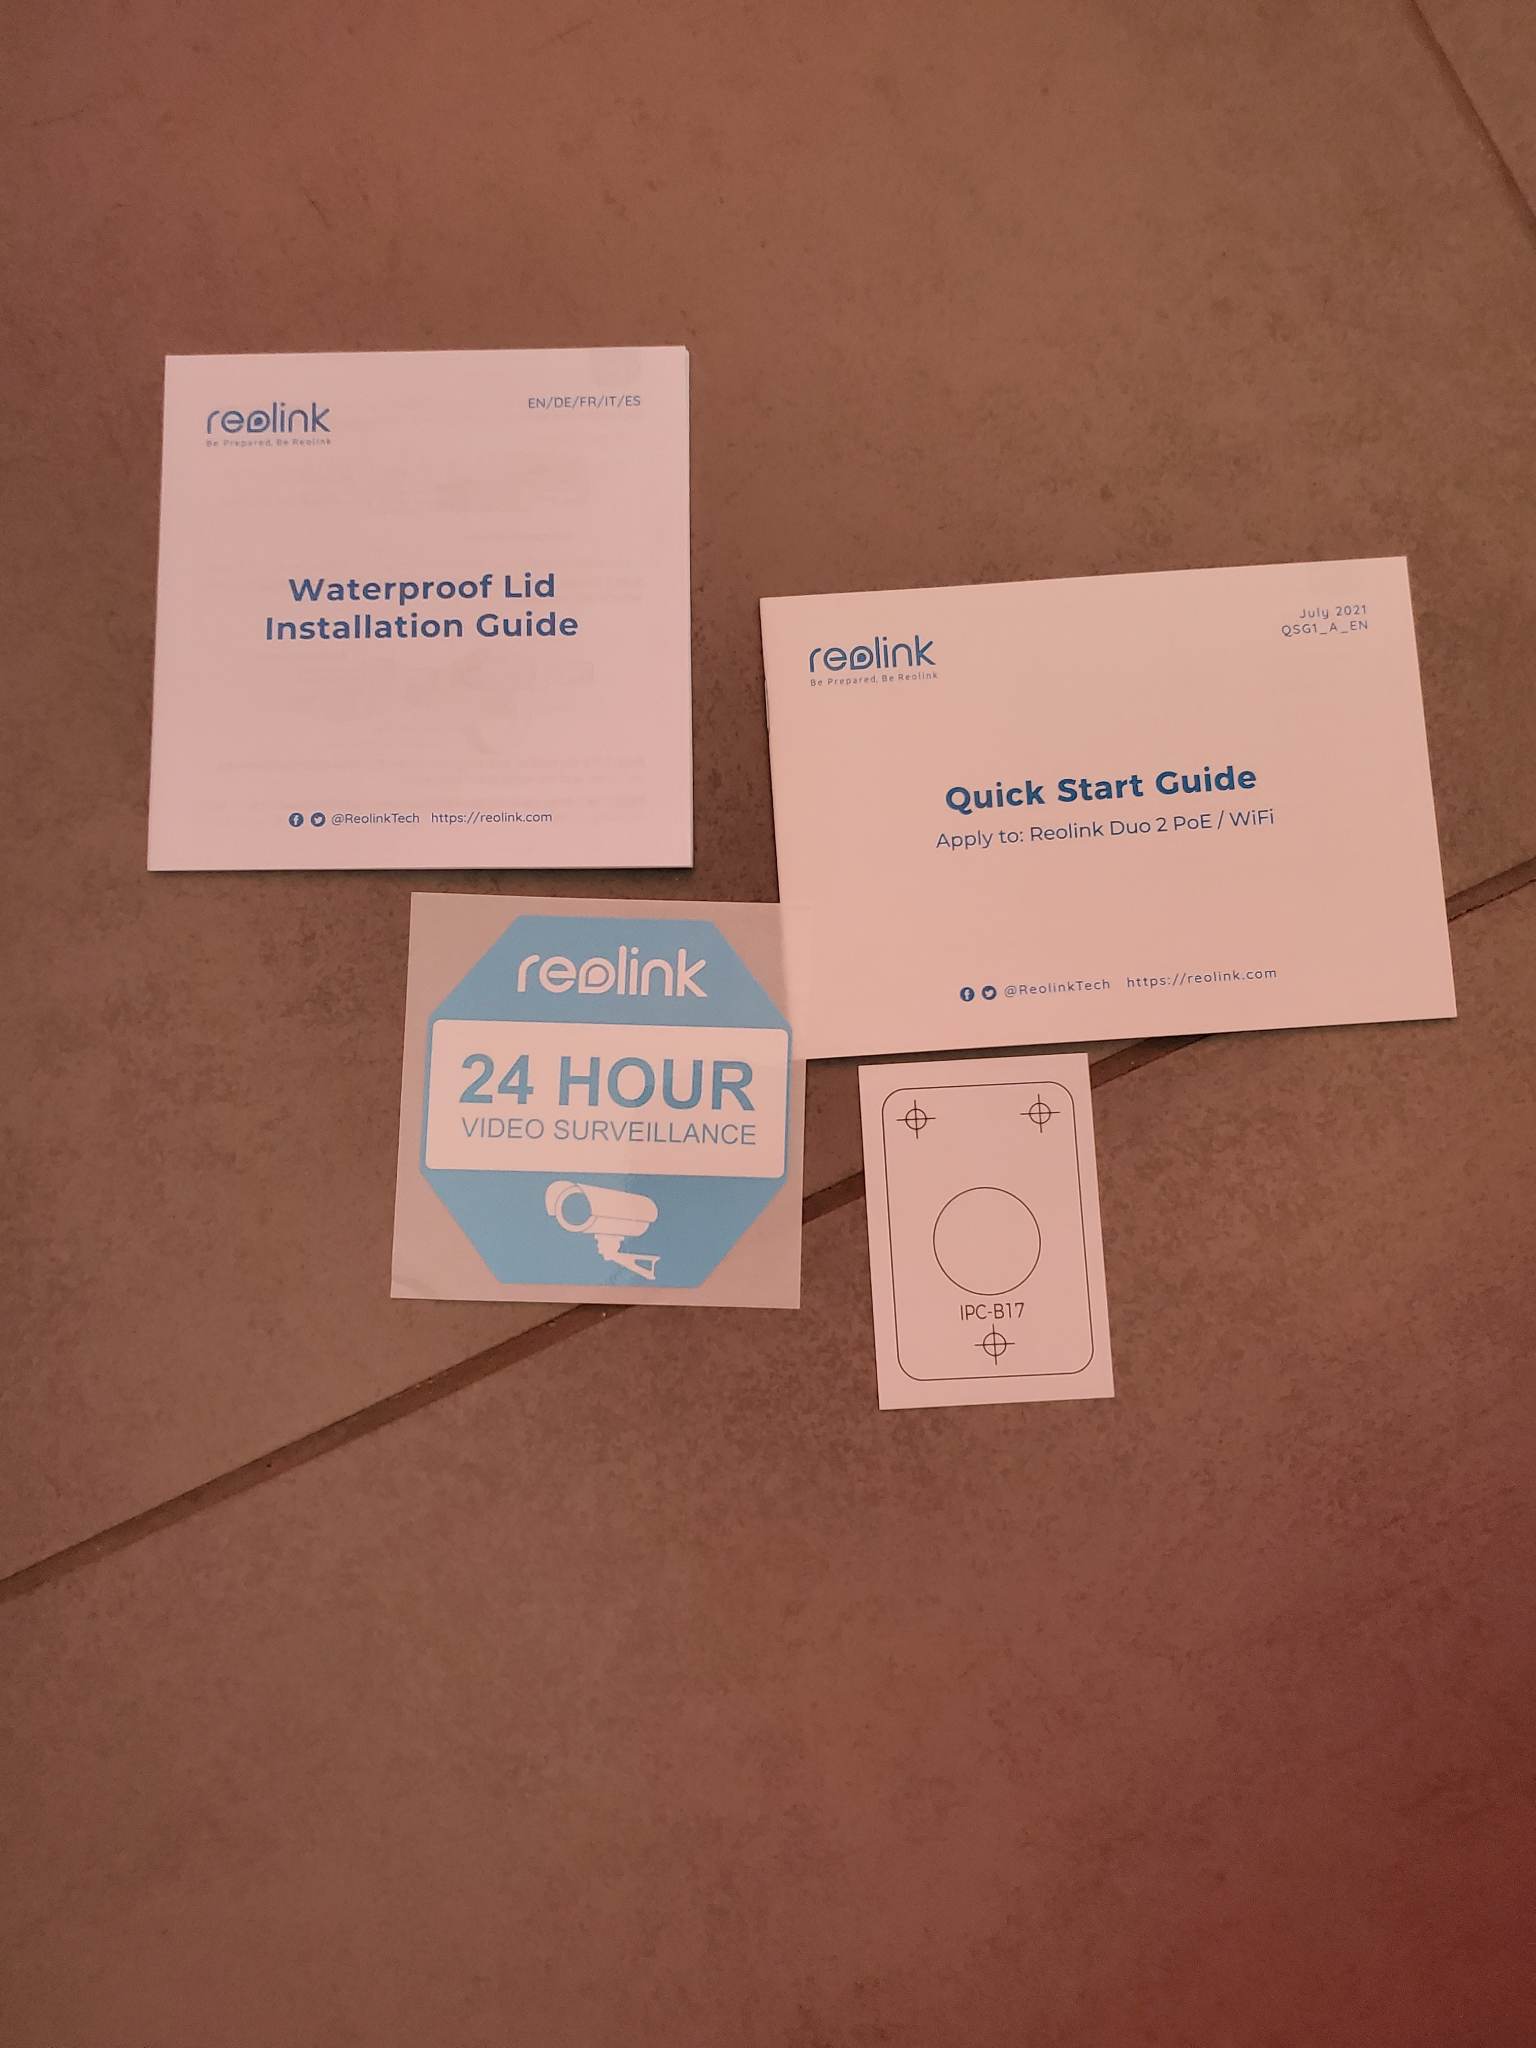
One thing I’ve liked about Reolink cameras from the first review I completed of their equipment is the small touches. In this case, you get everything you need to mount the device to your home, including the camera, a network cable and a power pack (with a lengthy power cable), a mounting plate with template, Screws and wall plugs as well as a screwdriver.
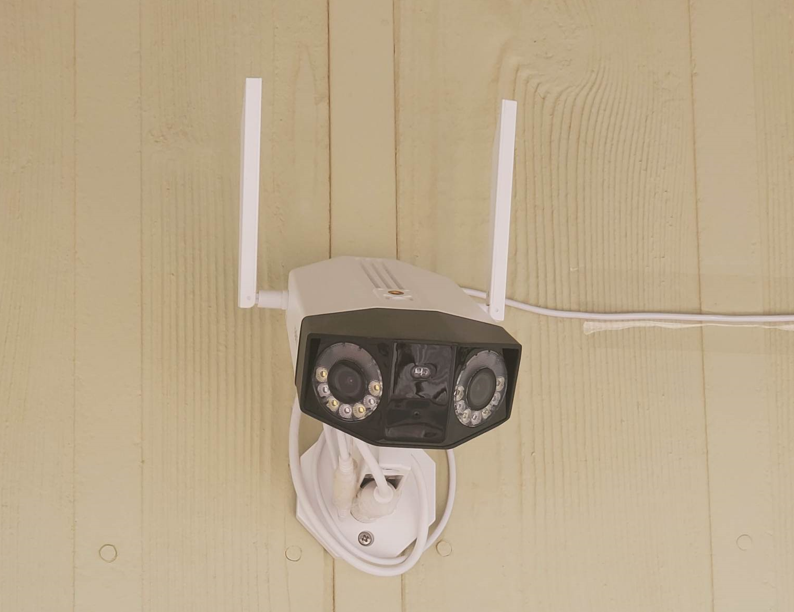
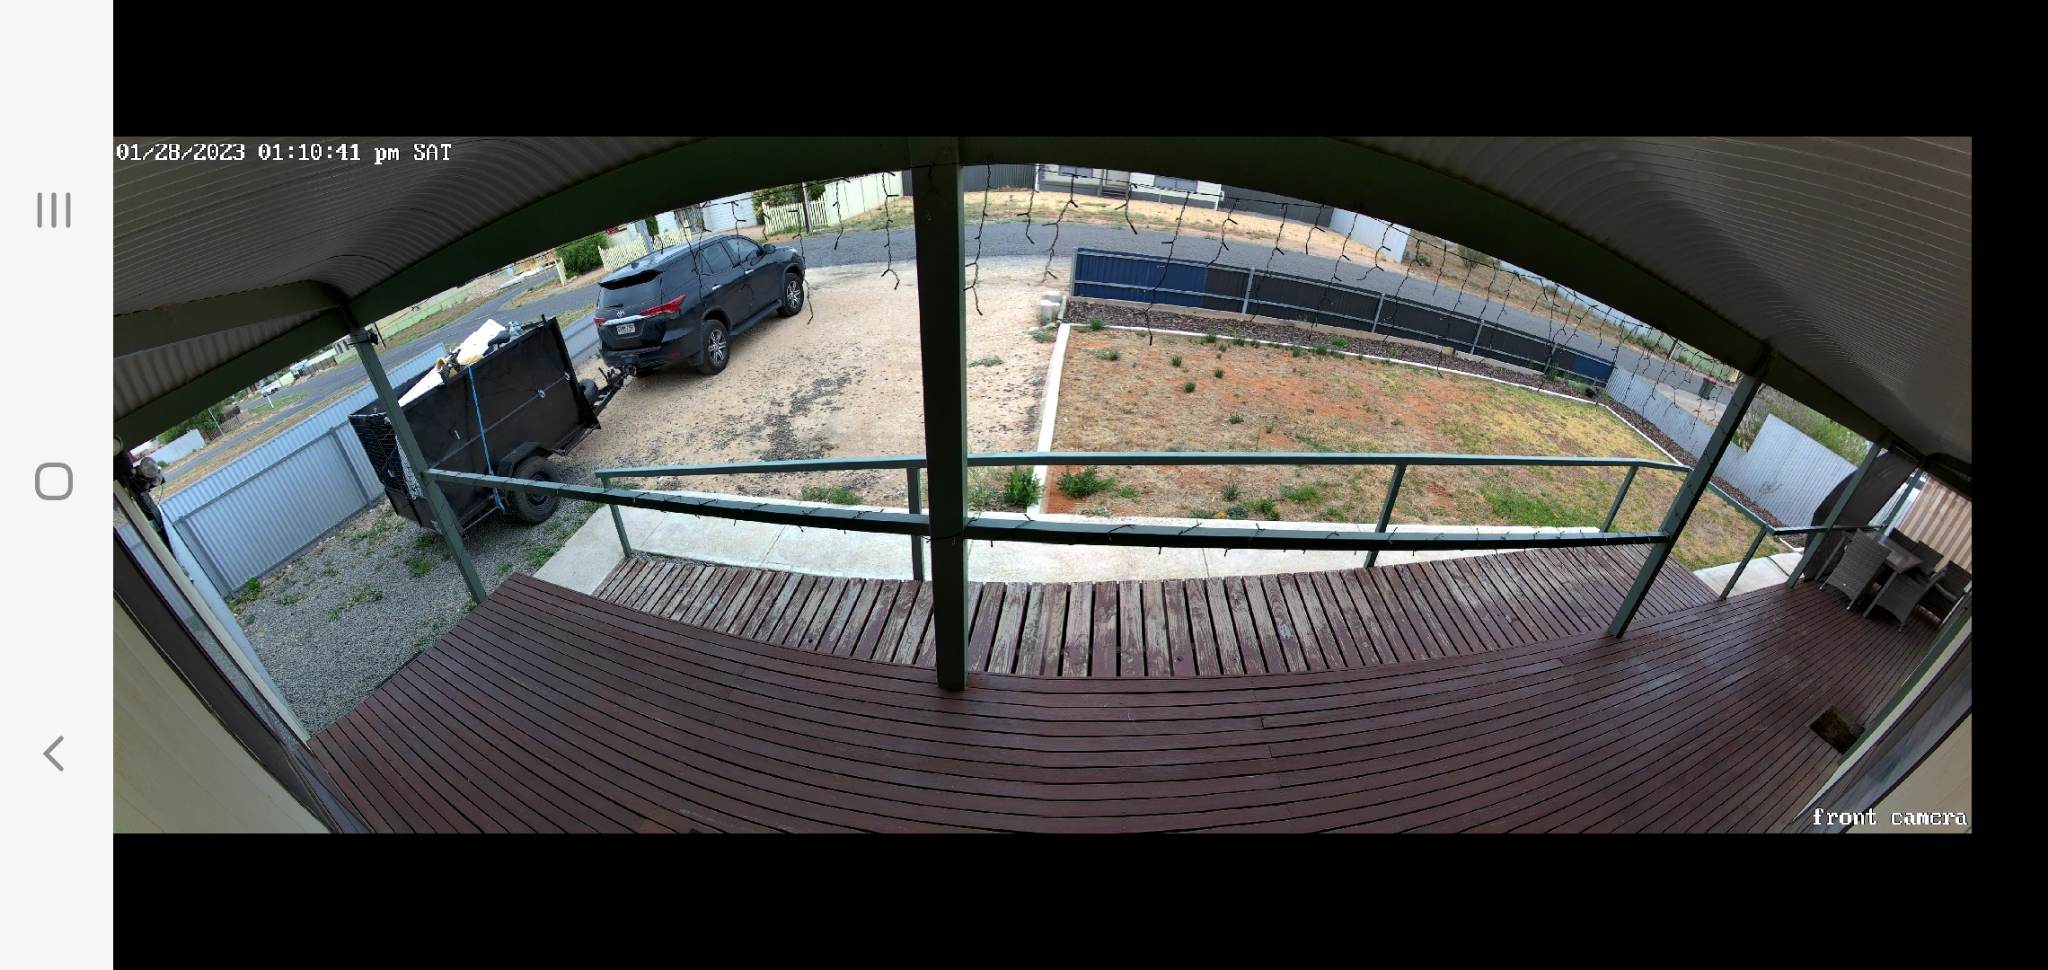
This isn’t a particularly small and certainly not a discrete camera, as you can see, but the coverage you get is very impressive. The dual lens provides a remarkably wide viewing area, totalling a full 180-degree view and 4K video capture.
An interesting engineering choice is the IP66 rating, meaning it’s protected against direct “jets” of water, but cannot be submerged. Although, if your security camera is submerged underwater, the security of your premises probably isn’t your most pressing issue at the time. There’s plenty more to like in the capabilities of the Duo 2 camera as well, starting with the 2K resolution, making it very suitable to be a camera near an entryway to your property to recognise visitors as they arrive.
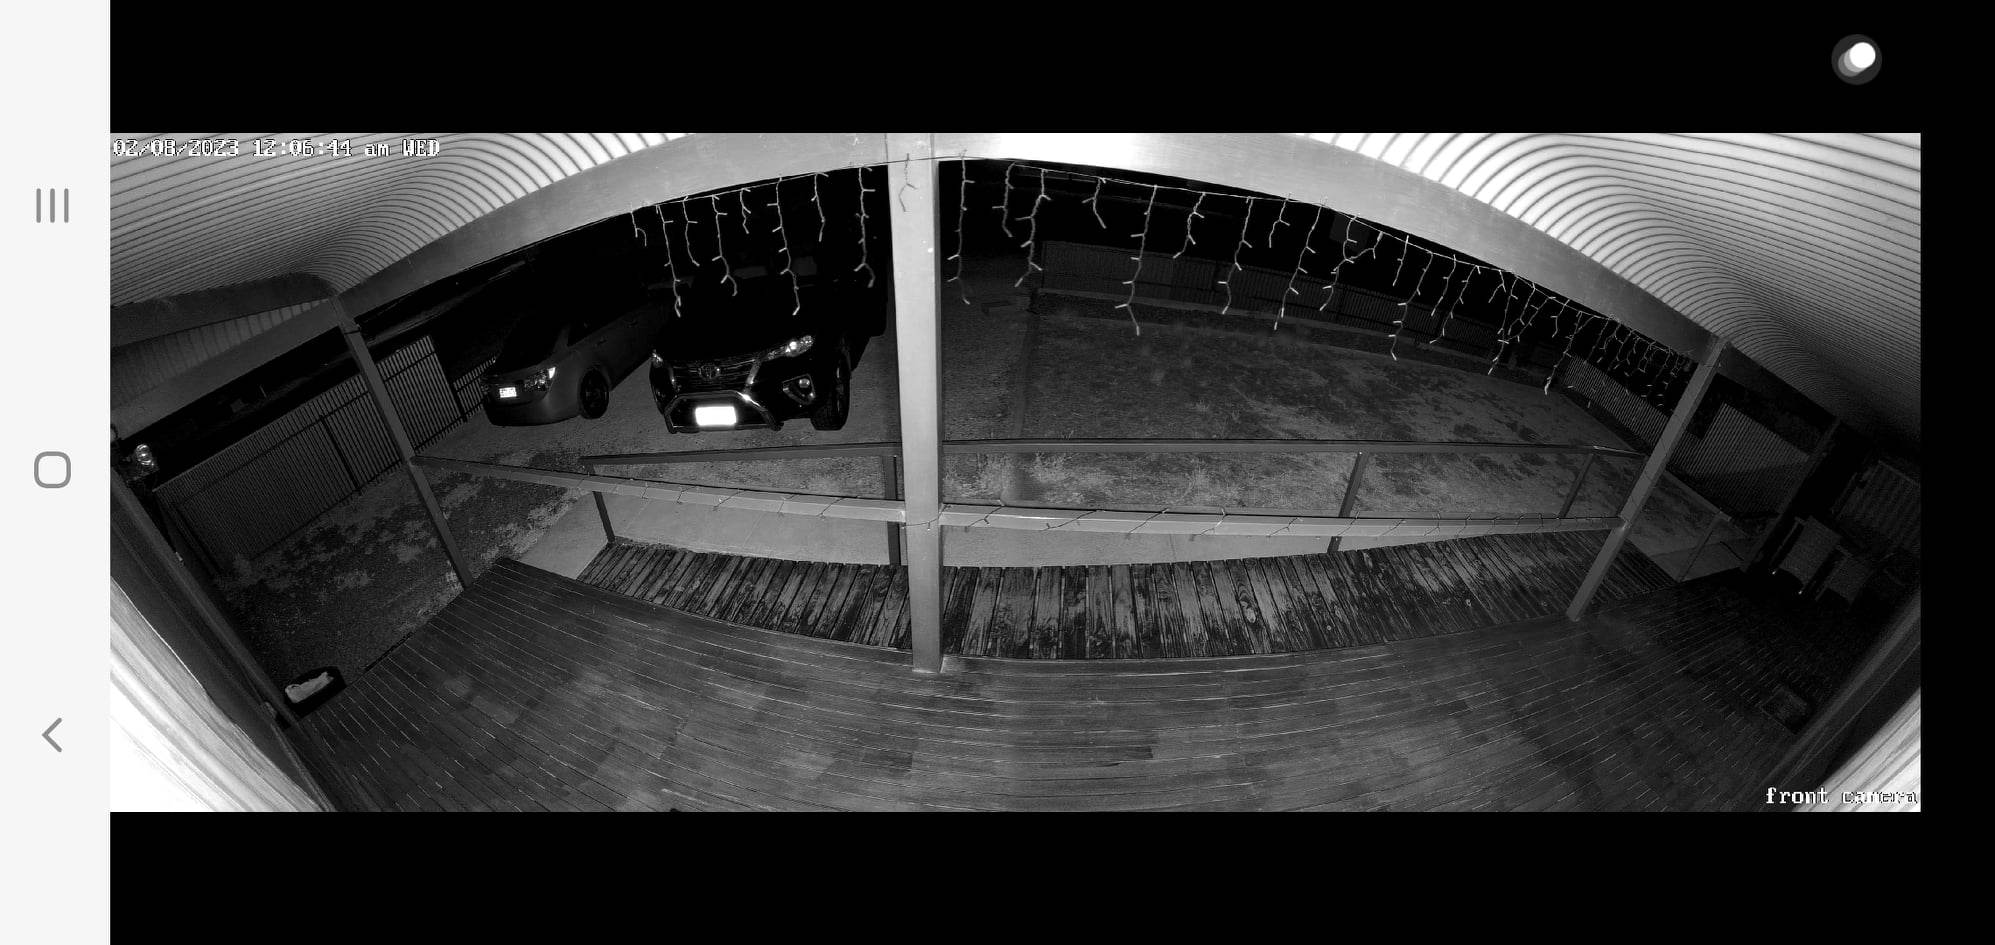
That wide angle also means you may only need a single camera to cover the front of your premises, with no real way to access the camera without being caught on it. With the combined infra-red (6LEDs) and spotlights (8 LEDs) on the camera, you’ll be seen whether it’s bitch black, or daytime. There are advantages to both; with lighting for night time being a huge bonus if you don’t necessarily want the camera to remain discrete. It also offers a greater, visible presence for your camera and safety for those approaching at night.
Regardless of who is it approaching your property, the microphones and speaker on the device mean you can effectively use the camera as a doorbell if you wish, being able to carry on a conversation with whoever is at your door.
Like most other DIY camera options: If you want all the features, you’ll pay for a subscription
It’s not specific to Reolink; in fact, most of the major players in the DIY home security space do it. The fact is that DIY home security, at least for Wi-Fi cameras, isn’t a once off cost if you want the full feature set. You’ll need to spend some money on an ongoing subscription. In this case, you’ve got a few options that are pretty reasonable as a month to month cost.
If you’re considering delving into the DIY camera market, the Reolink subscription is pretty good value with scalable solutions available:
- 5 cameras coverage + 30GB cloud storage for US$3.49 per month
- 10 cameras coverage + 80GB cloud storage for US$6.99 per month
- 20 cameras coverage + 150GB cloud storage for US$10.49 per month
So you’re not locked into a $15 per month plan if you want cloud storage for just one or two cameras. It’s a well thought out and structured subscription structure.
Installation: It’s easy to understand and complete
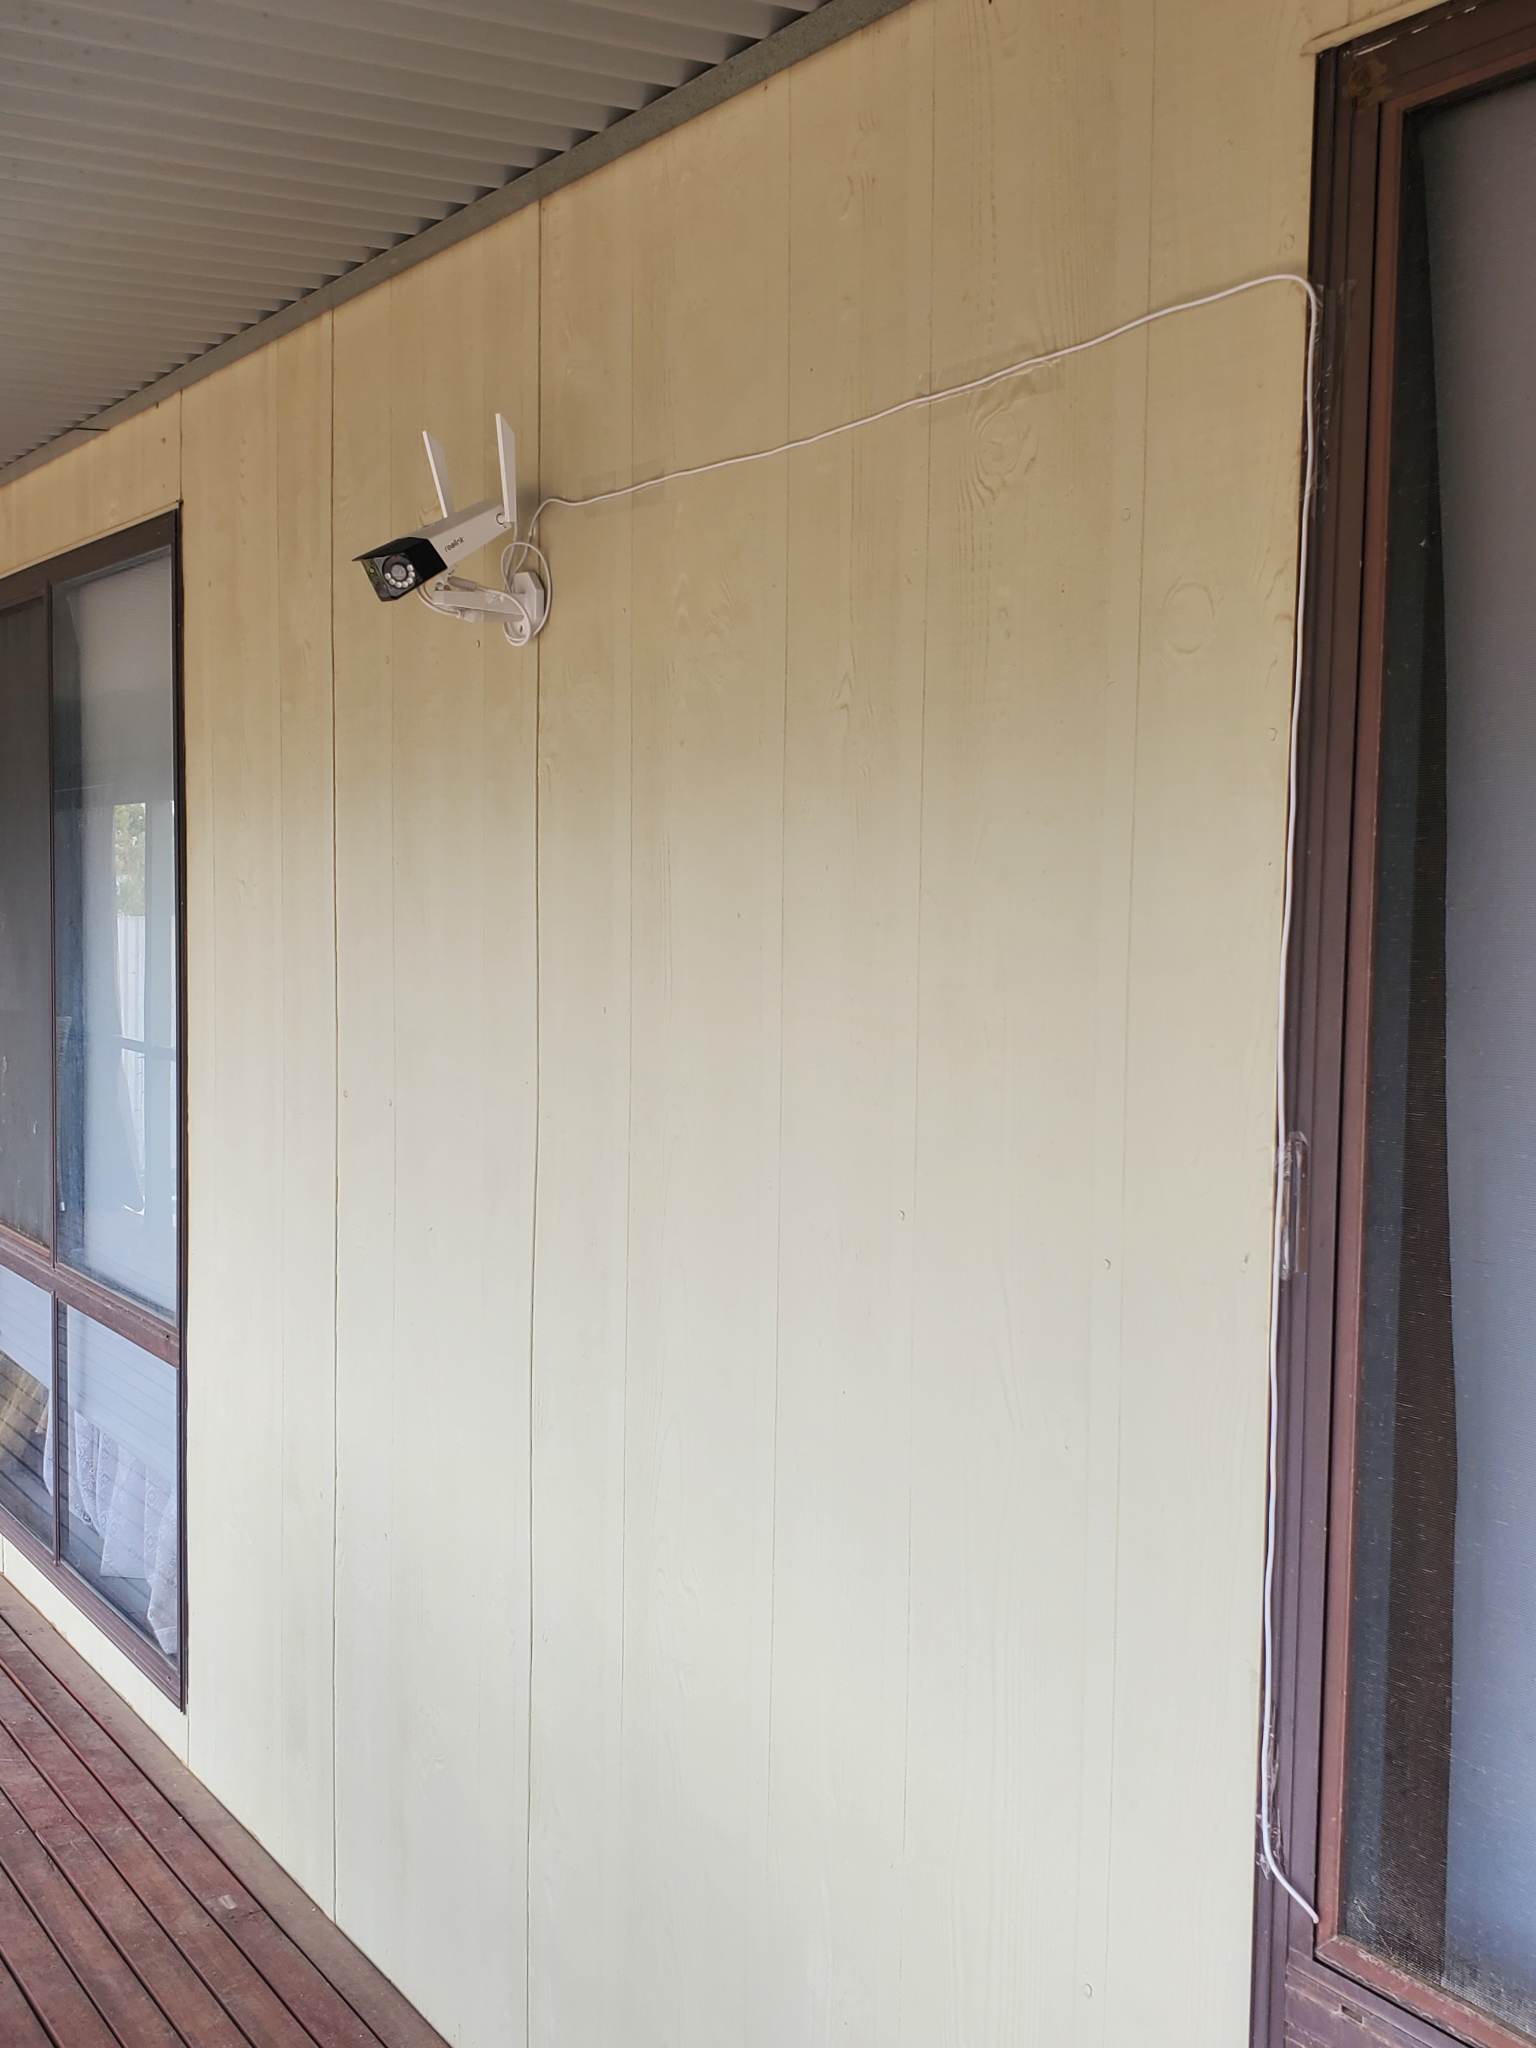
Alicia said the installation was pretty simple, with the only real need being to drill a couple of holes and work out how best to run the cables. In her case, with the cable run, some strategically placed tape has done the trick.
Given this is the first camera in their home system and the wide-angle viewing, placement in the front yard wasn’t as critical as it could be with other cameras. This has been placed to give full visibility of anyone approaching the front of their house, and it’s doing a great job!

Typically, you need to consider access — by unwanted persons — to the device, maximising visibility, ensuring your viewing angles are appropriate and that you minimise false detection by setting appropriate detection zones.
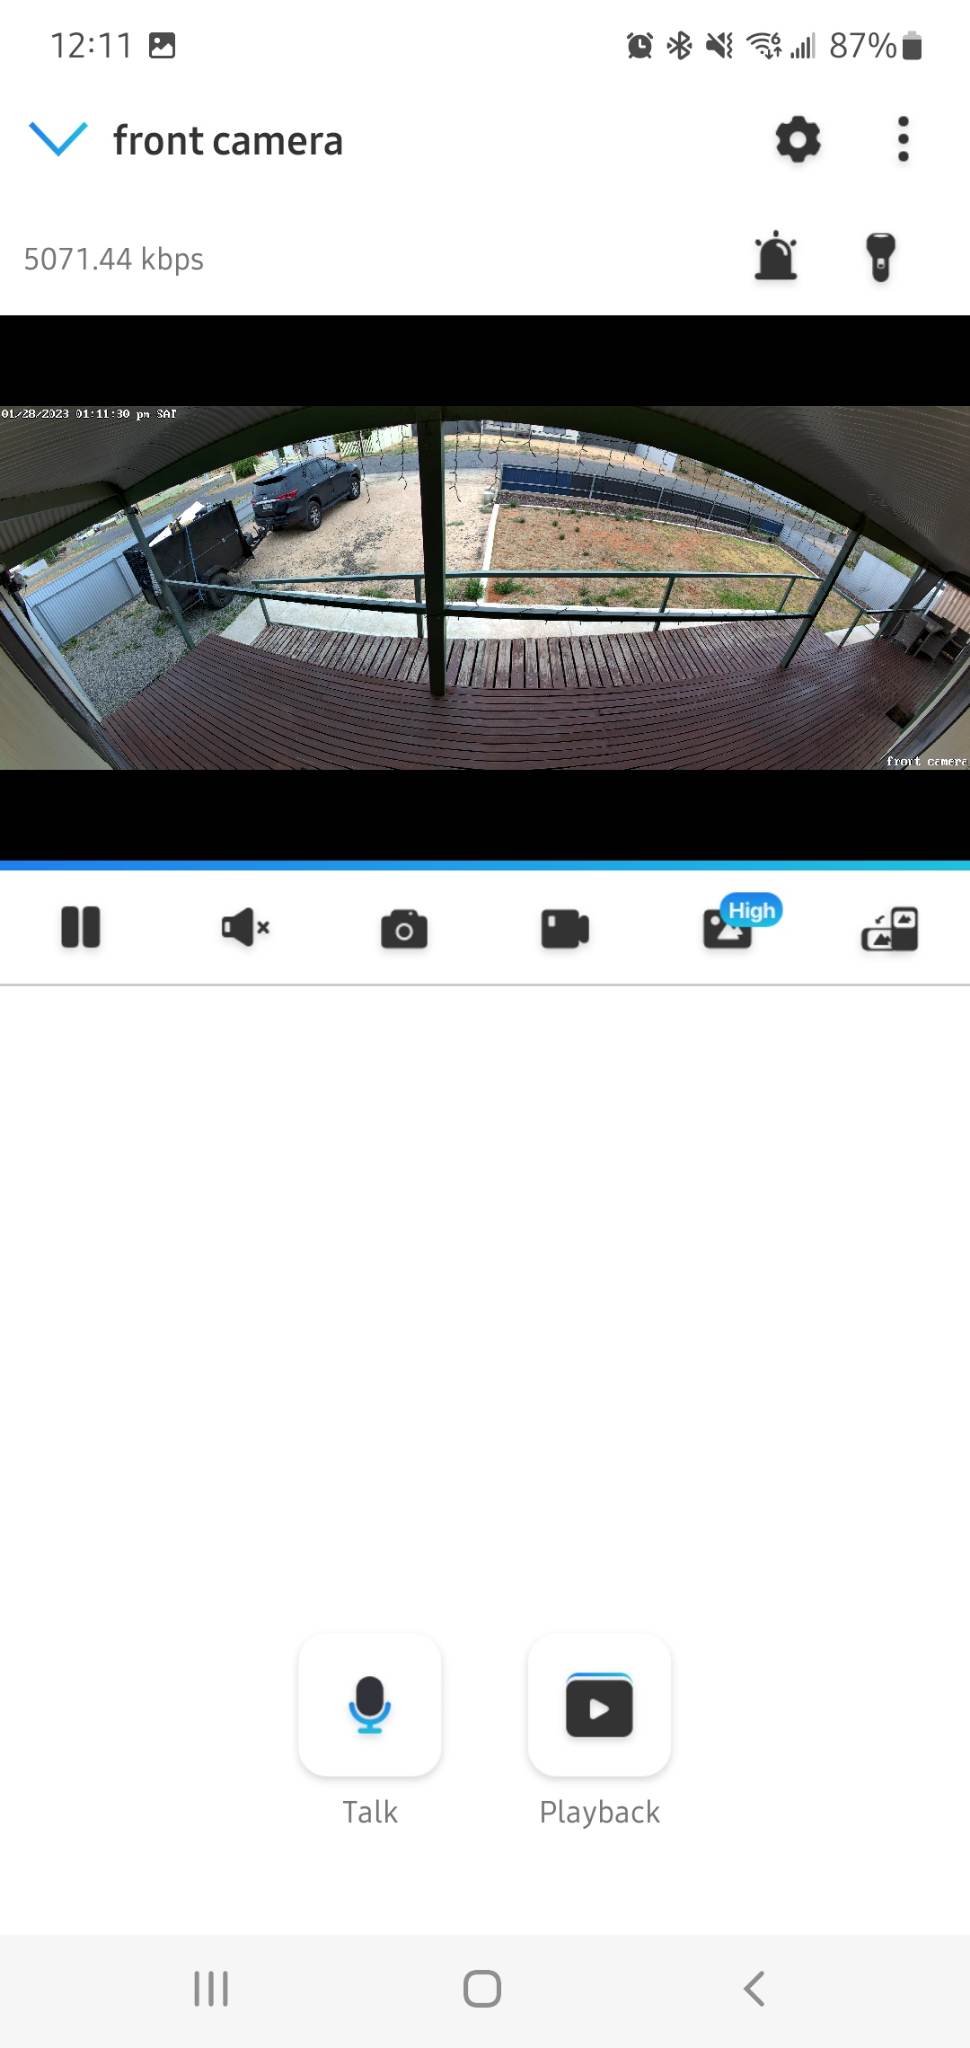
Setting up the camera in the app was similar; it’s easy!
In the app, scan the QR code and follow the simple, on-screen instructions. Even as a first-time user of the Reolink app and ecosystem, it was barely more than five minutes before the camera was connected and streaming footage to connected devices.
However, she commented that connecting the Reolink Camera to her Google Home setup wasn’t intuitive. Requiring a cloud account and then linking the account; it’s not as simple as it could or perhaps should be.
The App, notifications and streaming
It’s been interesting seeing the perspective of someone who hasn’t previously used the Reolink system. Alicia noted that there is a need to specifically turn on notifications for motion events within the app. It seems a little counter-intuitive to need to opt-in for something that is intended to raise your awareness and visibility of what’s happening around your home; perhaps opt-out would be a better option.
That being said, once notifications are enabled, the speed notifications come to your device reasonably quickly. If you’ve got the camera covering an entry pathway to your premises, by the time your approaching guest has reached your door – You’ll have a notification telling you someone is approaching.
The other consideration is that without subscribing, you don’t get the advantage (reduced notifications) of the AI detection, so if anything moves in your motion detection zones, you’ll get a notification. The only real option you have is to reduce the sensitivity of your camera.
Video Quality and Recording
The quality of video is very much as you’d expect from a camera that records in 4K. It’s crisp and clean, and even under IR, the video has plenty of detail. The dual lens is a huge bonus; you can zoom in on fine detail right through the 180-degree viewing angle.


When it comes to recording, you’ll need to either have a Reolink Cloud account, as earlier mentioned or install a MicroSD card in your camera. Either way, you’ve got a record of events as without these, you’re only able to record if you’re streaming to a mobile device at the time of incident.
Is the Reolink Duo 2 worth buying
There’s a lot going for the Reolink Duo 2 as a relatively cheap option to get coverage across your property. There’s good video quality, and there’s good customisation (with subscription) of detection zones and AI options to minimise false notifications.
The package contents are complete, allowing simple and quick installation of the device to just about anywhere around your home. Once installed, you can connect it to your smart home, albeit with some fiddling around.
What makes Reolink an attractive option for so many potential buyers is the cost of the cameras, plus the relatively low cost of subscription, meaning you can start small or go big from the start with a full camera system.
If you’re already invested in another brand, there’s no reason to switch to Reolink. But if you’re just getting started on your home security journey, then the Duo 2 and Reolink as a brand should figure in your list to check out.
If you’re keen to pick one up, you can grab a Reolink Duo 2 Wi-Fi from the Reolink website for $278.99 or the PoE version for $277.99.


