 It wasn’t quite twelve months ago that Ausdroid first took a look at Arlo, the wire-free security cameras from Netgear. Phil reviewed the first generation product in June, and found the overall experience easy and simple to set up. His only quibble was the subscription pricing which, although optional, is quite expensive for functionality which could’ve been incorporated in the basic plan.
More recently, I’ve been taking a look at the 2nd generation product, the Arlo Pro 2 security cameras. Unlike Phil, though, I don’t live in a free-standing house, and so the utility of security cameras here is somewhat less. In a secure apartment building, on the 4th floor, with swipe-card access to the front door and elevator, we could conceivably leave our front door unlocked and be secure … so security cameras are somewhat unnecessary.
That said, I’ve had them running for a little while, and it’s time to take a quick look at what’s new and different, and what’s the same.
Arlo Pro 2 – What’s new / different?
There’s a few main differences, the biggest of which is video recording resolution – Arlo Pro 2 supports 1080p recording, whereas Arlo Pro tops out at 720p. The other differences could be summarised thus:
- The Arlo Pro 2 offers continuous recording with a monthly subscription. The Arlo Pro records only when it detects motion and for up to 8 minutes. This continuous recording, though, requires the Arlo Pro 2 camera to be plugged in to AC power, and also requires a paid monthly subscription. There are cheaper (and arguably better) ways to achieve continuous video recording. It’s not what Arlo excels at.
- The Arlo Pro may miss the first few seconds of recording after motion. The Arlo Pro 2 addresses this issue with “3-second look-back”.
- The Arlo Pro 2 can record on motion or in specific zones. The Arlo Pro will only record on motion.
- The Arlo Pro battery will last up to six months. Arlo Pro 2 (in ordinary use) is quoted at three months.
The base station has been slightly redesigned, though it remains backward compatible, and the physical design of the camera modules has changed a little too. Not significantly, mind you.
Arlo Pro 2 – What does it do?
The good news is forward and backward compatibility; Arlo Pro 2 cameras will work with the original base station, and vice versa. Upgrading to Arlo Pro 2 doesn’t mean throwing out your old gear – just pair the cameras to the new base station, and you can use all of them. The system still facilitates two-way conversation – you can talk to whoever’s in front of your cameras using an in-built speaker, and they can talk back, with the in-built microphones. It’s a bit tinny, but perfectly functional.
Although I wouldn’t say they’re water proof, the cameras are weather proof, meaning you can quite comfortably place them outdoors in the elements, and they’ll be fine. I’ve had the Arlo Pro 2 cameras in the rain on a couple of occasions and they function perfectly. This goes hand-in-hand with high-quality night-vision capabilities, meaning they work just as well at night as during the day.
Though I’ve opted not to use it (because the cameras are indoors), motion detection is built in, and up to 7 days of motion-captured video can be stored online for free. If your cameras are in a high-traffic area, though, such as indoors, facing a busy street, or anywhere there’s a lot of motion, you will have a lot of video to go through, and also, your camera batteries will very quickly run flat. Arlo cameras – regardless of generation – are not designed to be capturing and recording video constantly; being battery powered, they’re best used for ad-hoc recording.
More recently Arlo gained integration with Google Assistant, alongside integration with other services like Alexa, SmartThings, IFTTT and more. With Google Assistant, specifically, you don’t get too much, but the main feature is a good one – “OK Google, show me the Front Door camera on the Lounge Room TV”. You can also tie in Arlo motion detections with IFTTT to glue together all kinds of home automations. For simple usage, you can get Arlo to notify you on your Android or iOS device if it detects something, prompting you to open the app (or the website, if more convenient) to view the recorded video.
Setup remains simple; plug the base station into power and your network, and sync the cameras to the base station using the sync button on each (and the base station). Setup takes all of five minutes; the hardest part is working out where to most usefully place your cameras so that Arlo is useful, rather than just something you have.
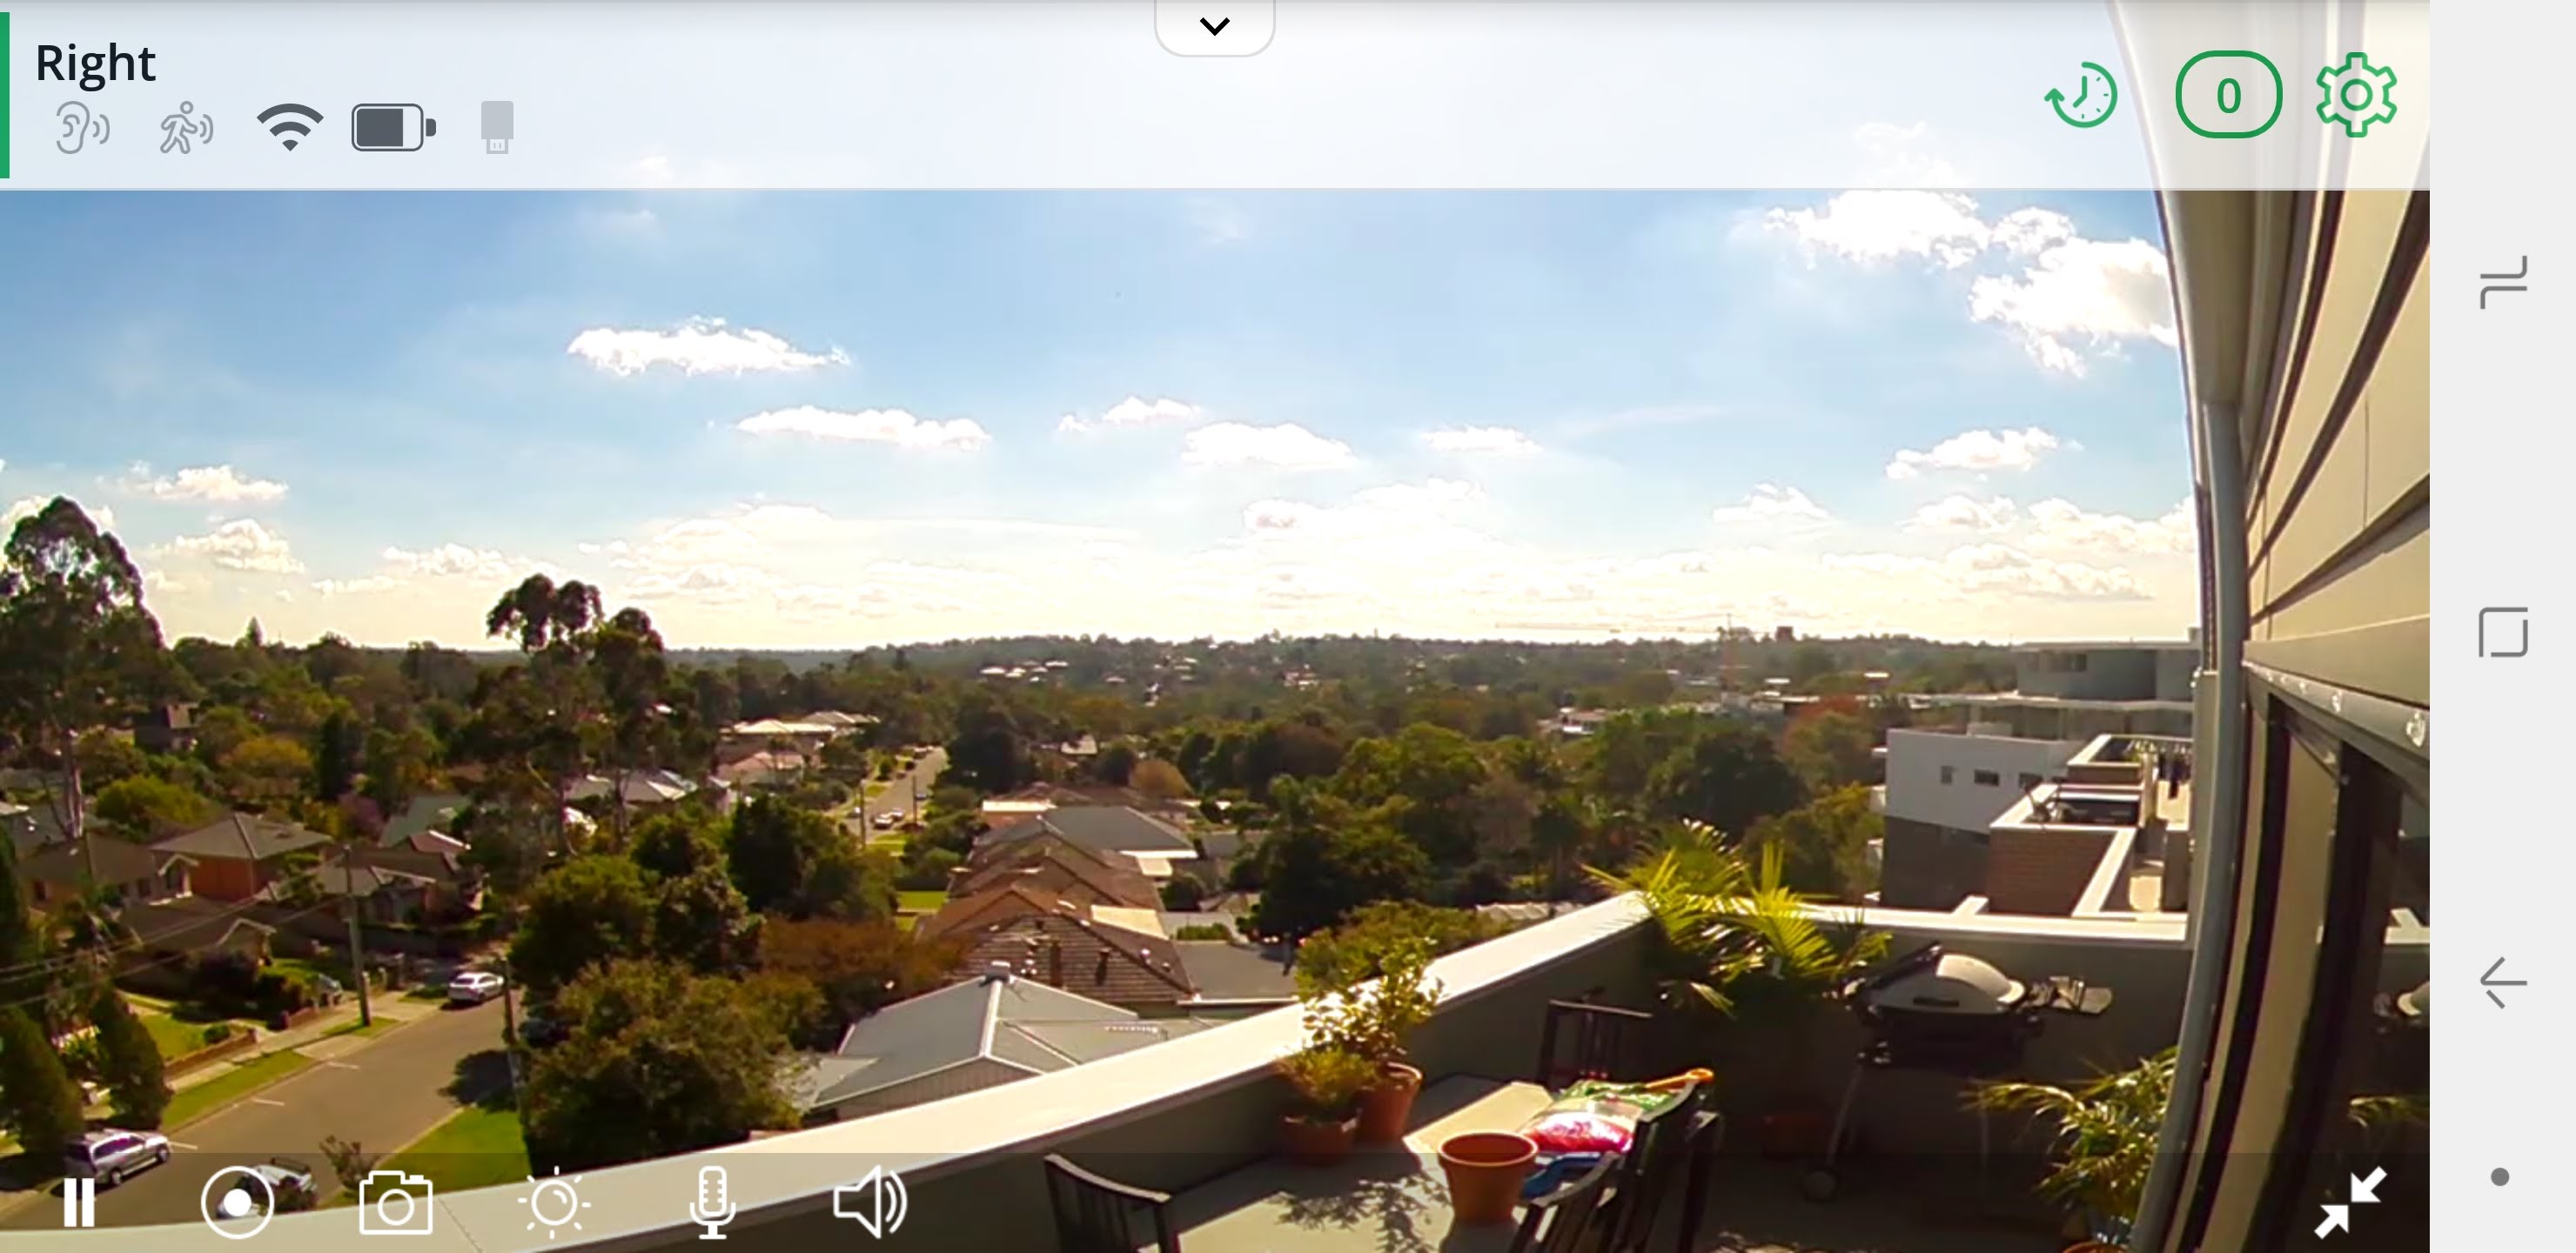
As I noted earlier, in an apartment, they have somewhat more limited utility. For example, I wouldn’t mind one at the front door, but as our front door opens onto a common area shared with our two neighbours on this floor, I don’t really need or want to be recording their comings and goings, and I suspect strata would have an issue with me placing recording devices on common property. Equally, while we have a large outdoor terrace area, it’s not accessible from anywhere else, and so placing cameras on it is largely pointless – the chances of it catching spiderman climbing into our apartment are virtually nil.
Arlo Pro 2 – Would I buy one?
So, in an apartment (particularly a rather secure one), I simply wouldn’t recommend Arlo cameras for security reasons; it’s just not needed. So, no, I wouldn’t buy it – I don’t need it. We do have a couple of IP cameras around, so we can view things from anywhere in the house, but this isn’t a security feature. We have an IP baby monitor, and that’s about all we need.
Where Arlo excels – as Phil demonstrated – is where you’ve got your own free-standing house which the public can walk right up to, unimpeded. In that situation, being able to see who’s skulking around your place is probably quite beneficial, especially if they’re in your back yard where they simply should not be. In this use case, having motion detection cameras and cloud recording (with optional USB backup) is great, and Arlo Pro 2 makes this a cinch. There’s no cables to run. There’s no power source to worry about. Simply pair the cameras up, screw the mounts in where you want cameras, aim the cameras, and walk away.
As Phil noted, the main weakness for Arlo cameras is that, unlike more traditional security cameras which are bolted into things and fixed by cables, Arlo cameras are held on by magnets (or, at best, a screw-mount into the base). In either case, removing an Arlo camera is simply a case of pulling it away from the mount, or un-twisting it off the screw mount. For cameras that are worth a couple of hundred dollars each, if someone spotted your place had Arlo cameras and they wanted some more, taking yours wouldn’t be hard at all.
You can, readily enough, by skins for the cameras to camouflage them a little; out of the box, they’re bright white with a black face, making them incredibly obvious. With a darker skin, the cameras might be less obvious, and if you’re careful where they’re mounted, chances are they won’t be seen. Place them up high out of casual reach, and this weakness probably isn’t much of a worry.


Well, my last comment was rejected for some reason, so I’ll just repeat the main point and remove the raspberry pi recommendation (as that’s the only bit I can imagine would somehow have made my comment inappropriate):
> The Arlo Pro may miss the first few seconds of recording after motion. The Arlo Pro 2 addresses this issue with “3-second look-back”.
Potential customers should note that this ‘look back’ is only possible when the arlo is plugged in, NOT when running on batteries.
> The Arlo Pro may miss the first few seconds of recording after motion. The Arlo Pro 2 addresses this issue with “3-second look-back”.
Potential customers should note that this is only possible if the Arlo is plugged in at the time. This is for power saving reasons.
For those more technically inclined, a few raspberry pis + pi/usb cameras makes for a much cheaper and customisable solution.
Cheers.
Nice Chris, what recording options are there if you dont want motion detection. Does it record snapshots or blocks? I have a few dogs and wouldnt want them kicking off the motion detection regularly. I do like the look of these though if there’s a good option without motion detection.
You don’t have to use the motion detection, it is entirely optional. If you want to record something manually you can – just log in through the app or the web app, select the camera and hit record and it’ll record until you tell it otherwise. It can also save snapshot photos when/as you like.