![]()
Last week we reported on some new “Moves” that were rolling out to Pixel phones in Canada. As Duncan wrote, the Pixels new ‘Moves’ are double tap to check phone (wake) and lift phone to check. After patiently waiting a full five days for it to arrive on my phone I decided to bite the bullet and flash the OTA onto my Pixel XL. What follows is a long and at times frustrating saga about staying at the Pixel’s cutting edge.
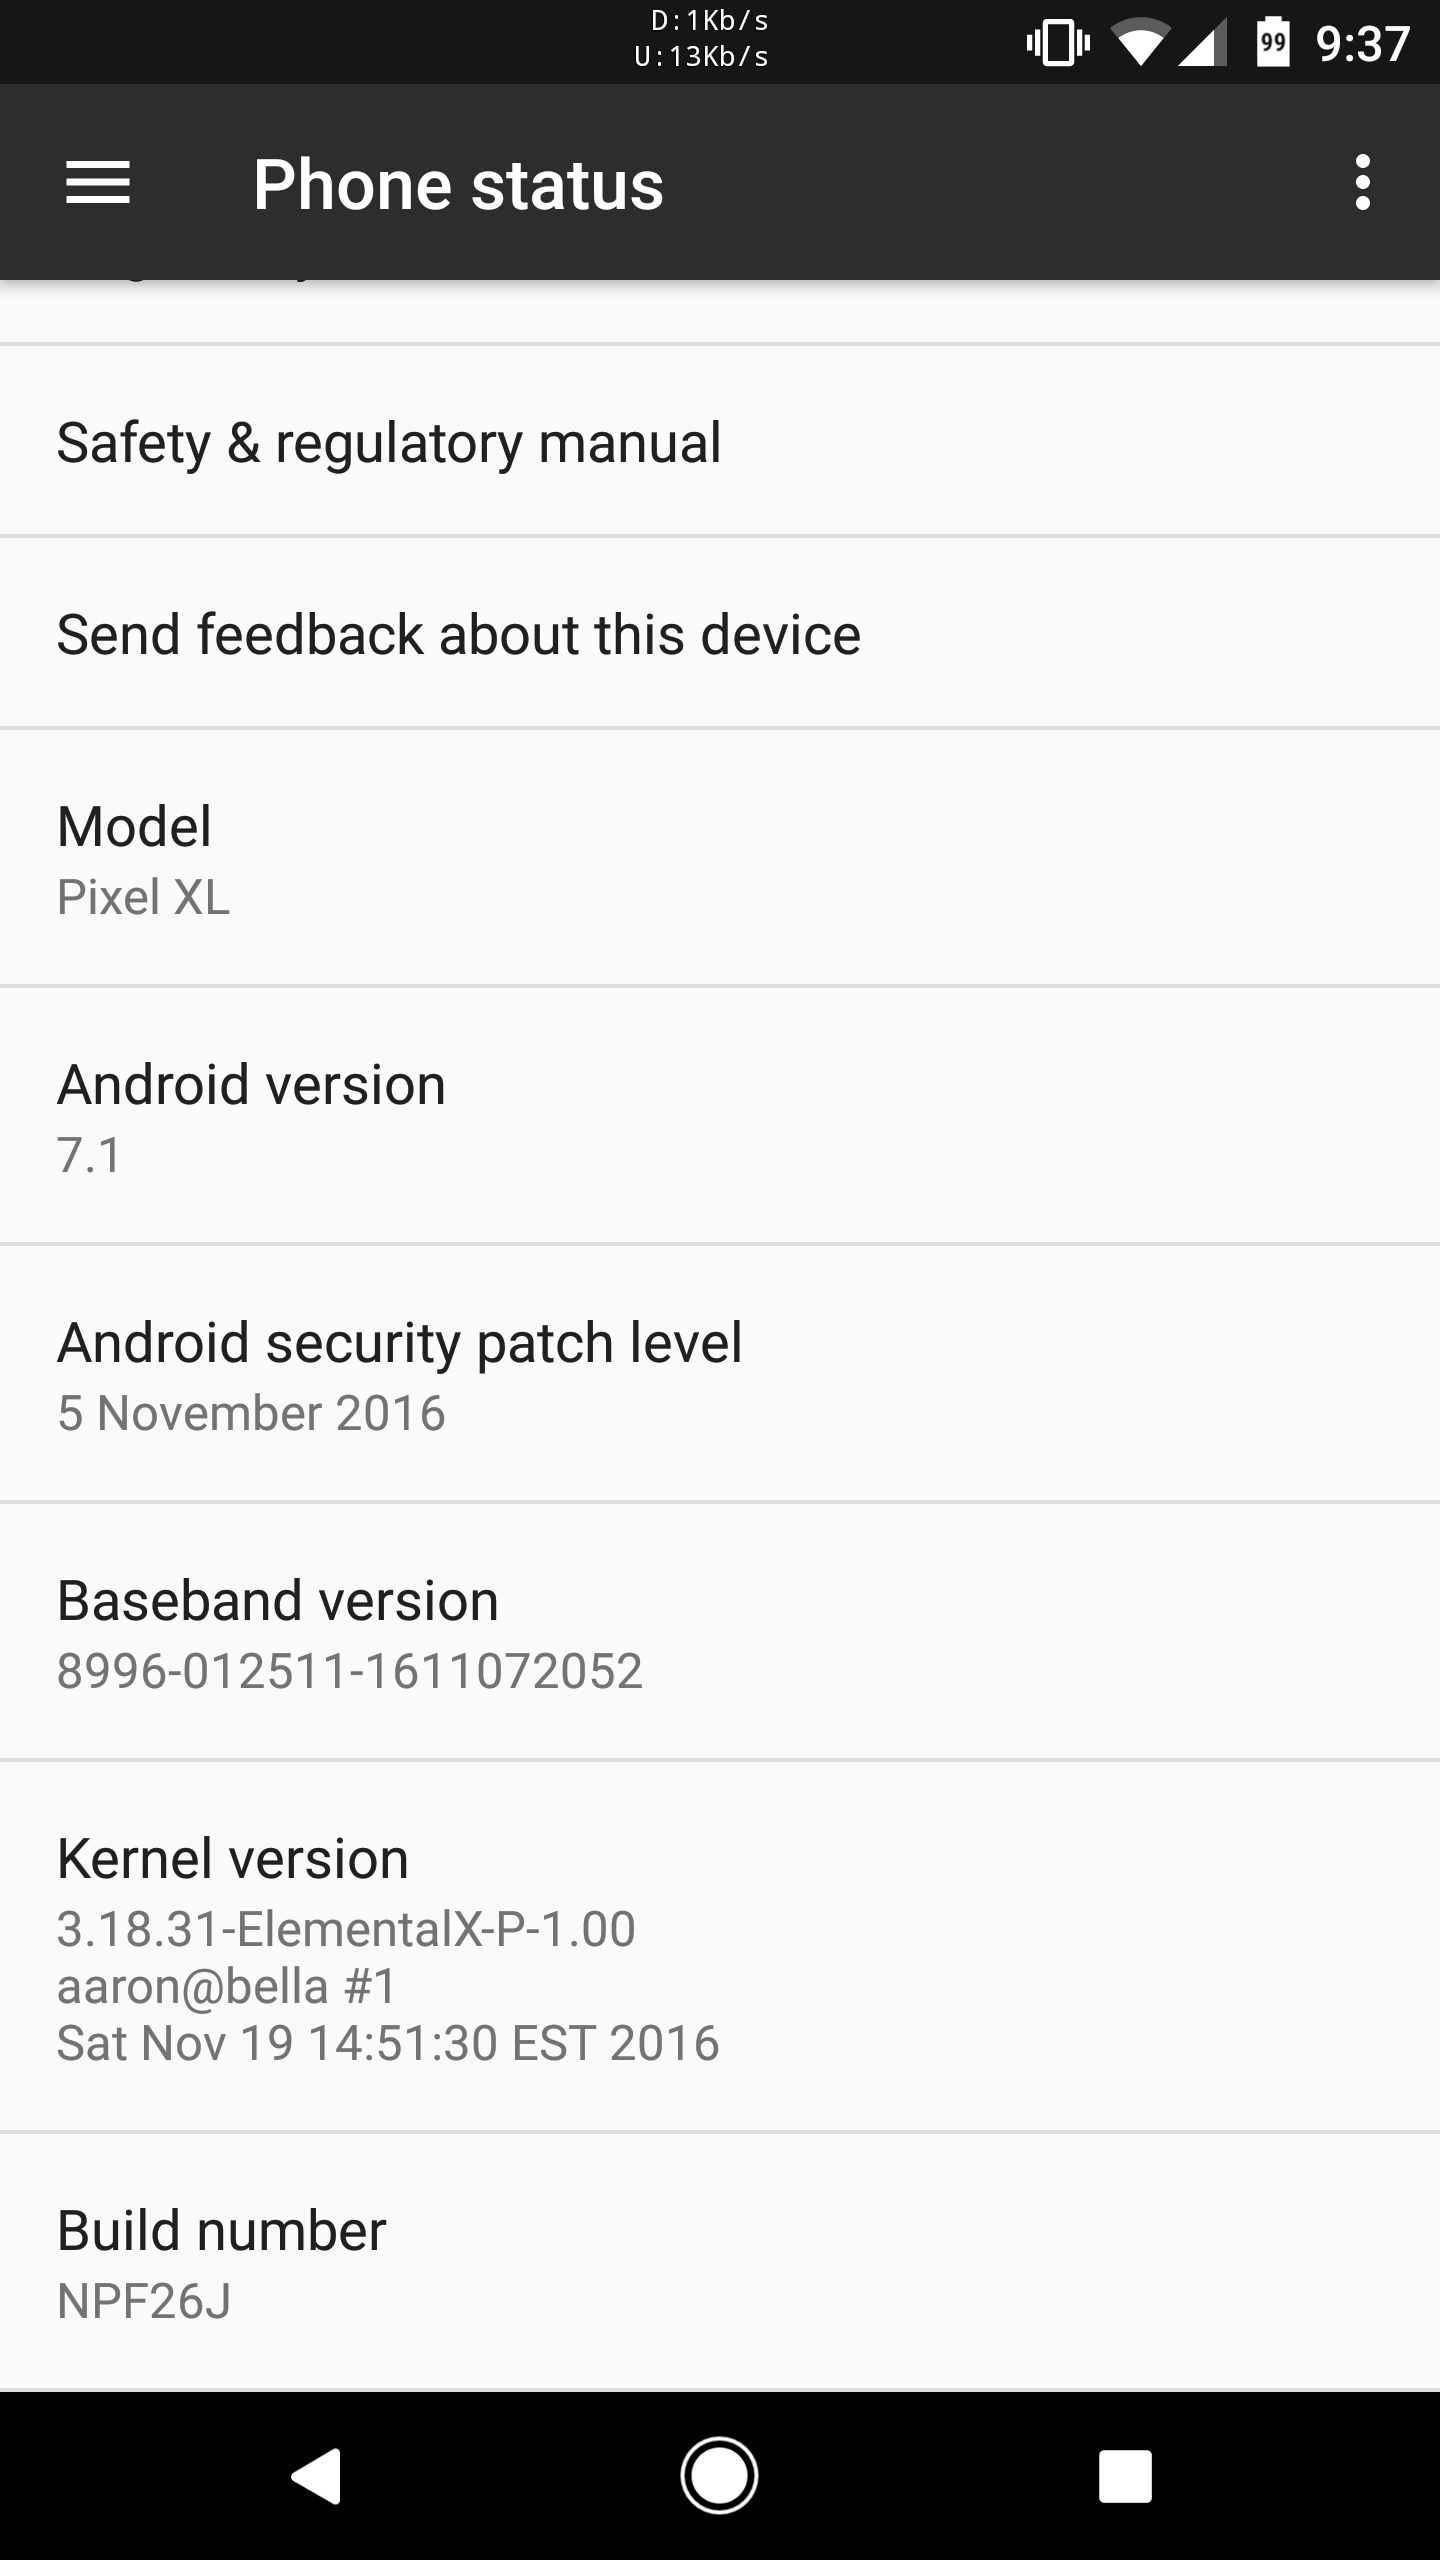
First I will say that my Pixel XL was already rooted, with TWRP installed and a custom kernel (ElementalX) and this actually makes it a lot harder. Remember the Pixel phones have all new encryption, dual partitions and thus it is difficult to get it correct to begin with.
First things first — Backup, backup and backup, anything and everything. I was rooted so used my favourite, Titanium Backup Pro but whatever you normally use. You should not need it but Murphy’s Law says that if you don’t back it up you WILL need it. I’ve been there, do not go there, it’s not a pleasant place.

Next you will need to download the OTA zip file, get the Pixel OTA zip file from here and the Pixel XL OTA zip from here. You will need to be on the V variant of Pixel updates for this OTA to work. Australian Pixels are the international version, which is officially on the V variant. The following steps are what I had to do to go from rooted, TWRP and custom kernel V variant to the new NPF26J variant with the new moves. If you are not rooted or have a custom kernel just skip to step 4.
- To get anything to flash I had to get the Pixel XL back to stock V variant first. I did that by downloading the V version from the Google factory images page. Unzip the update to your PC (I use Windows 10 on a Surface Pro 4) and find the flash-all.bat file. Right click and either edit or open it with your favourite text editor (I prefer Notepad++, it’s free and very good). Find the line in it that says fastboot -w update image-marlin-nde63v.zip delete the “-w” and save and close the file. This will prevent the flash-all.bat from wiping your data.
- Reboot your phone into bootloader (power button and volume down).
- Double click the flash-all.bat file that you have edited and sit back and wait for it to finish. For some reason mine did not work first time so had to do it a second time where it worked.
- It will automatically reboot into the stock V variant, reboot back into either recovery (volume up and power button) or bootloader and enter reovery that way. You will be greeted with the Android with the red exclamation mark. Hold the Power button and press Volume Up once, and a menu will appear. Select the option Apply update from ADB.
- Sidenote here: I had issues here and after some Googling it seems I am not the first to have had this issue. When in the stock Android recovery Windows 10 installs the wrong drivers for the phone. It installs the Kedacom USB drivers, and NOT the required ADB drivers. To fix this I opened the Windows Device Manager, found the “Kedacom USB Device”, right clicked on it to “Update Driver Software”, selected Browse my computer and then the Let me pick from a list of drivers on my PC option. Navigate to where your Android SDK is, and select the Android Recovery ADB driver. Now you are good to go.
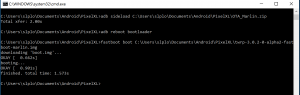
- On your PC open up a command window and type the following:
adb sideload /path/to/OTA.zipand it will reboot when done. - That is it. Piece of cake. You now have all the new Moves for the Pixels. If you also want to root it, install TWRP and a custom kernel you will need to do them in the following order. Before doing so, please realise that the double tap to wake is located in the kernel so if you install a custom kernel, if the custom kernel does NOT have that option you will lose it. I use ElementalX which DOES have the double tap to wake option, although personally I prefer the swipe to wake.
- Reboot to bootloader and
fastboot boot TWRP_alpha2.img - Once in recovery flash the TWRP_alpha2.zip file to permanently install the recovery. Reboot to recovery (using the option in the recovery).
- Flash your desired custom kernel
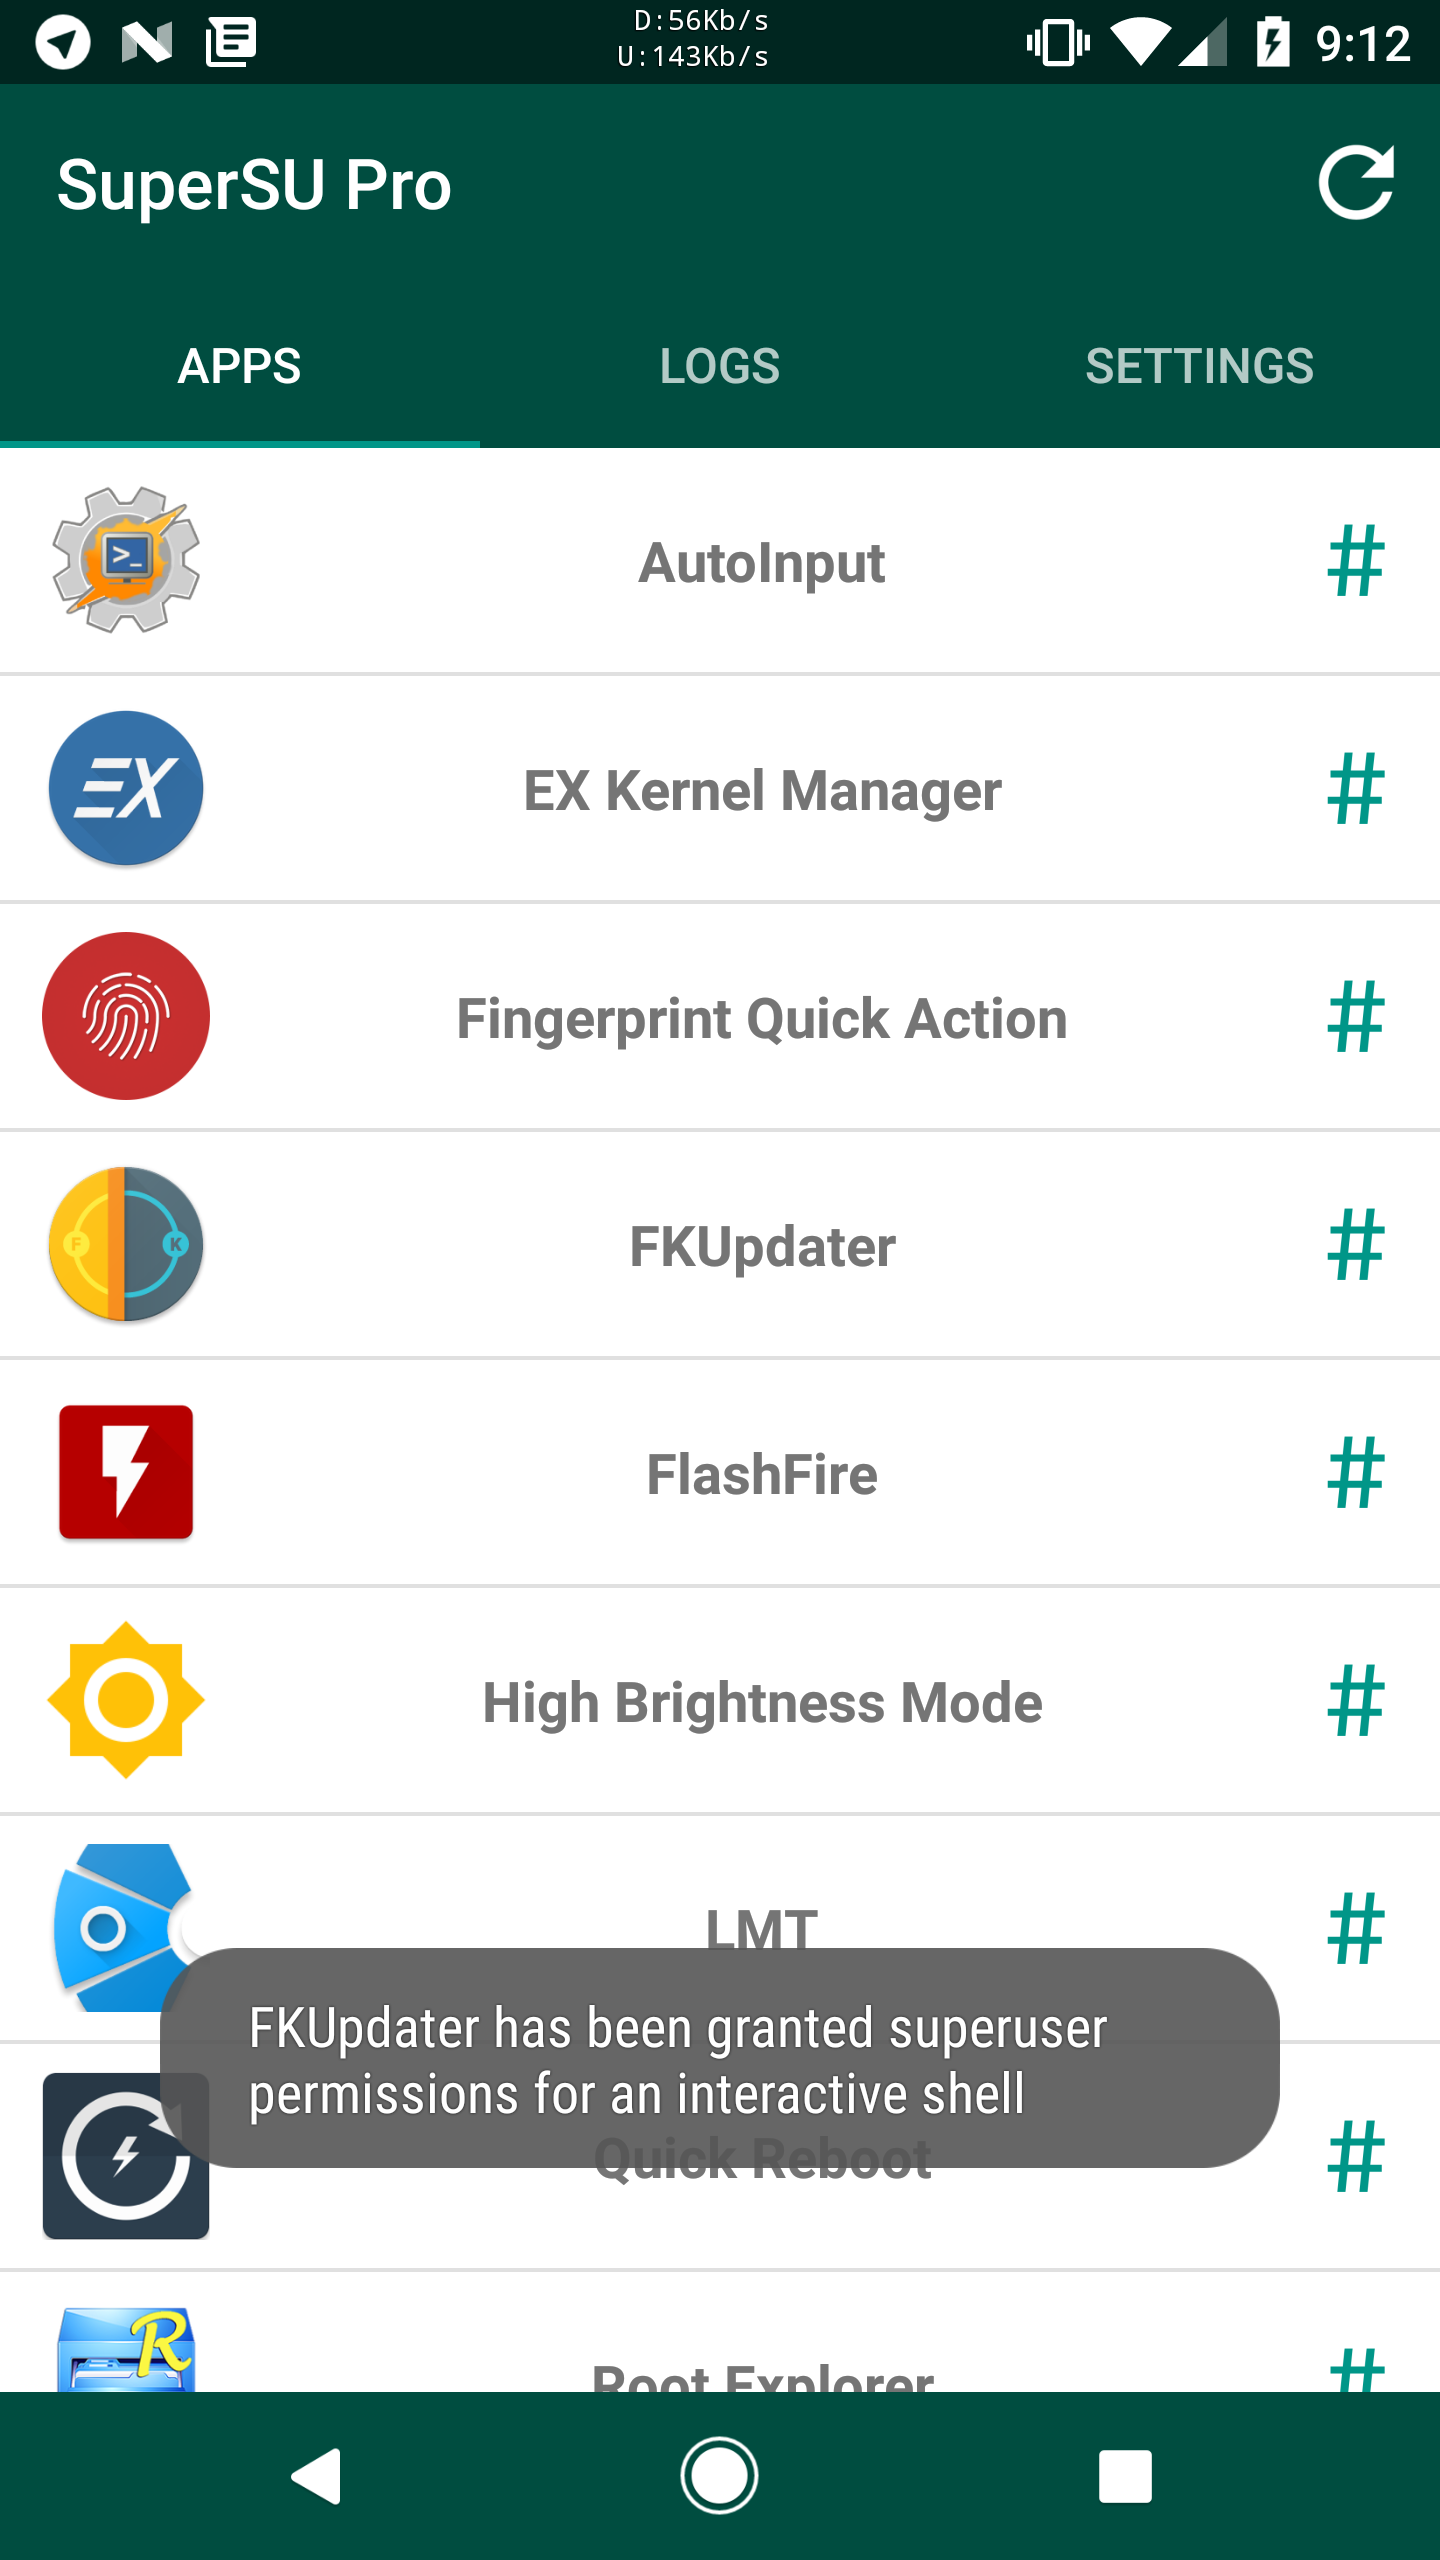
- Flash SuperSU v2.78 SR4
- Reboot system and remember it will reboot a couple of times in the process of rooting and installing SuperSU. Be patient and you will end up with a rooted Pixel, with custom recovery and kernel and ALL the new Moves!
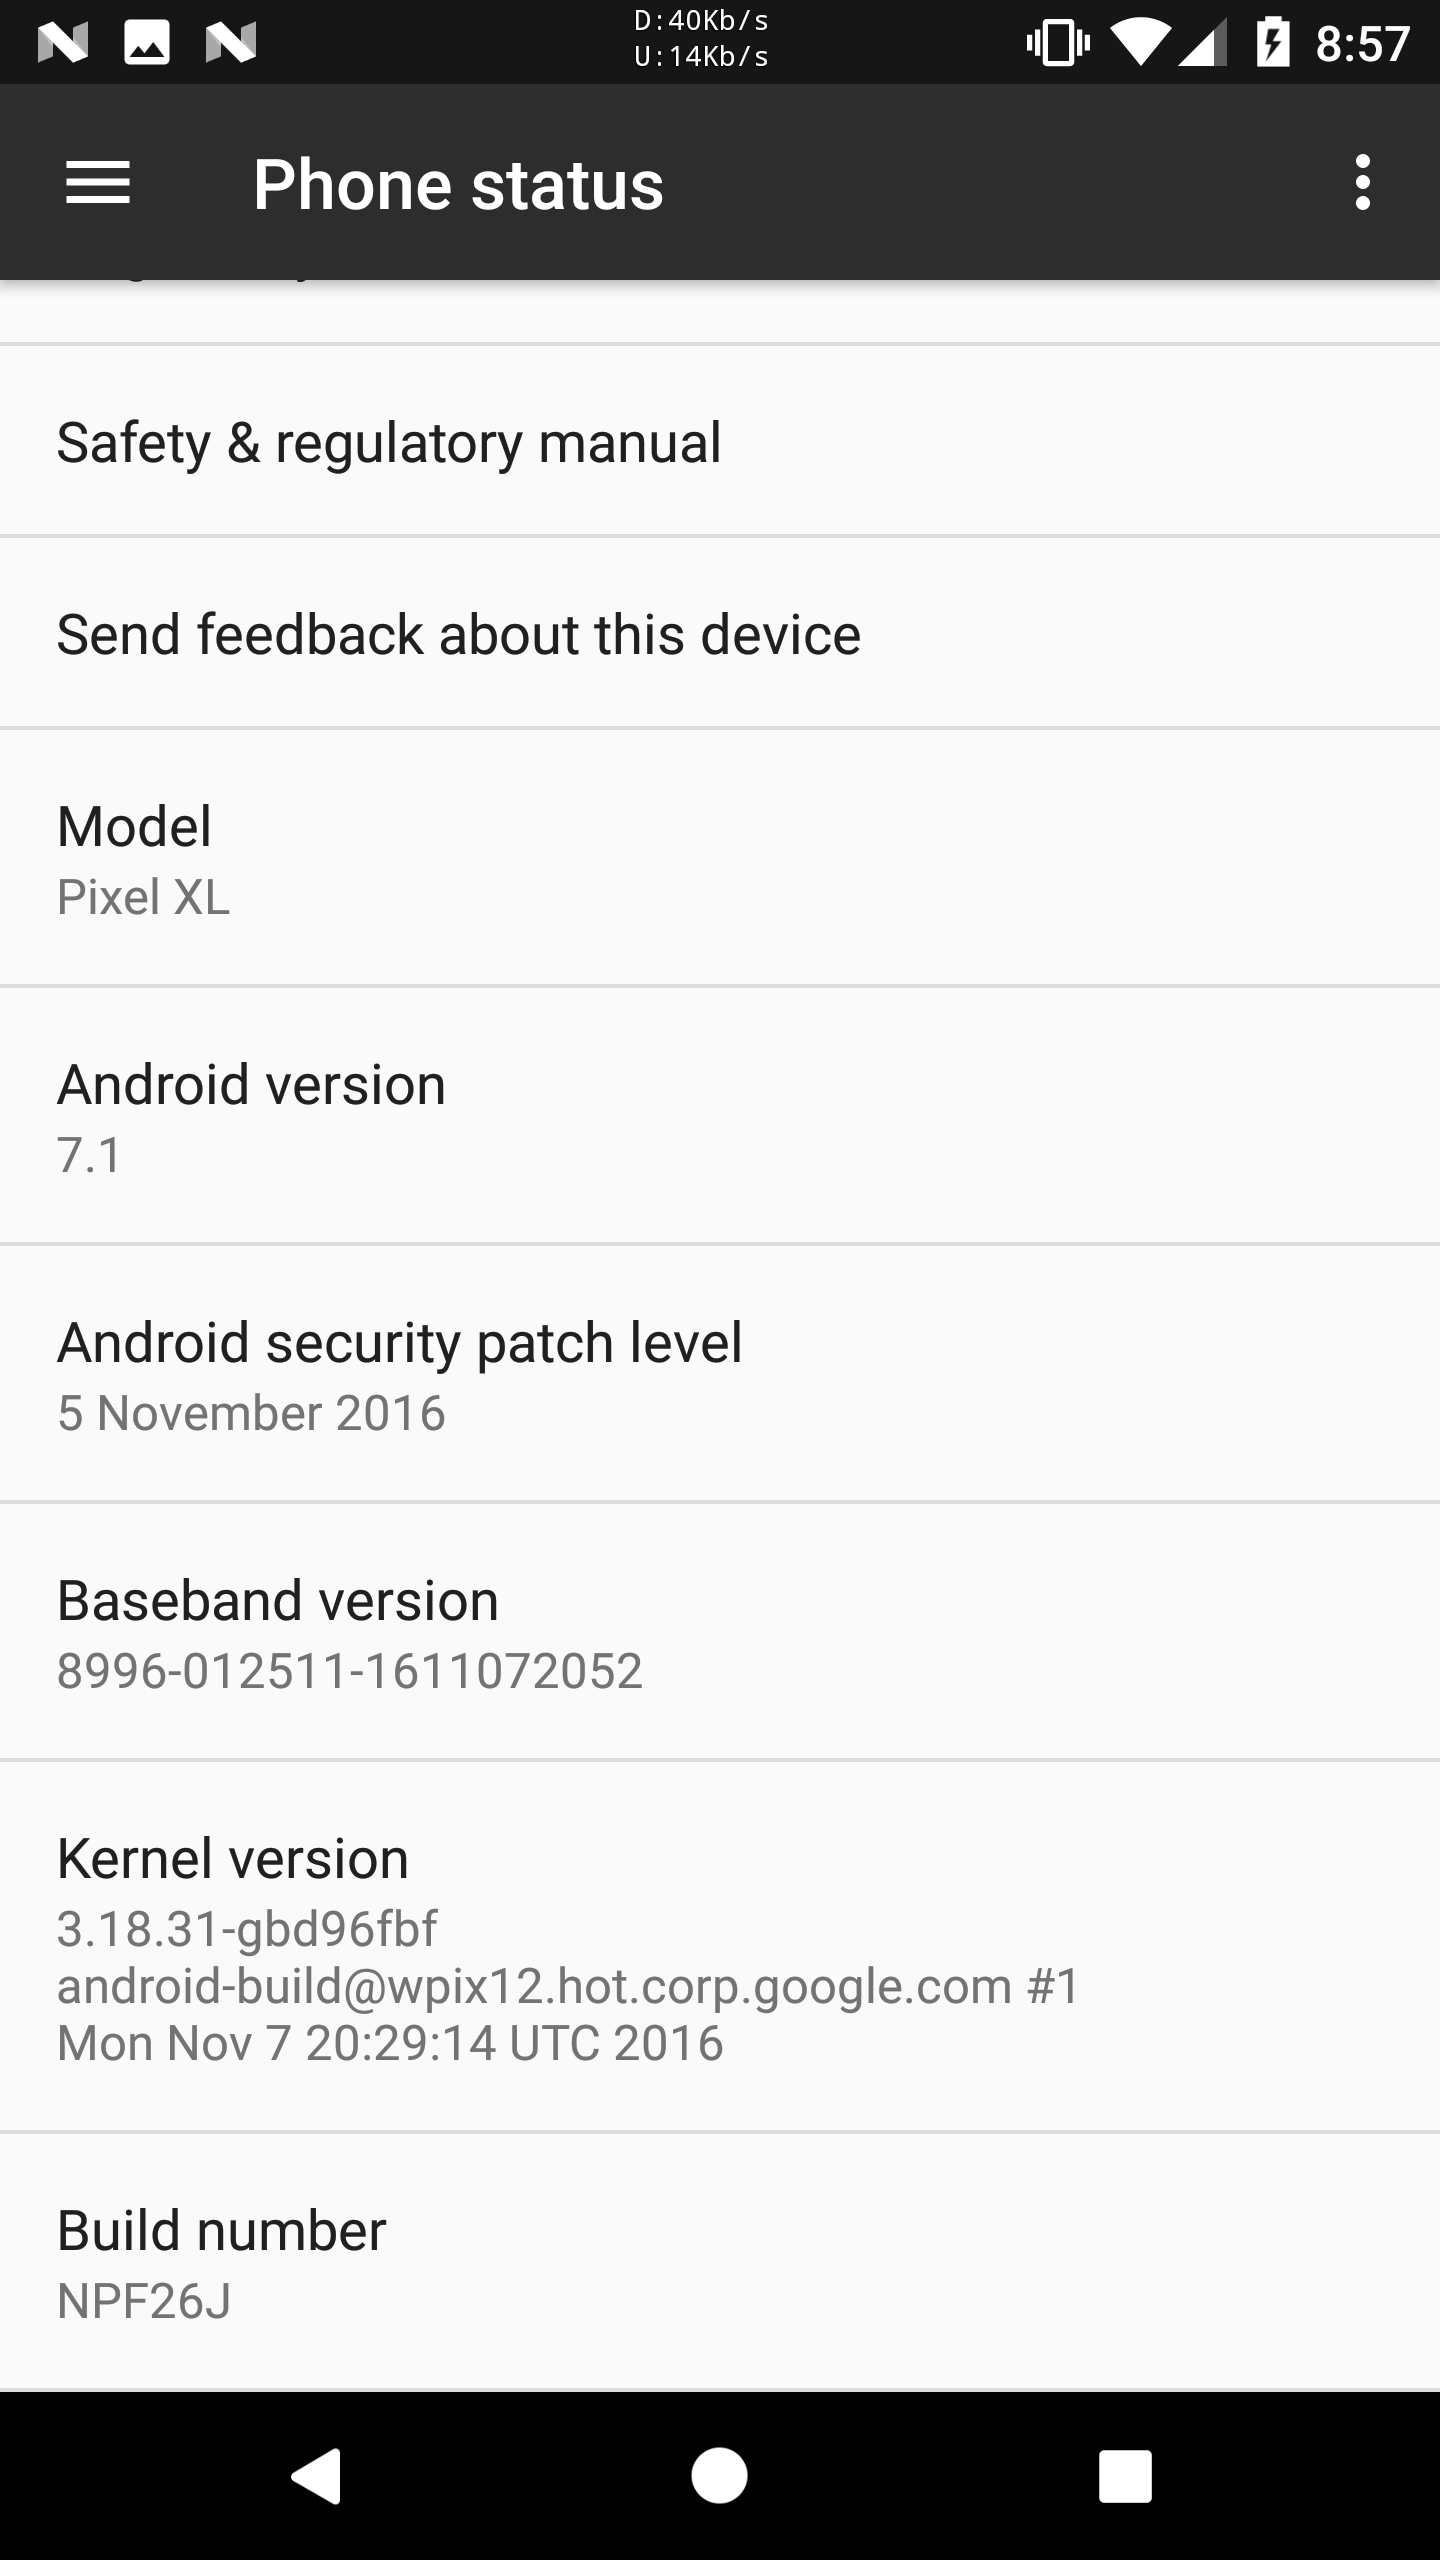
The new update, NPF26J, brings the double tap to wake and the lift to wake which works much better than any of the third party apps meant to do the same. It also seemingly brings slightly different variations to the vibration motor and apparently camera fixes although I am yet to test that so cannot comment. If you are feeling game give the above a shot and find out for yourself, otherwise maintain your patience and hope that the Googlers do not go on holidays before pushing the “send OTA button”.
Things will hopefully get easier in the future when flashing updates etc for the Pixels but for now just remember that you always have the factory images. Learn to use adb and fastboot commands and you should be able to recover from nearly all issues.

